TRIP REPORT: Old Rag – Shenandoah, VA 11-28-15
Hiking stats at a glance:
9.2 miles
~2,380 ft elevation gain
1 Peak – Old Rag 3,284 ft
4 hrs
Over the Thanksgiving weekend we decided to travel south instead of north for a change of pace. After leaving Gettysburg Military Park we made our way down to Shenandoah National Park for some actual hiking. I had heard that Old Rag was one of the best hikes in the area and it turned out to be a good choice. The hike is fairly short and easy for most of the way but does include some really great rock scrambling on top of the ridge above the trees.
The hike starts 0.8 miles down a road at the parking area off Nethers Rd in Nethers, Virginia. The parking lot is easy to find via GPS but the lot is fairly small so I would recommend getting there early to make sure you get a spot. We had no problem finding one at around 8 am but by the time we got back to the lot around noon the lock was just about at full capacity. The parking lot is also managed by the National Park Service, so there is a fee to use it.
Once we parked and gathered our gear for the day we got started hiking up the road to the actual trailhead. The road was paved and as long as you just stay on it it will lead you straight to the trail head. Just be careful walking as there was some vehicle traffic zipping up and down the road that didn’t seem to like slowing down for hikers.

Start of the hike along the road.
After about 15 minutes walking up the road we reached a locked gate and the trailhead just beyond. The fire road you see to your right that continues into the woods is actually where you finish if you do the hike as a loop. You can also go the opposite way up the fire road to the summit if you wanted to avoid the rock scrambling at the top of the ridge. There is no trail register to sign at this particular trailhead.
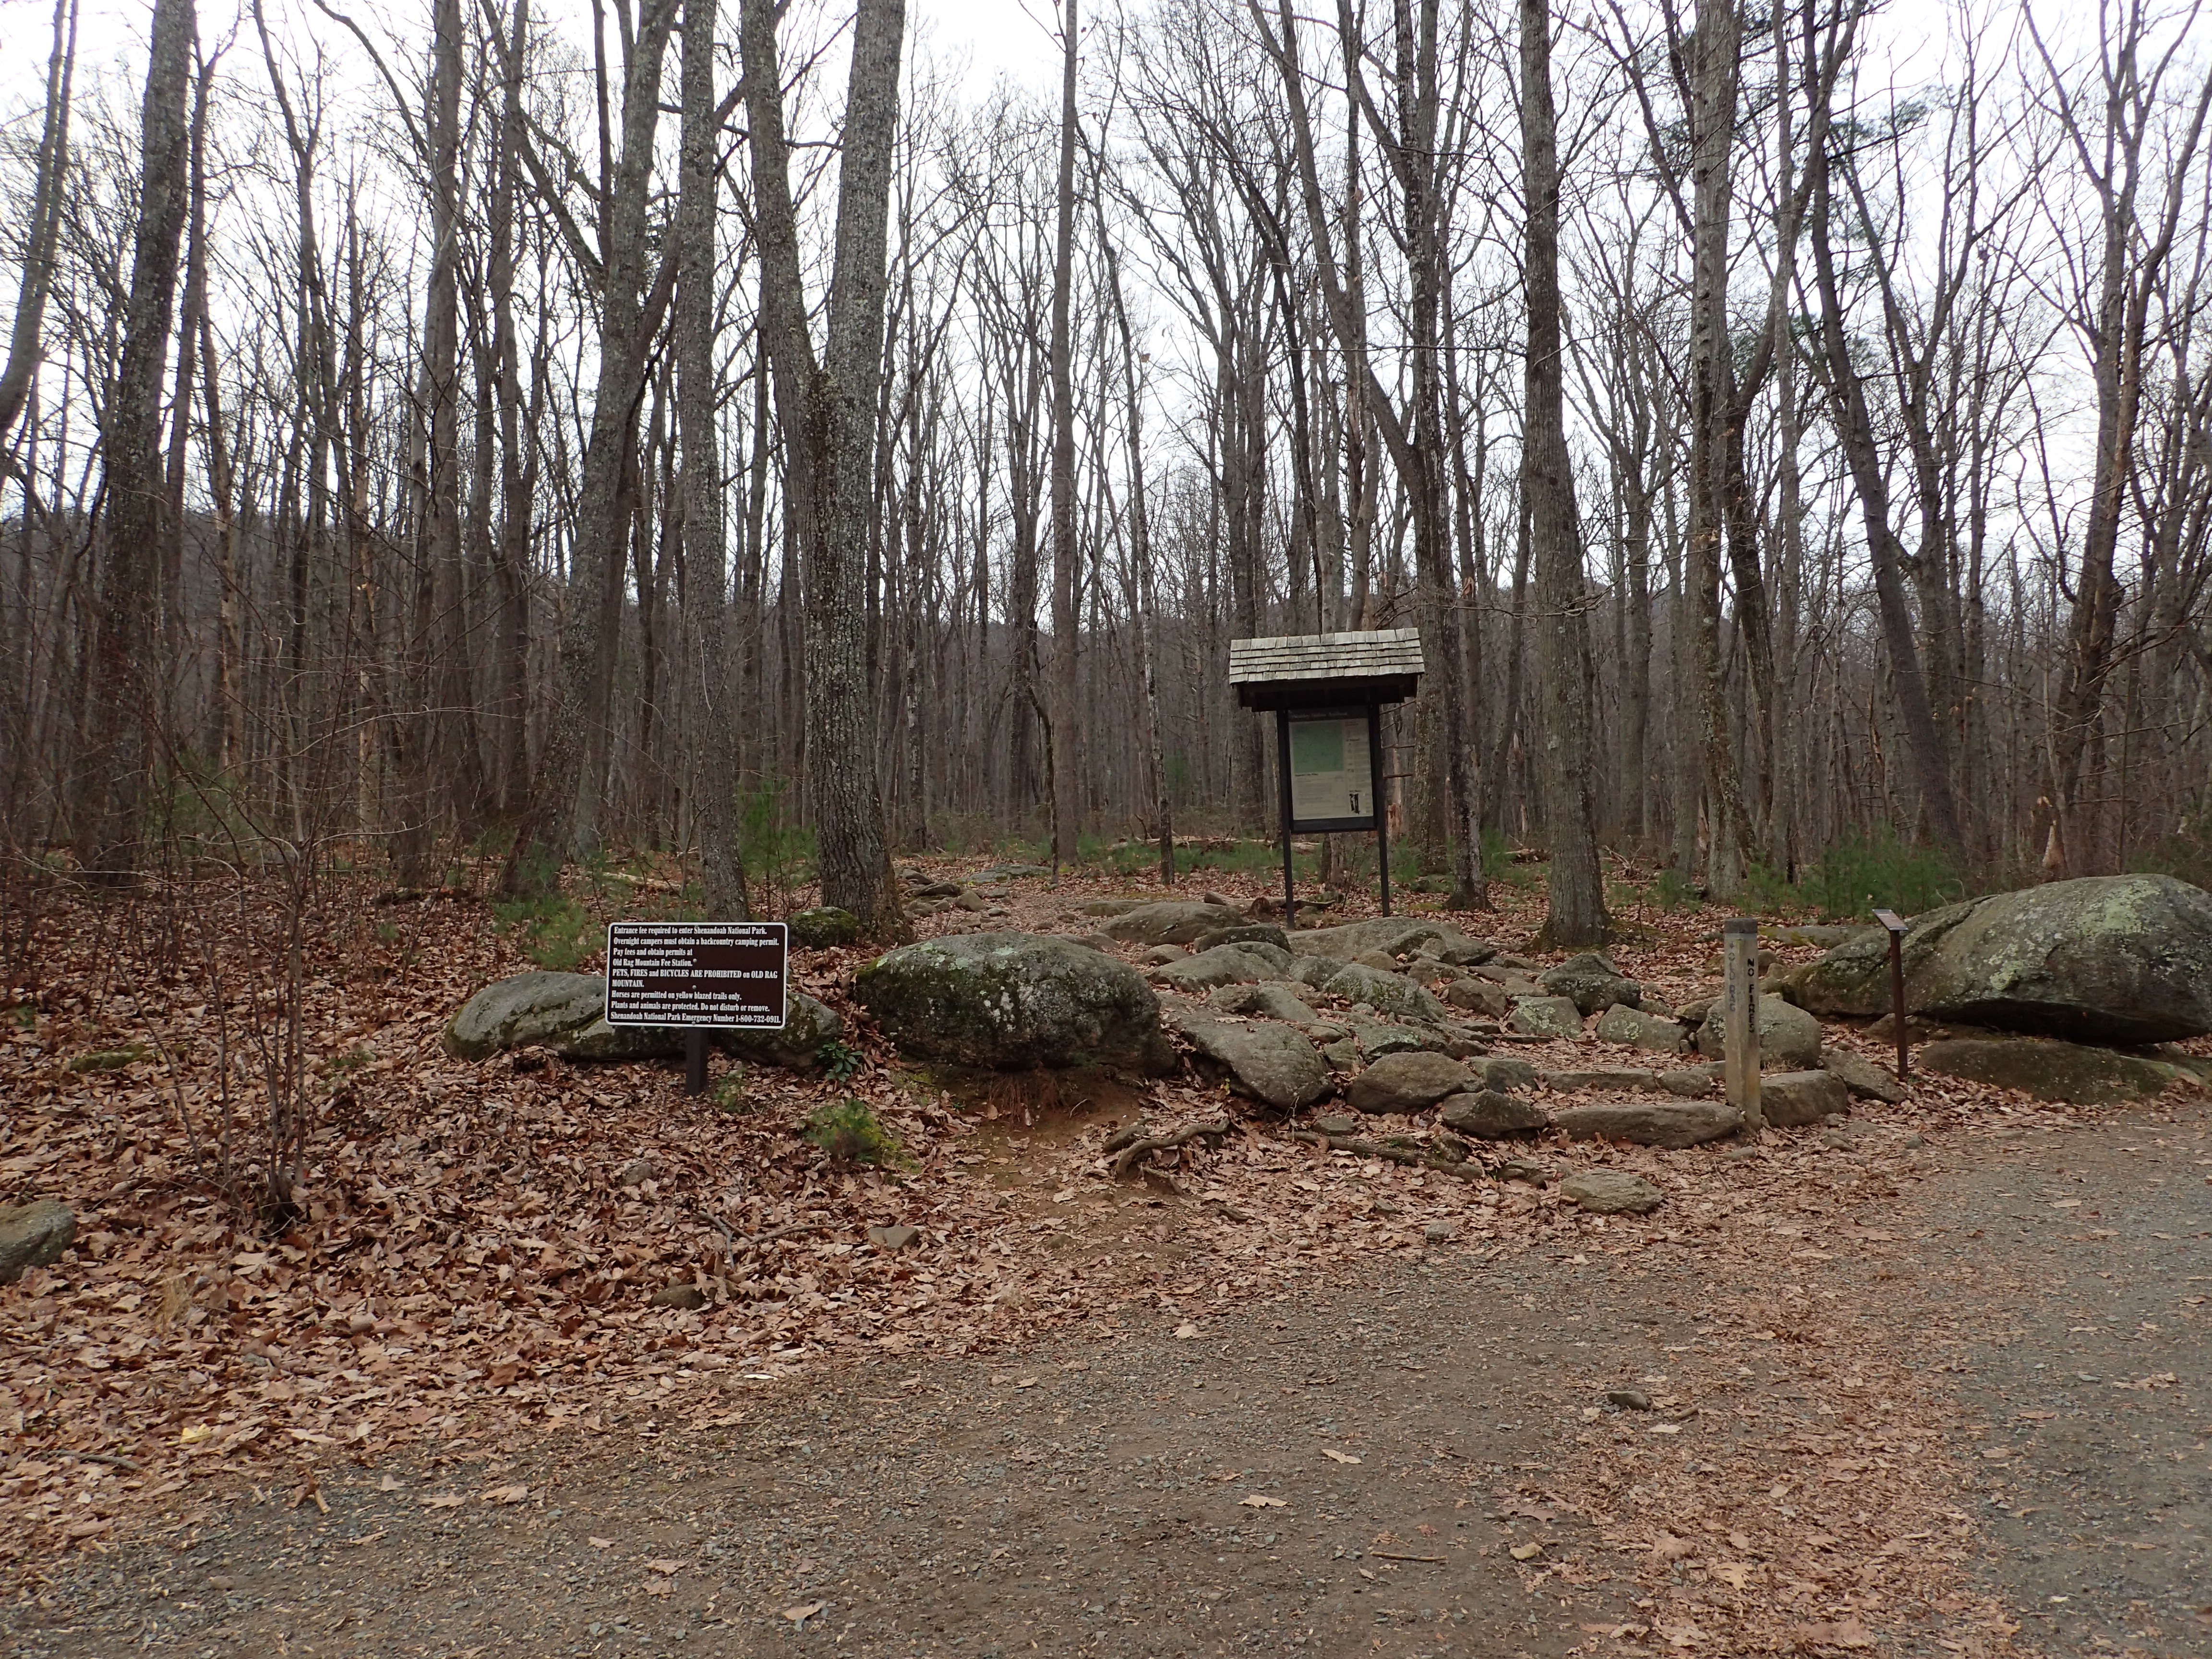
Trailhead at the start of the hike.
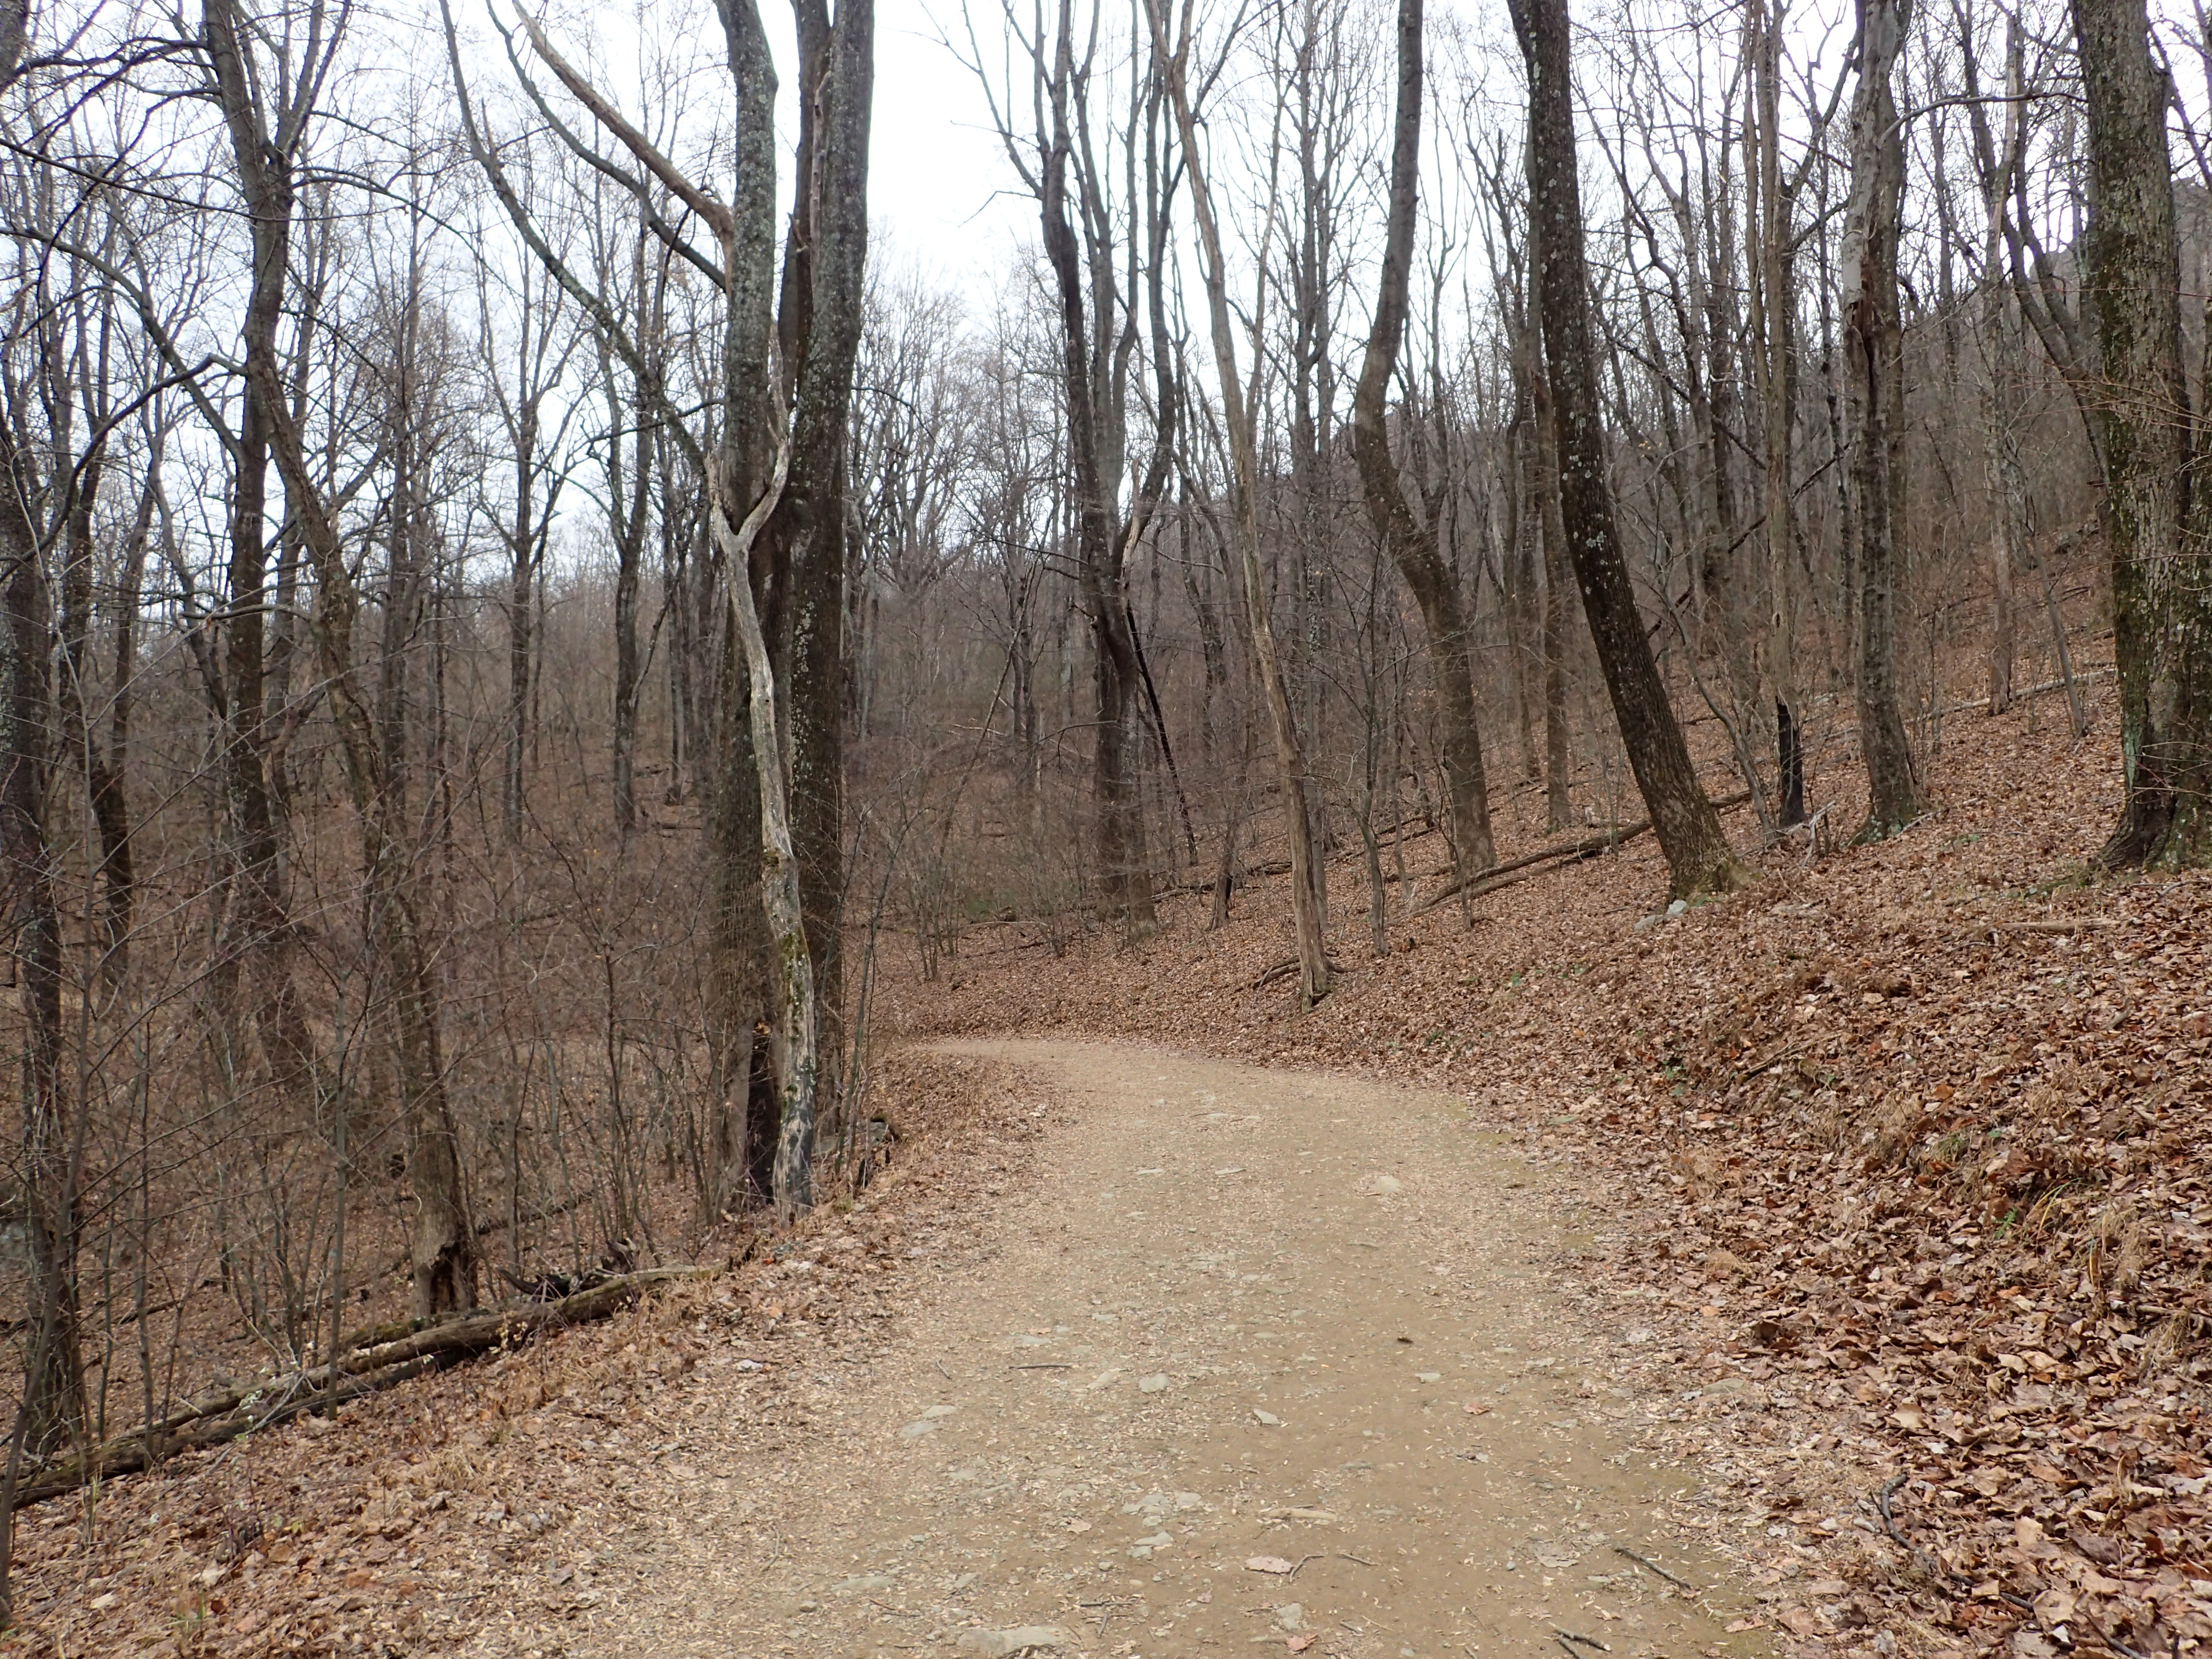
The trail itself is well worn and easy to follow as it winds its way through the woods. There are some rocks in the trail but they were easy to avoid and it was nice that there was no mud and little to no roots to deal with.
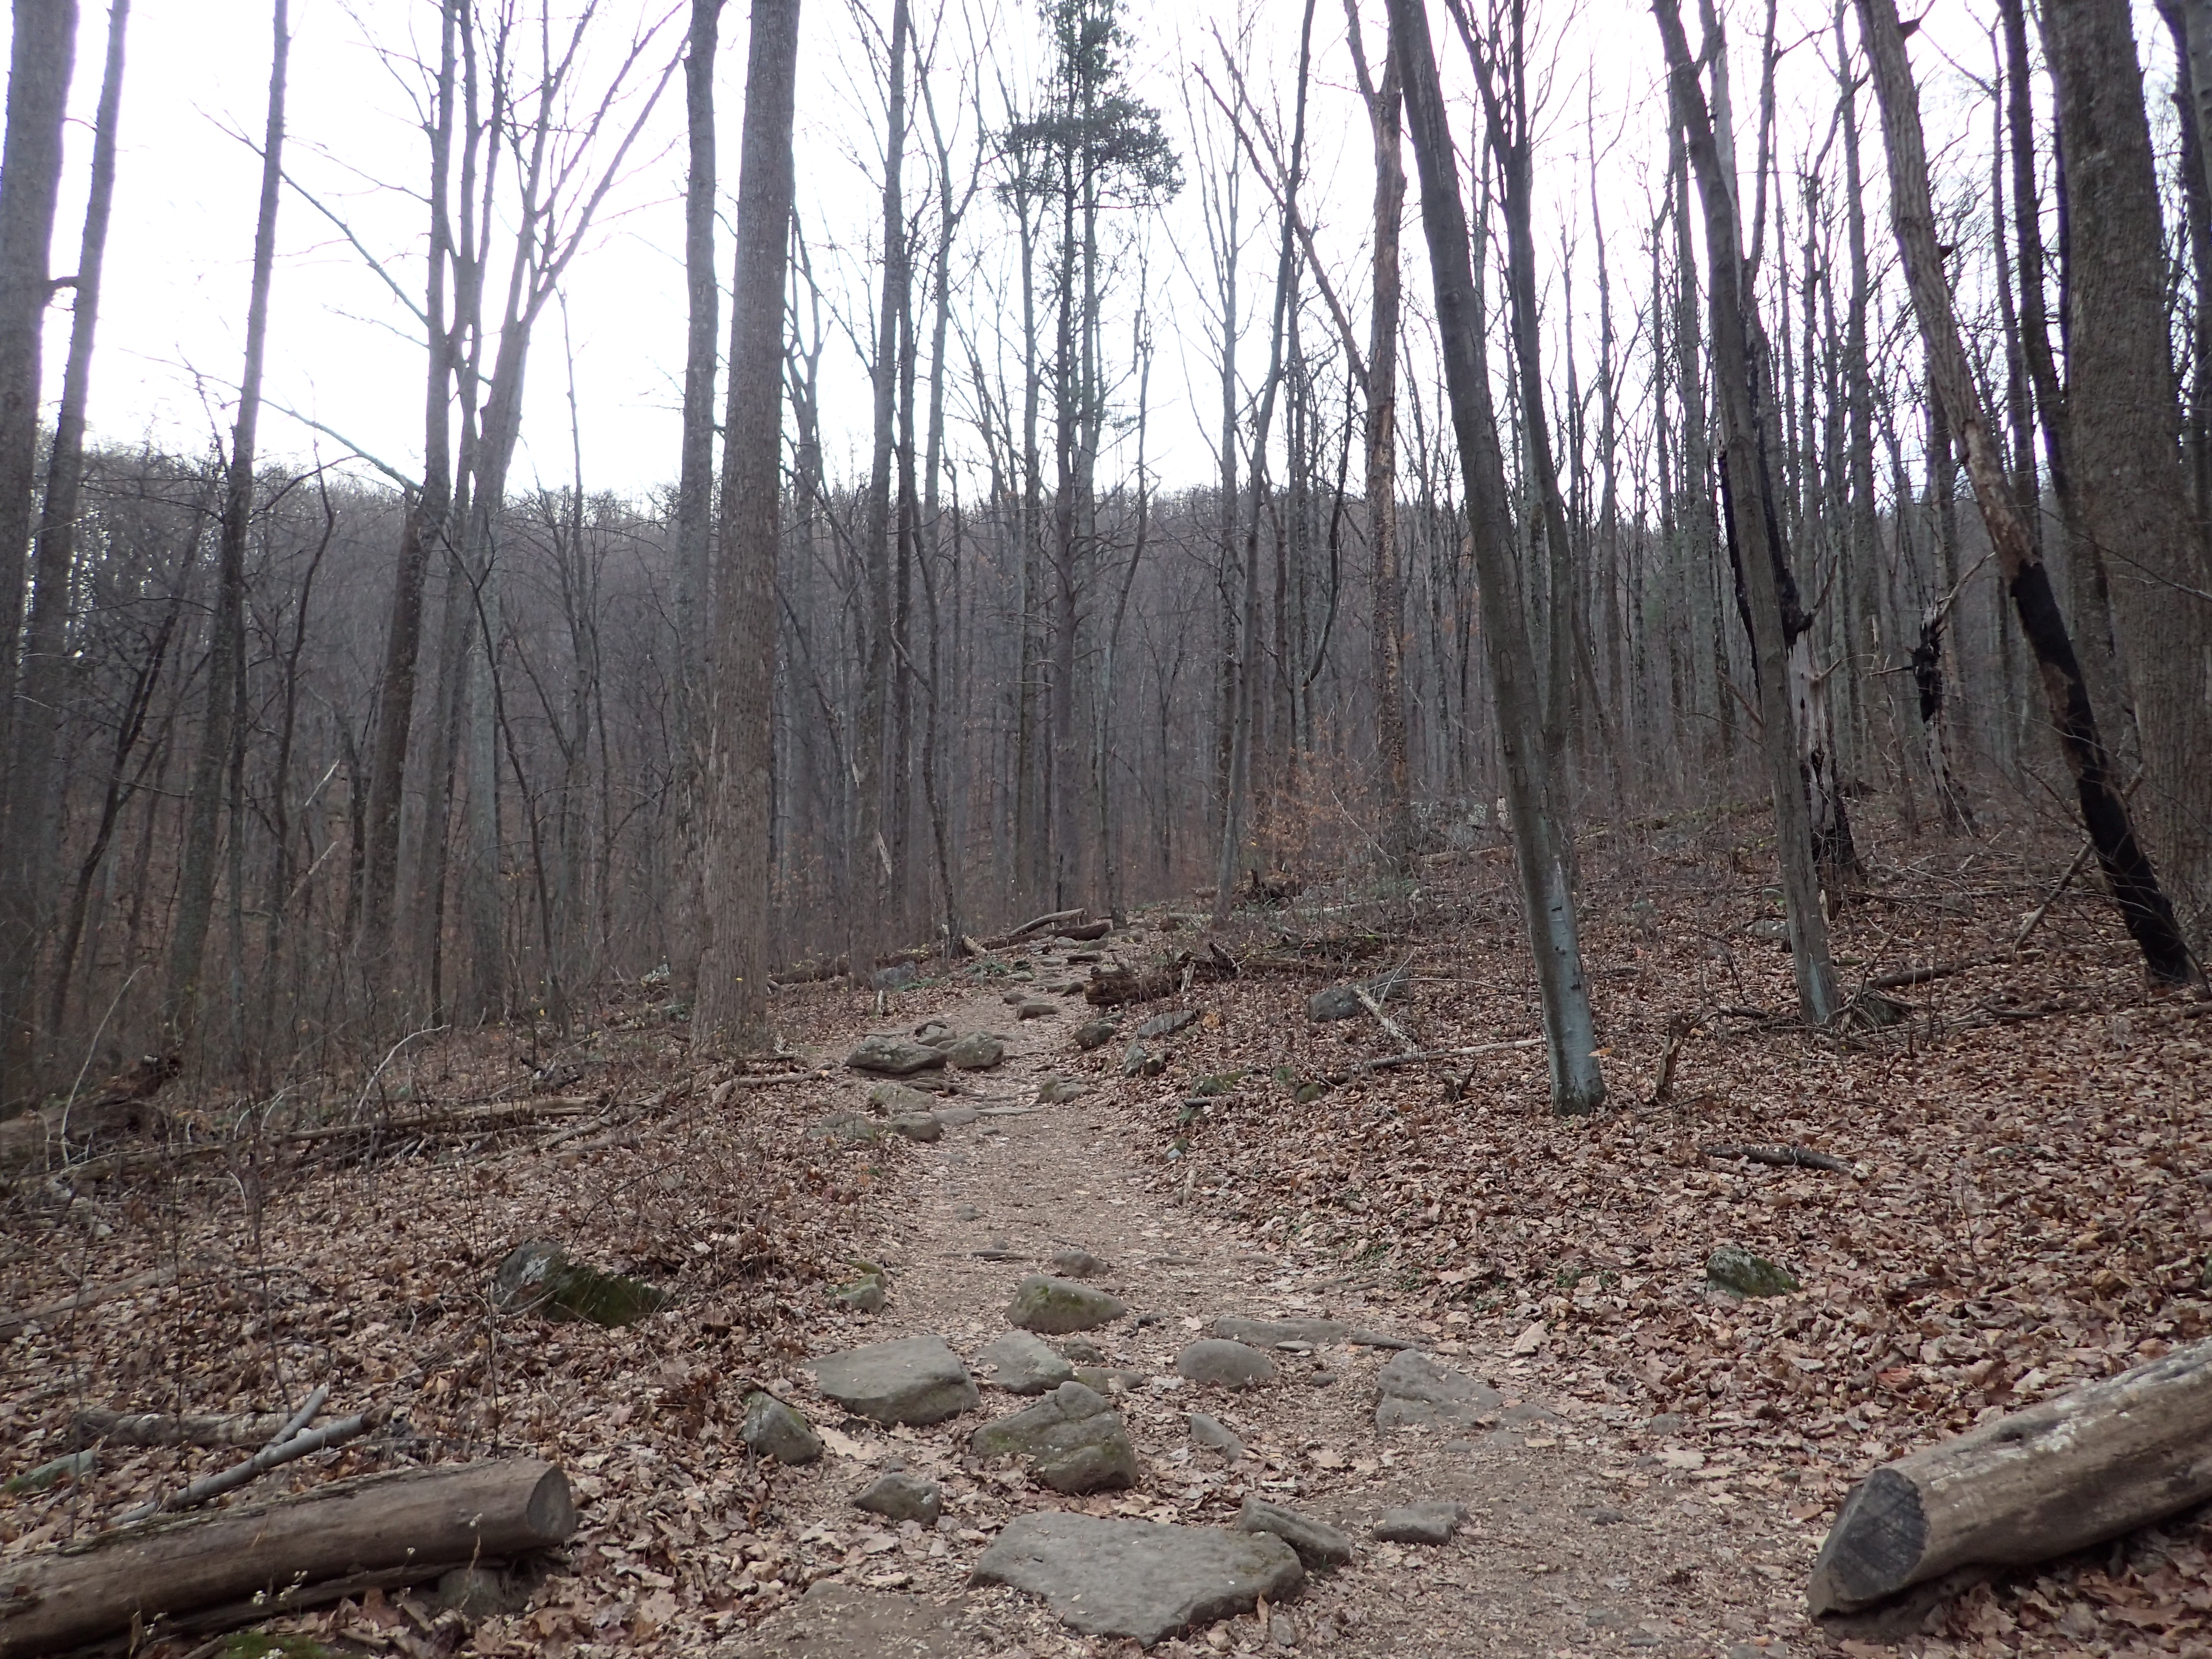
Start of the trail through the woods.
After a short time hiking on relatively flat ground we made it to the start of the switch backs which wound their way up the slope of the mountain. This section was fairly short and like the rest of the trail was in very good shape.
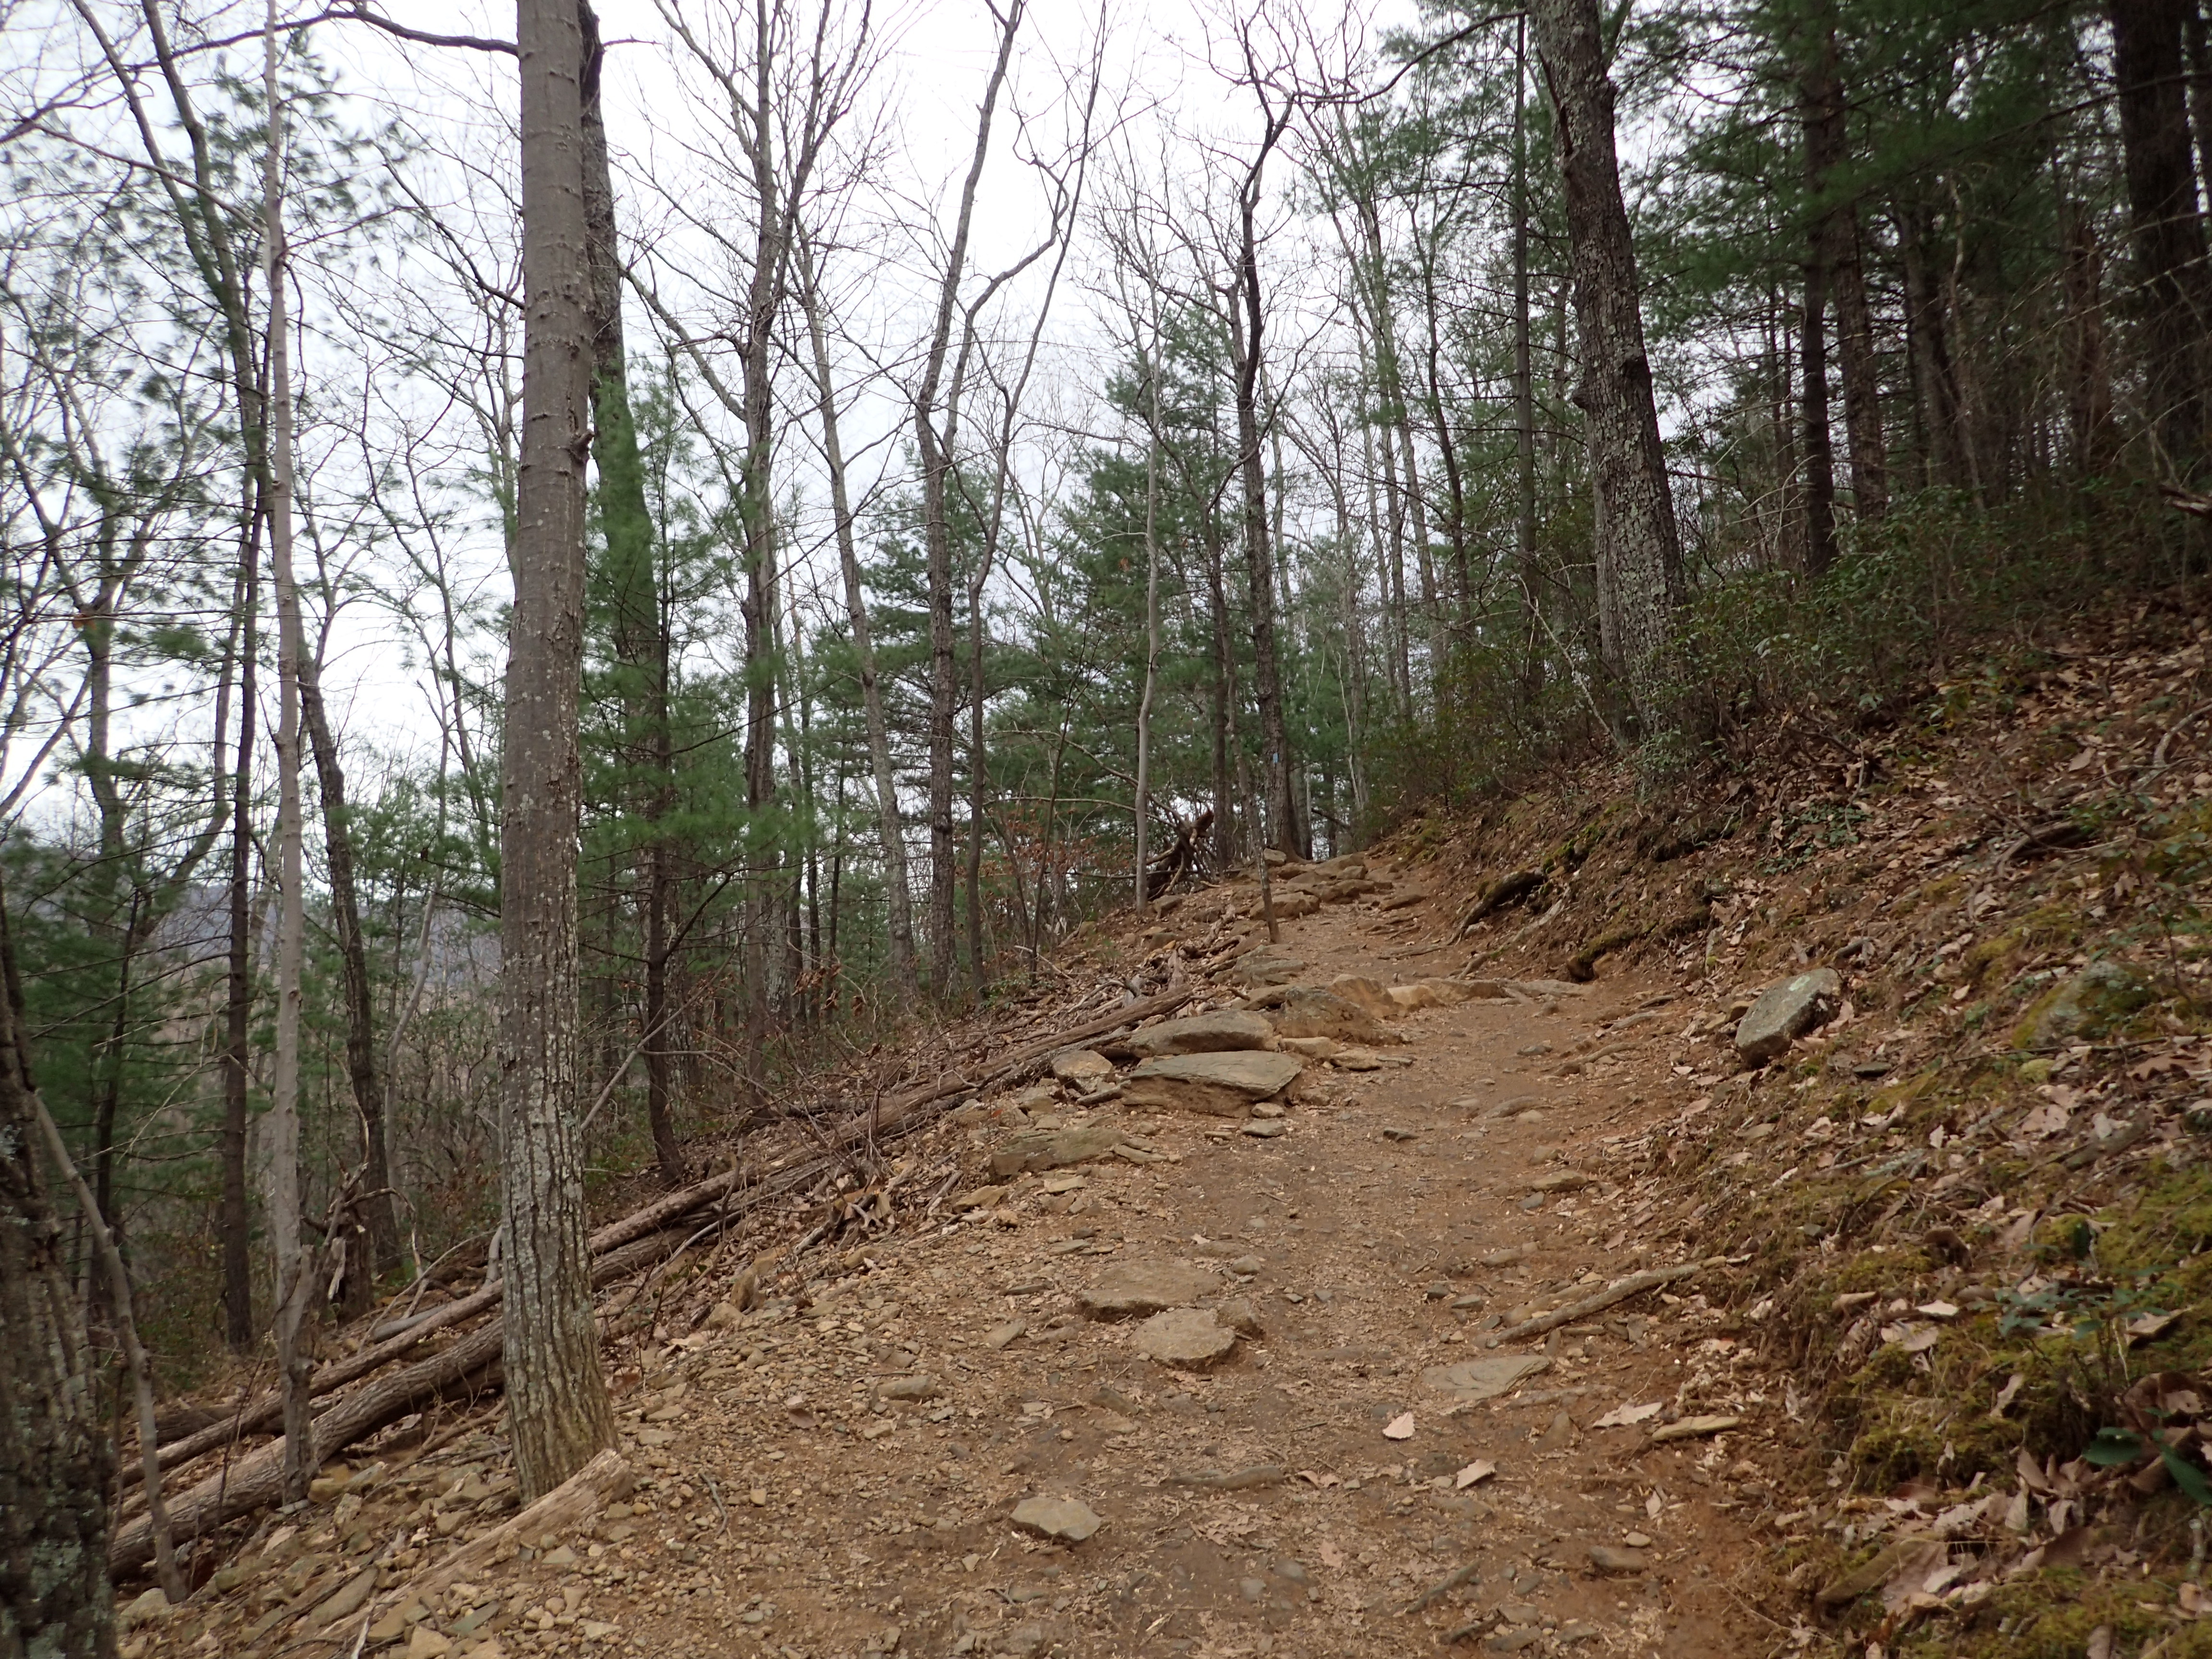
The trail nearing the end of the switchbacks.
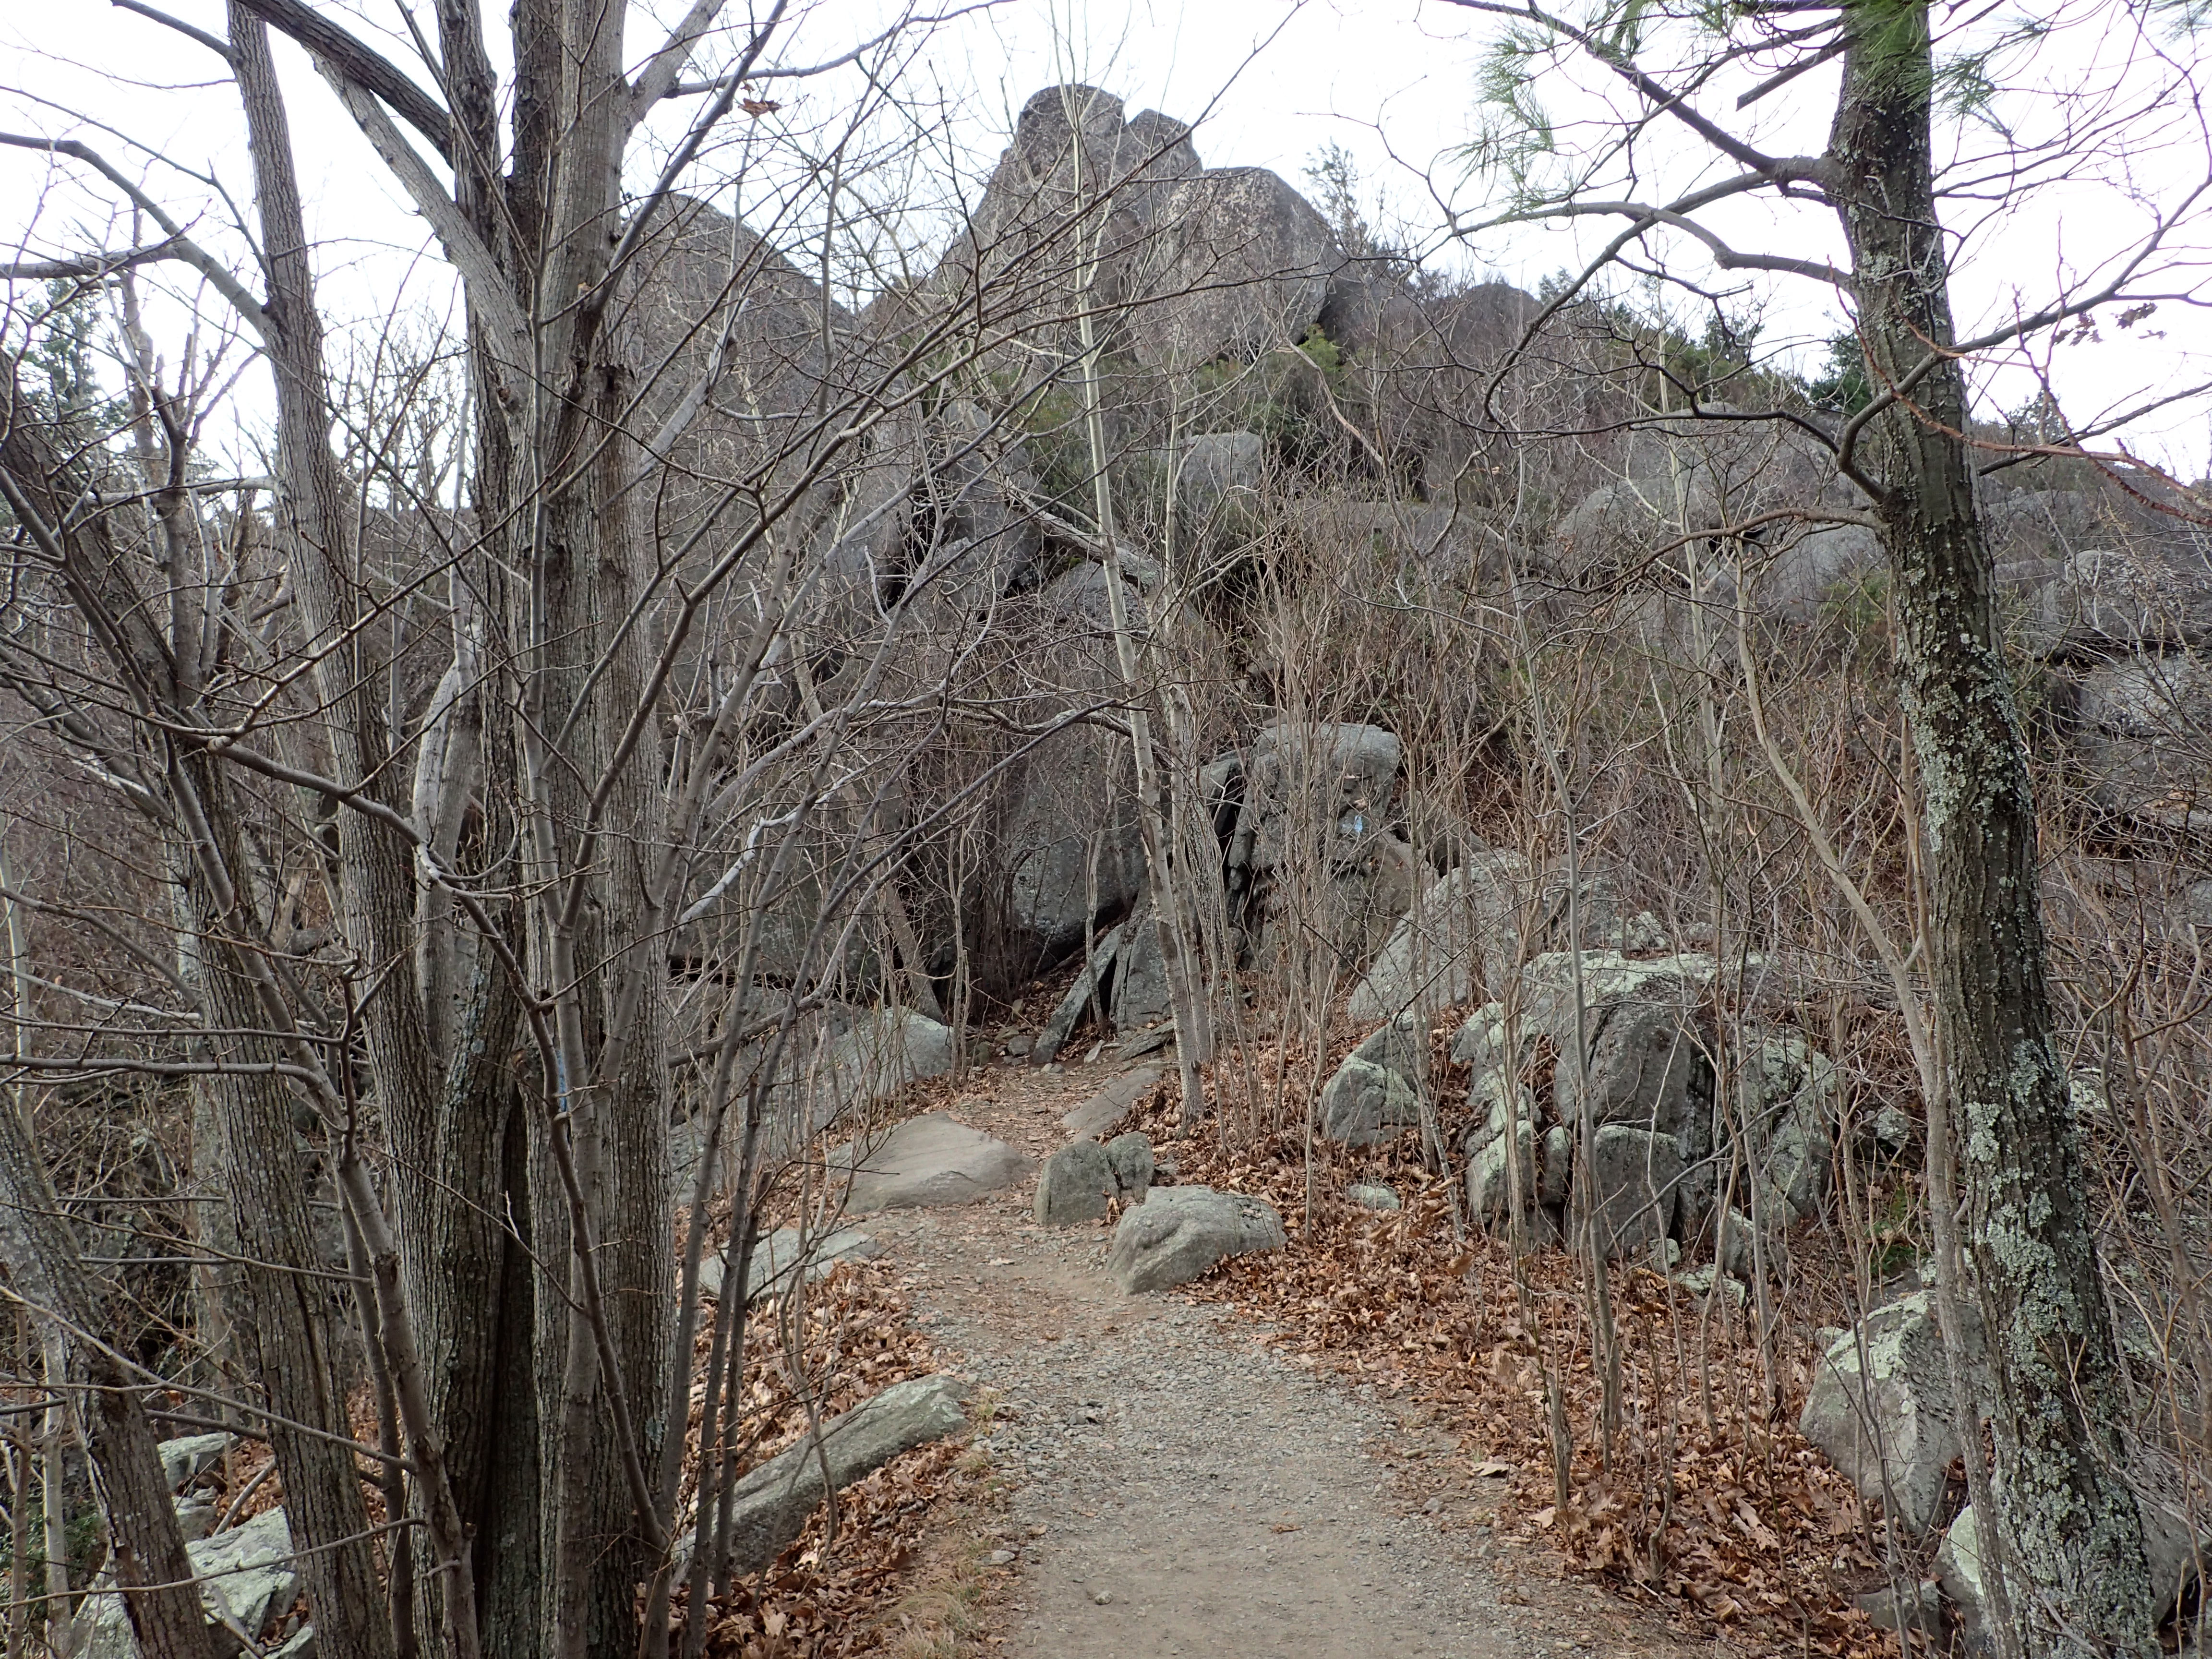
Once we were past the switchbacks we made it to the top of the ridge which we would follow the rest of the way to the summit. The beginning of the ridge starts off in the woods before giving way to the rocky scramble which covers the summit ridge.

The beginning of the rocky ridge scramble.
The rocky section of the hike began at about 2,800ft. At this point until you reach the summit you are hiking primarily over rocky outcrops which cover the top of the ridge. It is this unique feature on such a low elevation which makes hiking Old Rag so memorable. I have hiked plenty of bigger mountains which did not offer the same fun scrambling. Once we got on the rocks it was not very long before we got our first beautiful views of the valley wilderness below.

First view of the valley below.
Once we passed the first overlook we reached the real start of the more “technical” scramble. From here there was quite a bit of ups and downs as we worked our way across the ridge on the way to the summit.
Start of the more true scrambling.
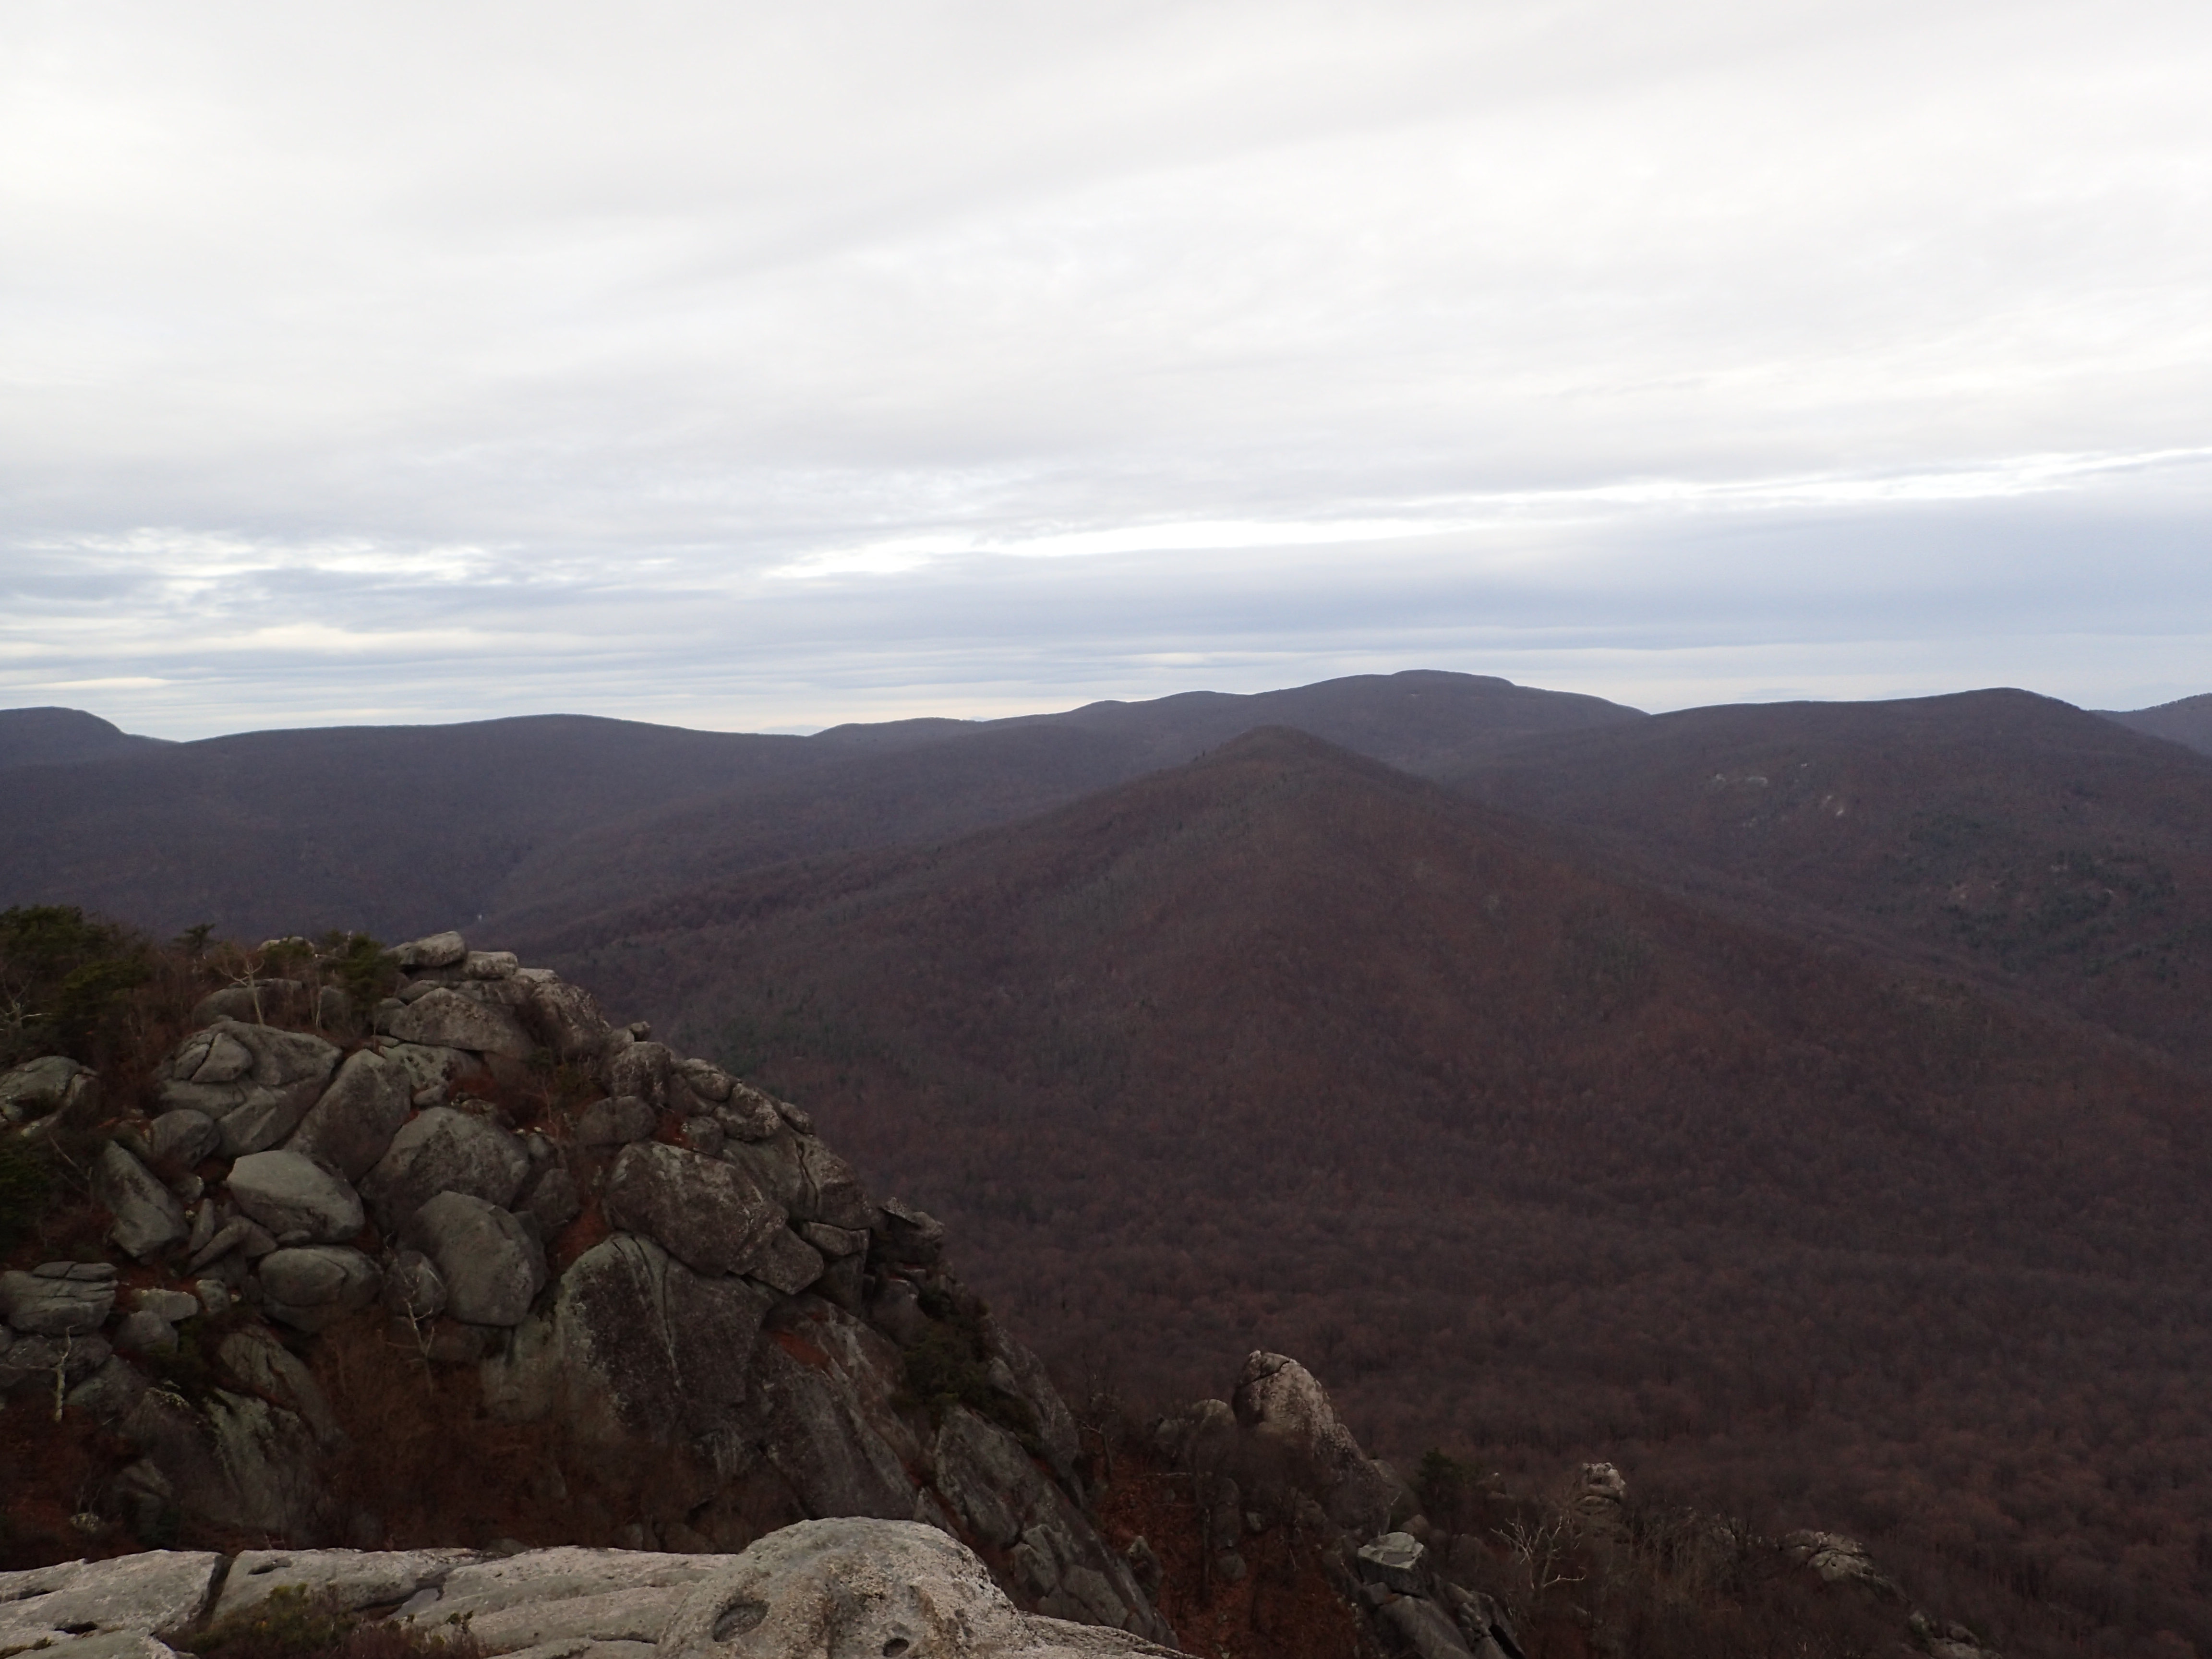
After starting up the rocks it wasn’t very long until we reached the first overlook that was above the trees. This spot offered beautiful views of the surrounding area. However, this was not the summit and the fun was really just beginning from here.

Looking out towards the rest of the ridge from the first overlook.

View from the first overlook at the start of the ridge.
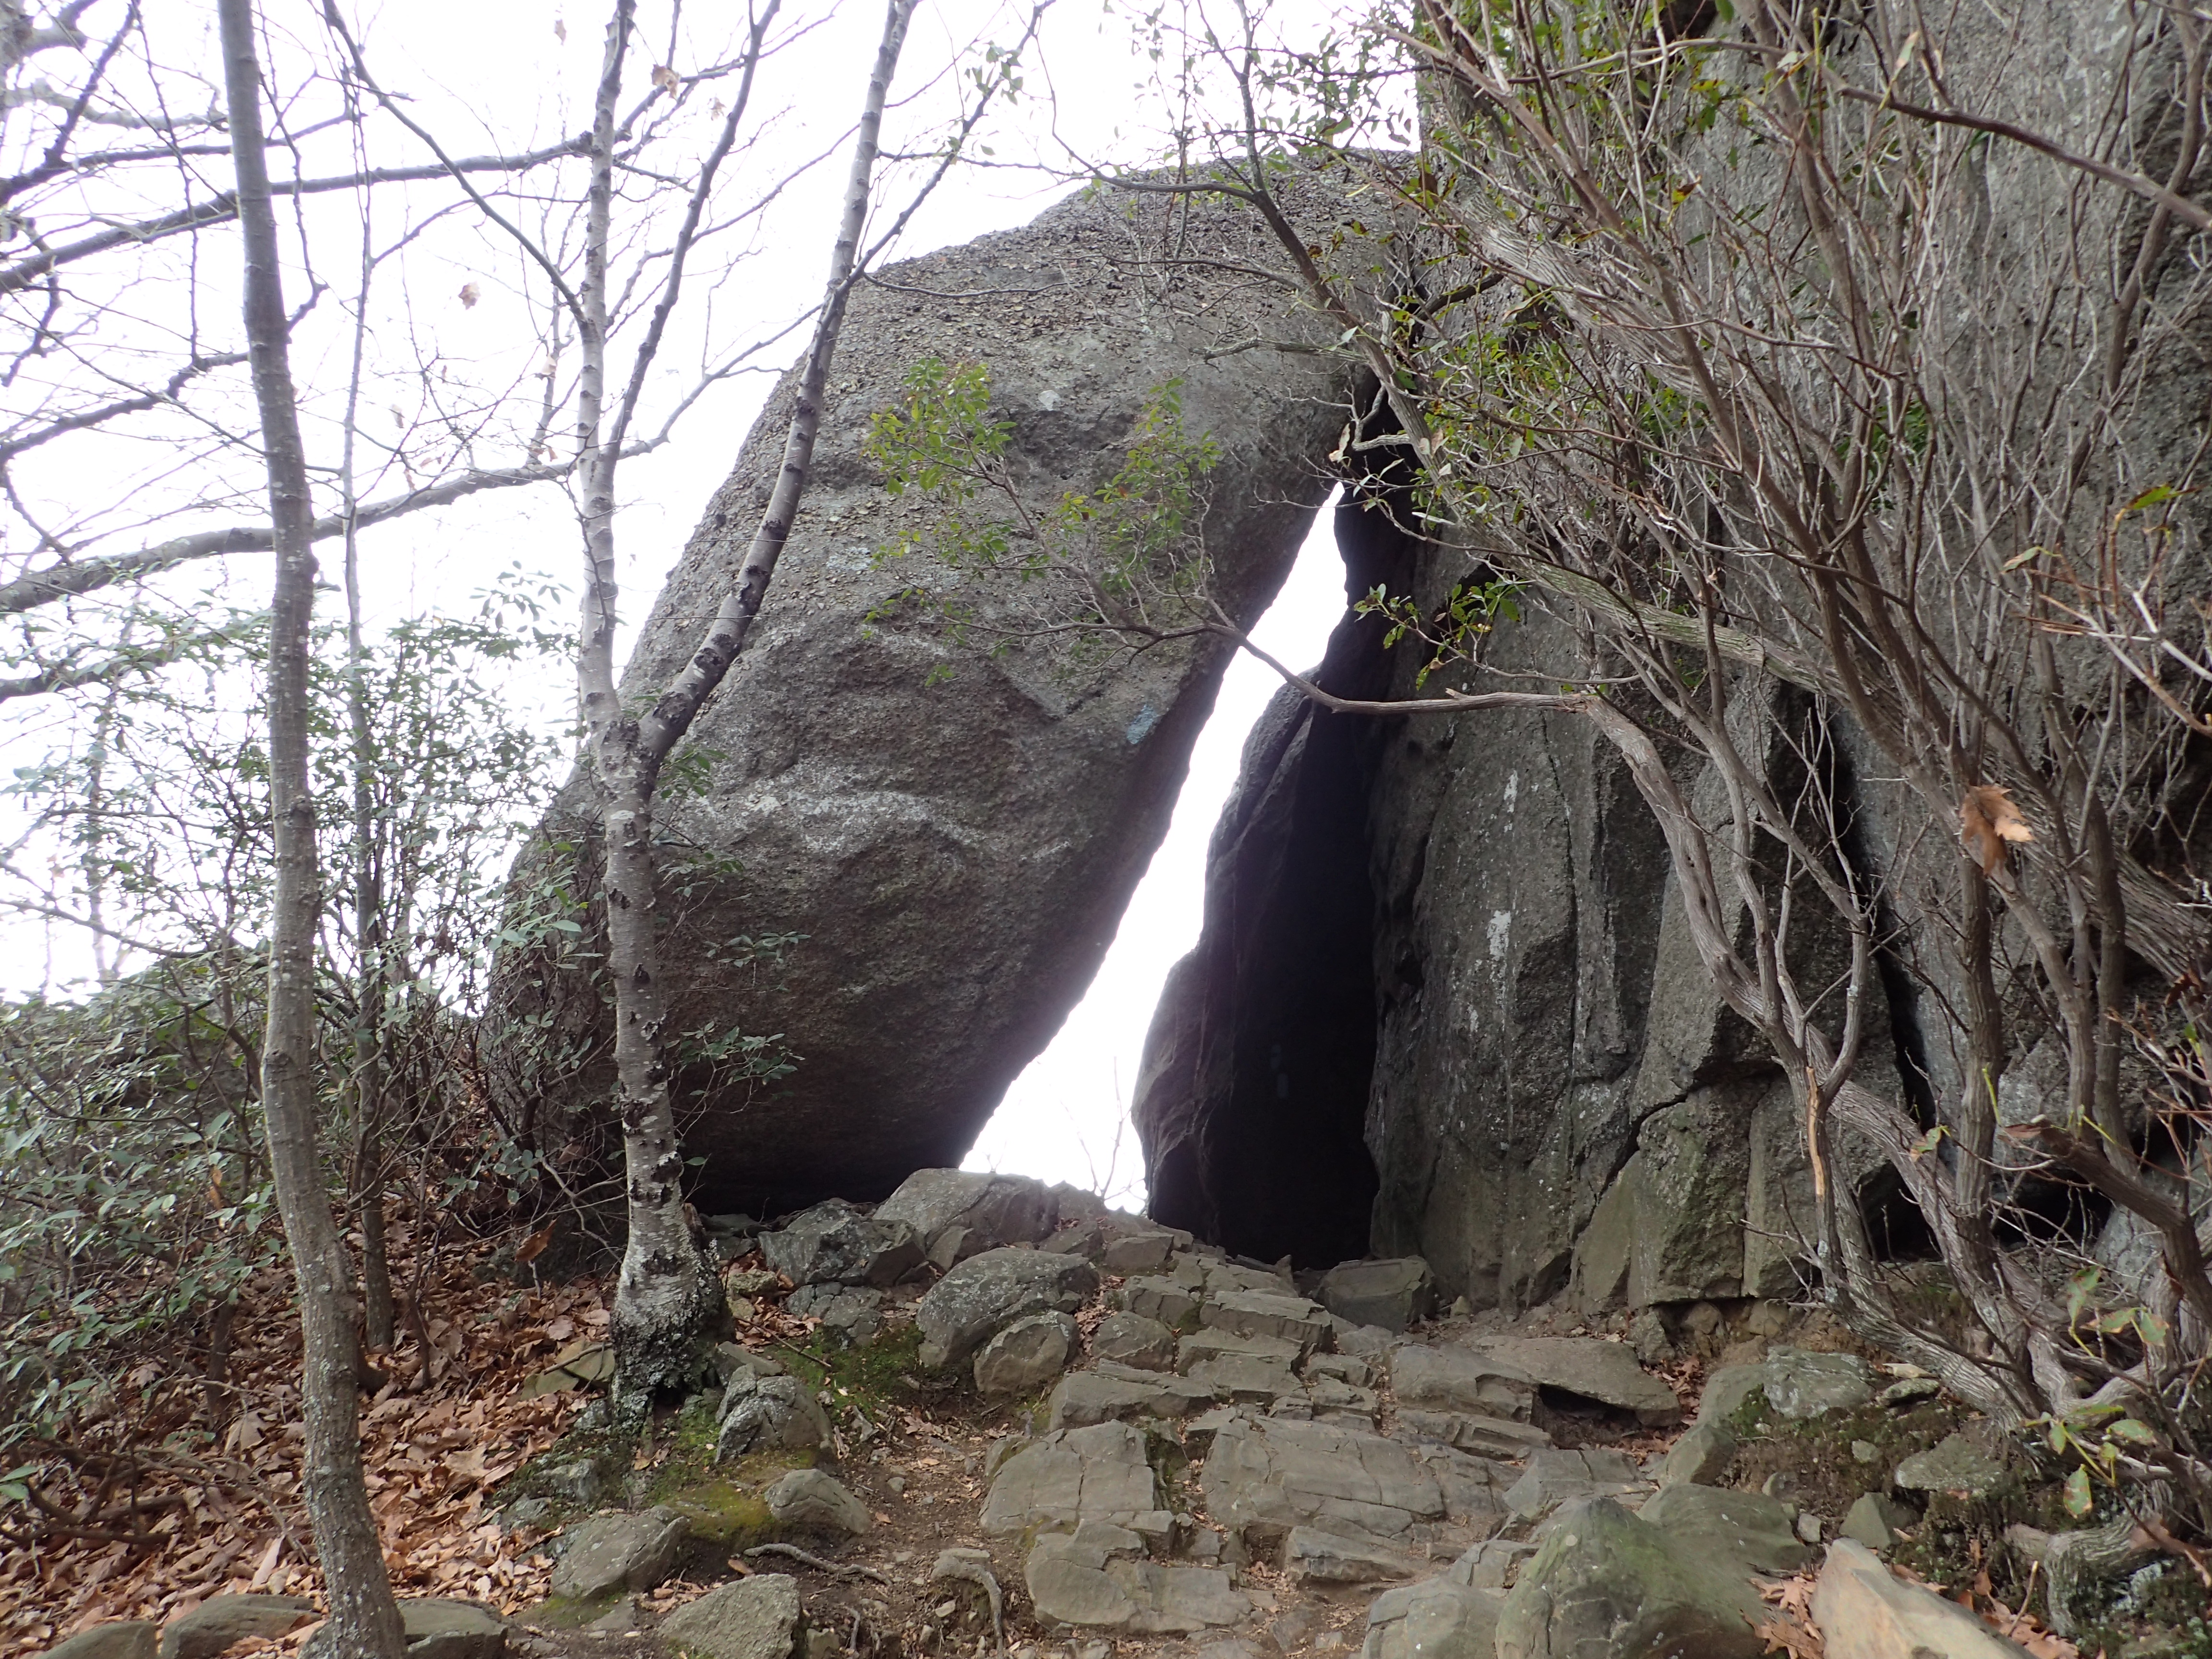
After taking in the views from here for a few minutes we started making our way across the ridge towards to true summit. Right after leaving the overlook you have to drop down into a small col between the first hump and the true summit cone on the way to the top. It is from here that you get to follow a pretty fun and unique path over the ridge.
Just follow the trail markers….yes you need to get down there.
Looking down the trail after dropping down between the rocks.
This section is easier than it might seem when you first look down into the crevice you are dropping into. Just take your time to look for hand and footholds and you should have no problem. Just be careful as you make your way out and around this section as there are some steep drops off the edge. Although there is plenty of space to navigate the ledges so you don’t need to be too concerned. After navigating this section we hiked through a short section of wooded trail.
Wooded trail between the scrambling.
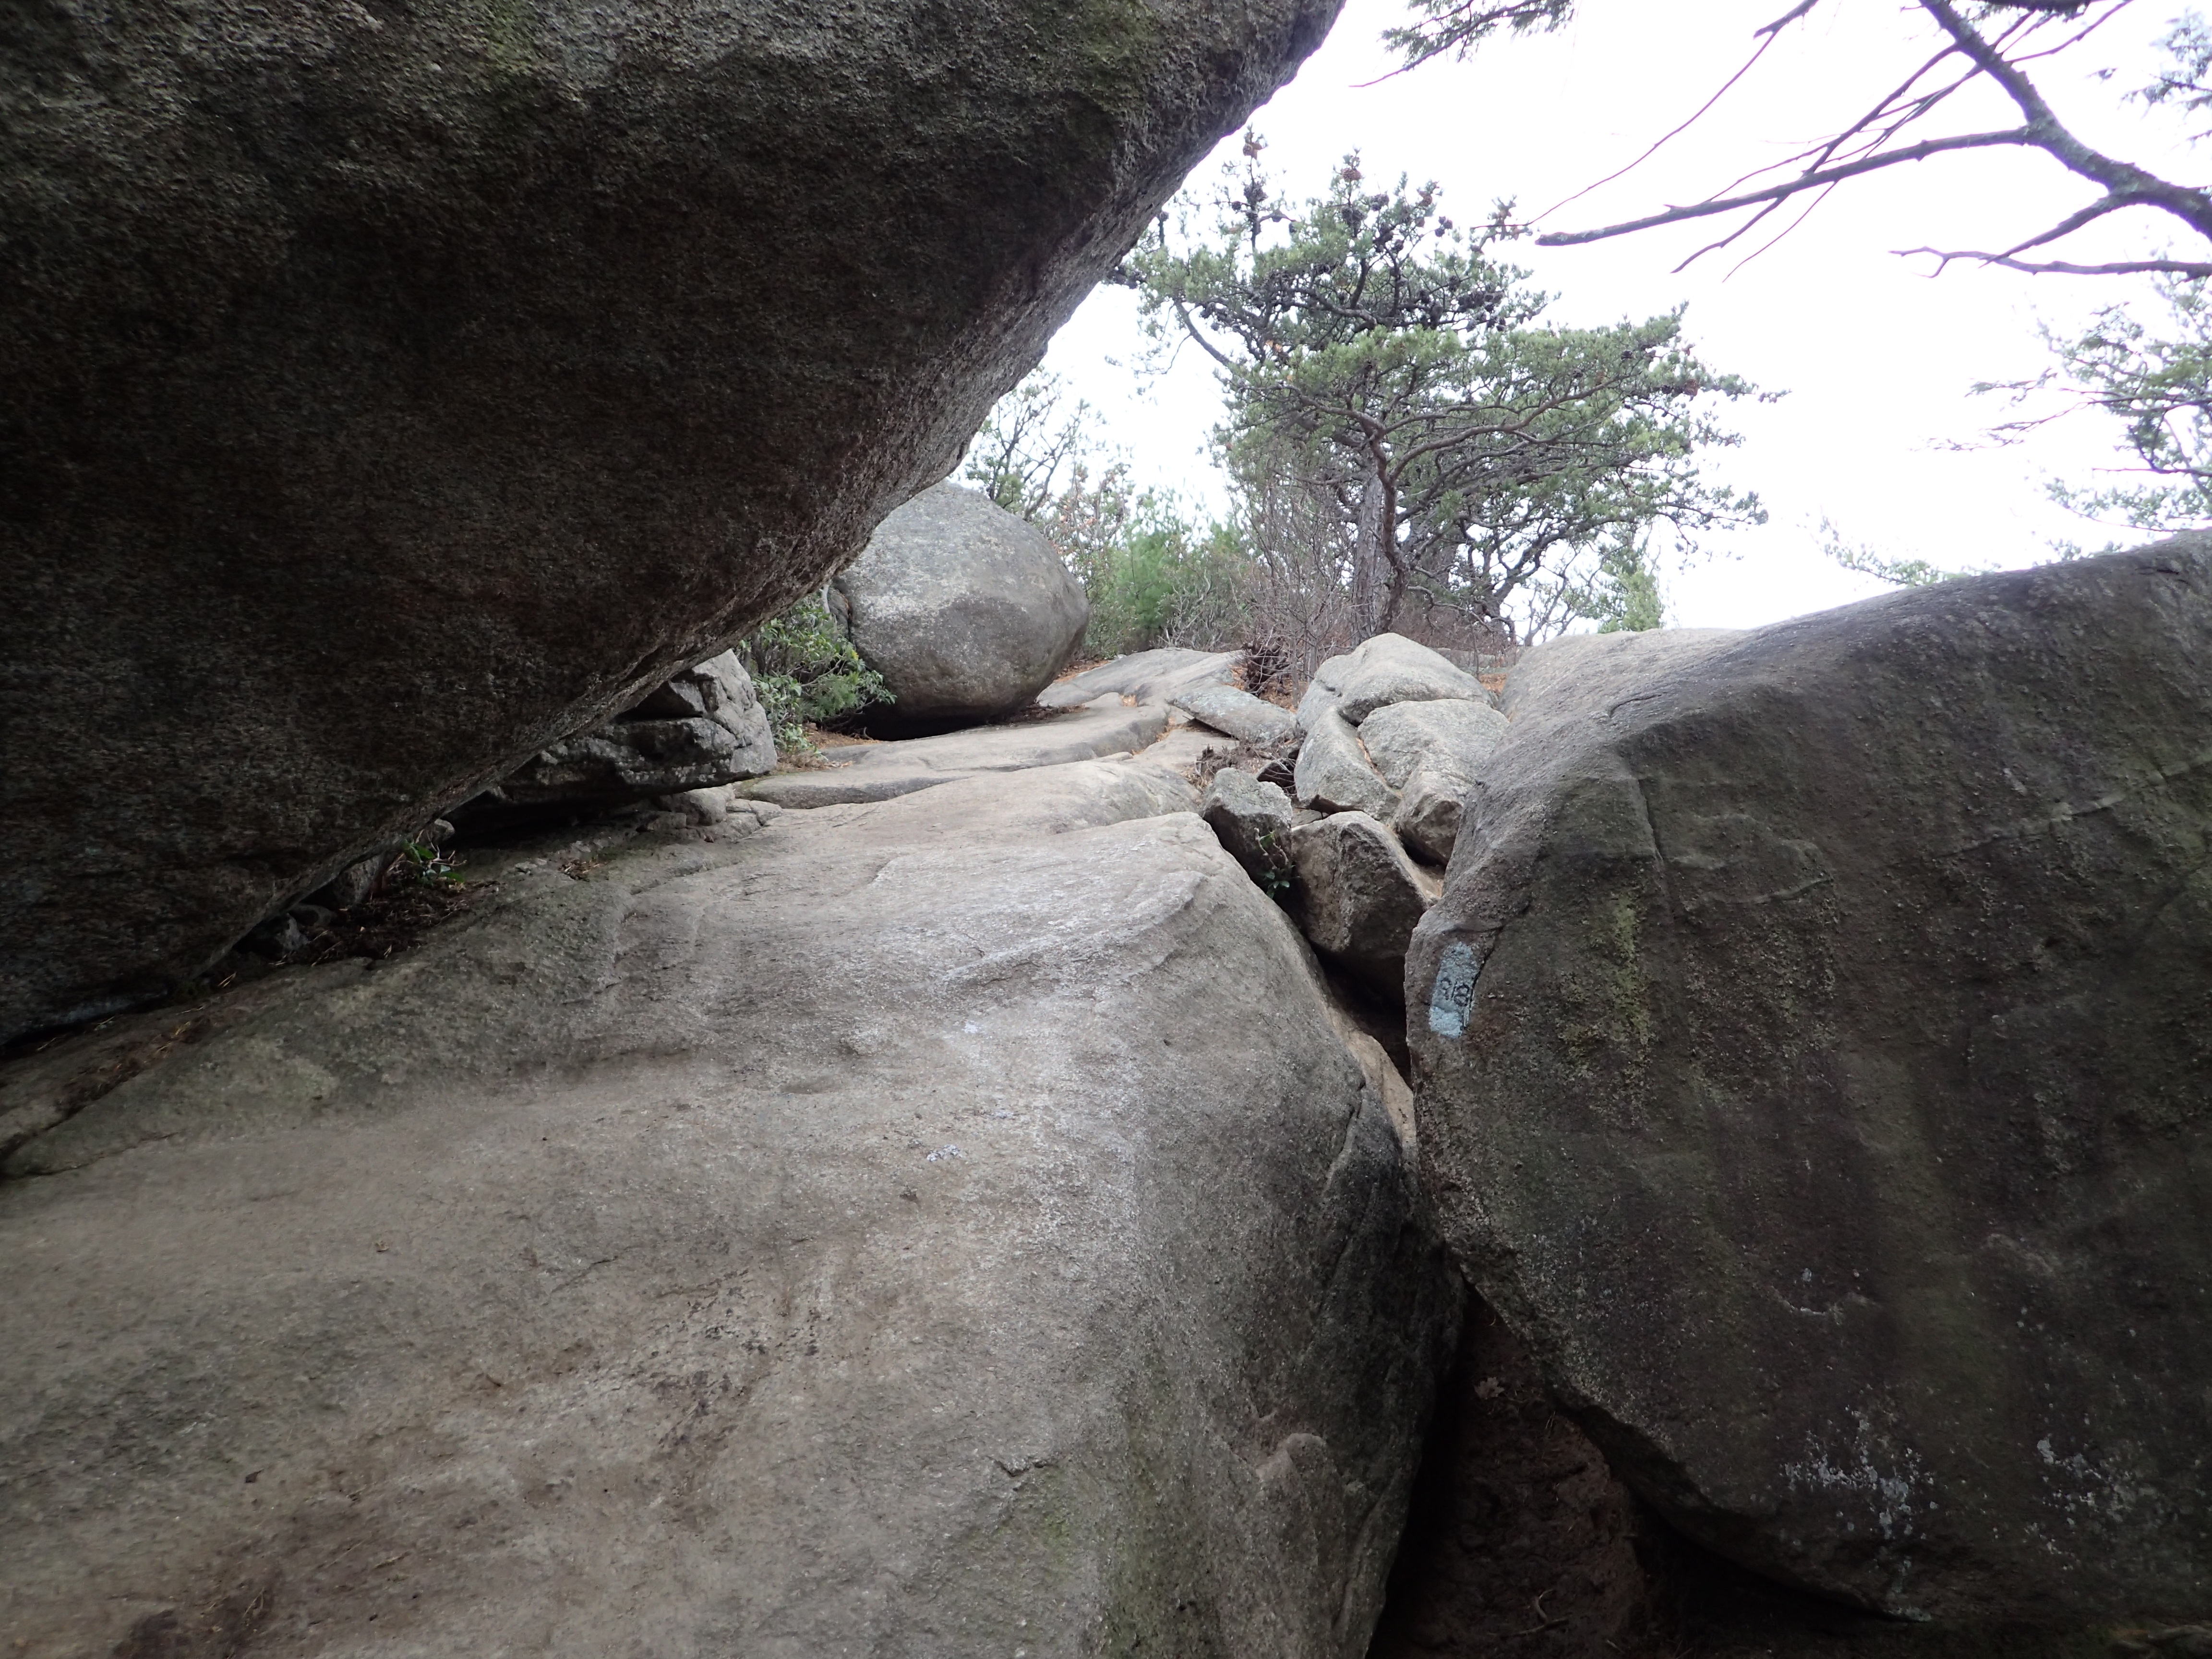
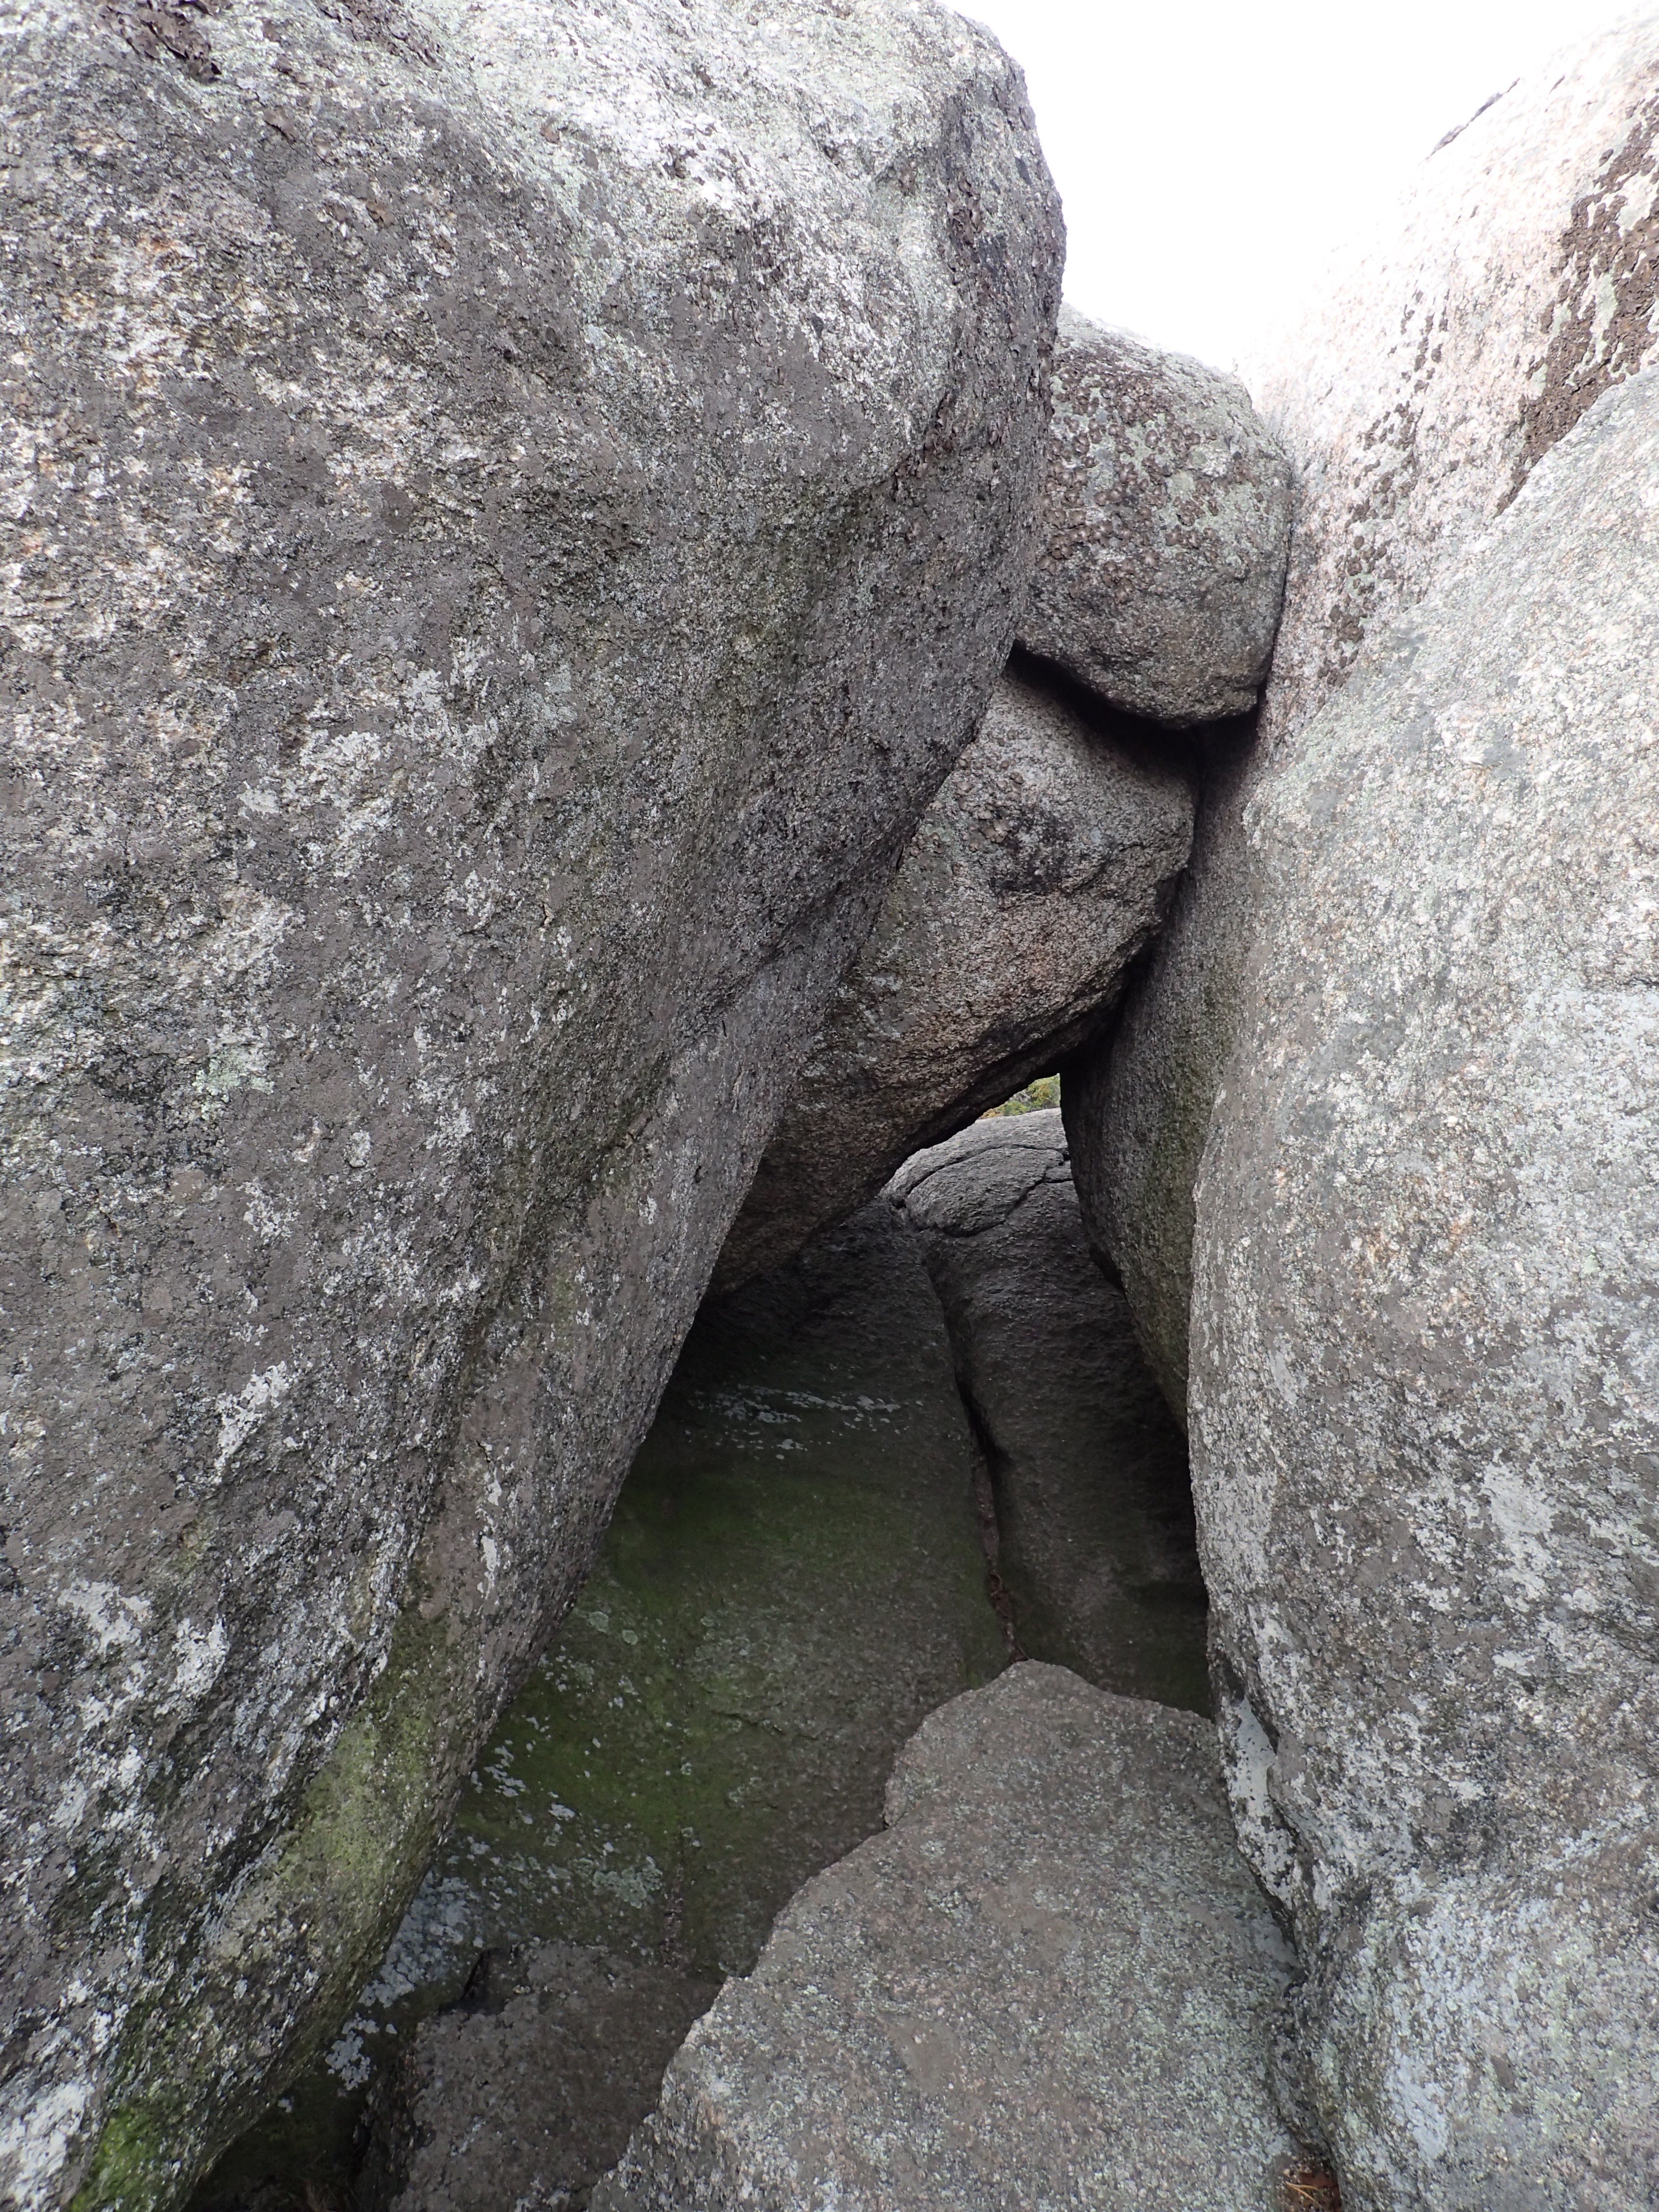
Neatly stacked boulders you have to hike under to continue along the ridge.
After passing under these large boulders which formed a tunnel we rejoined the rocky ridge and continued our way across. From here the scrambling is fairly constant and varied.
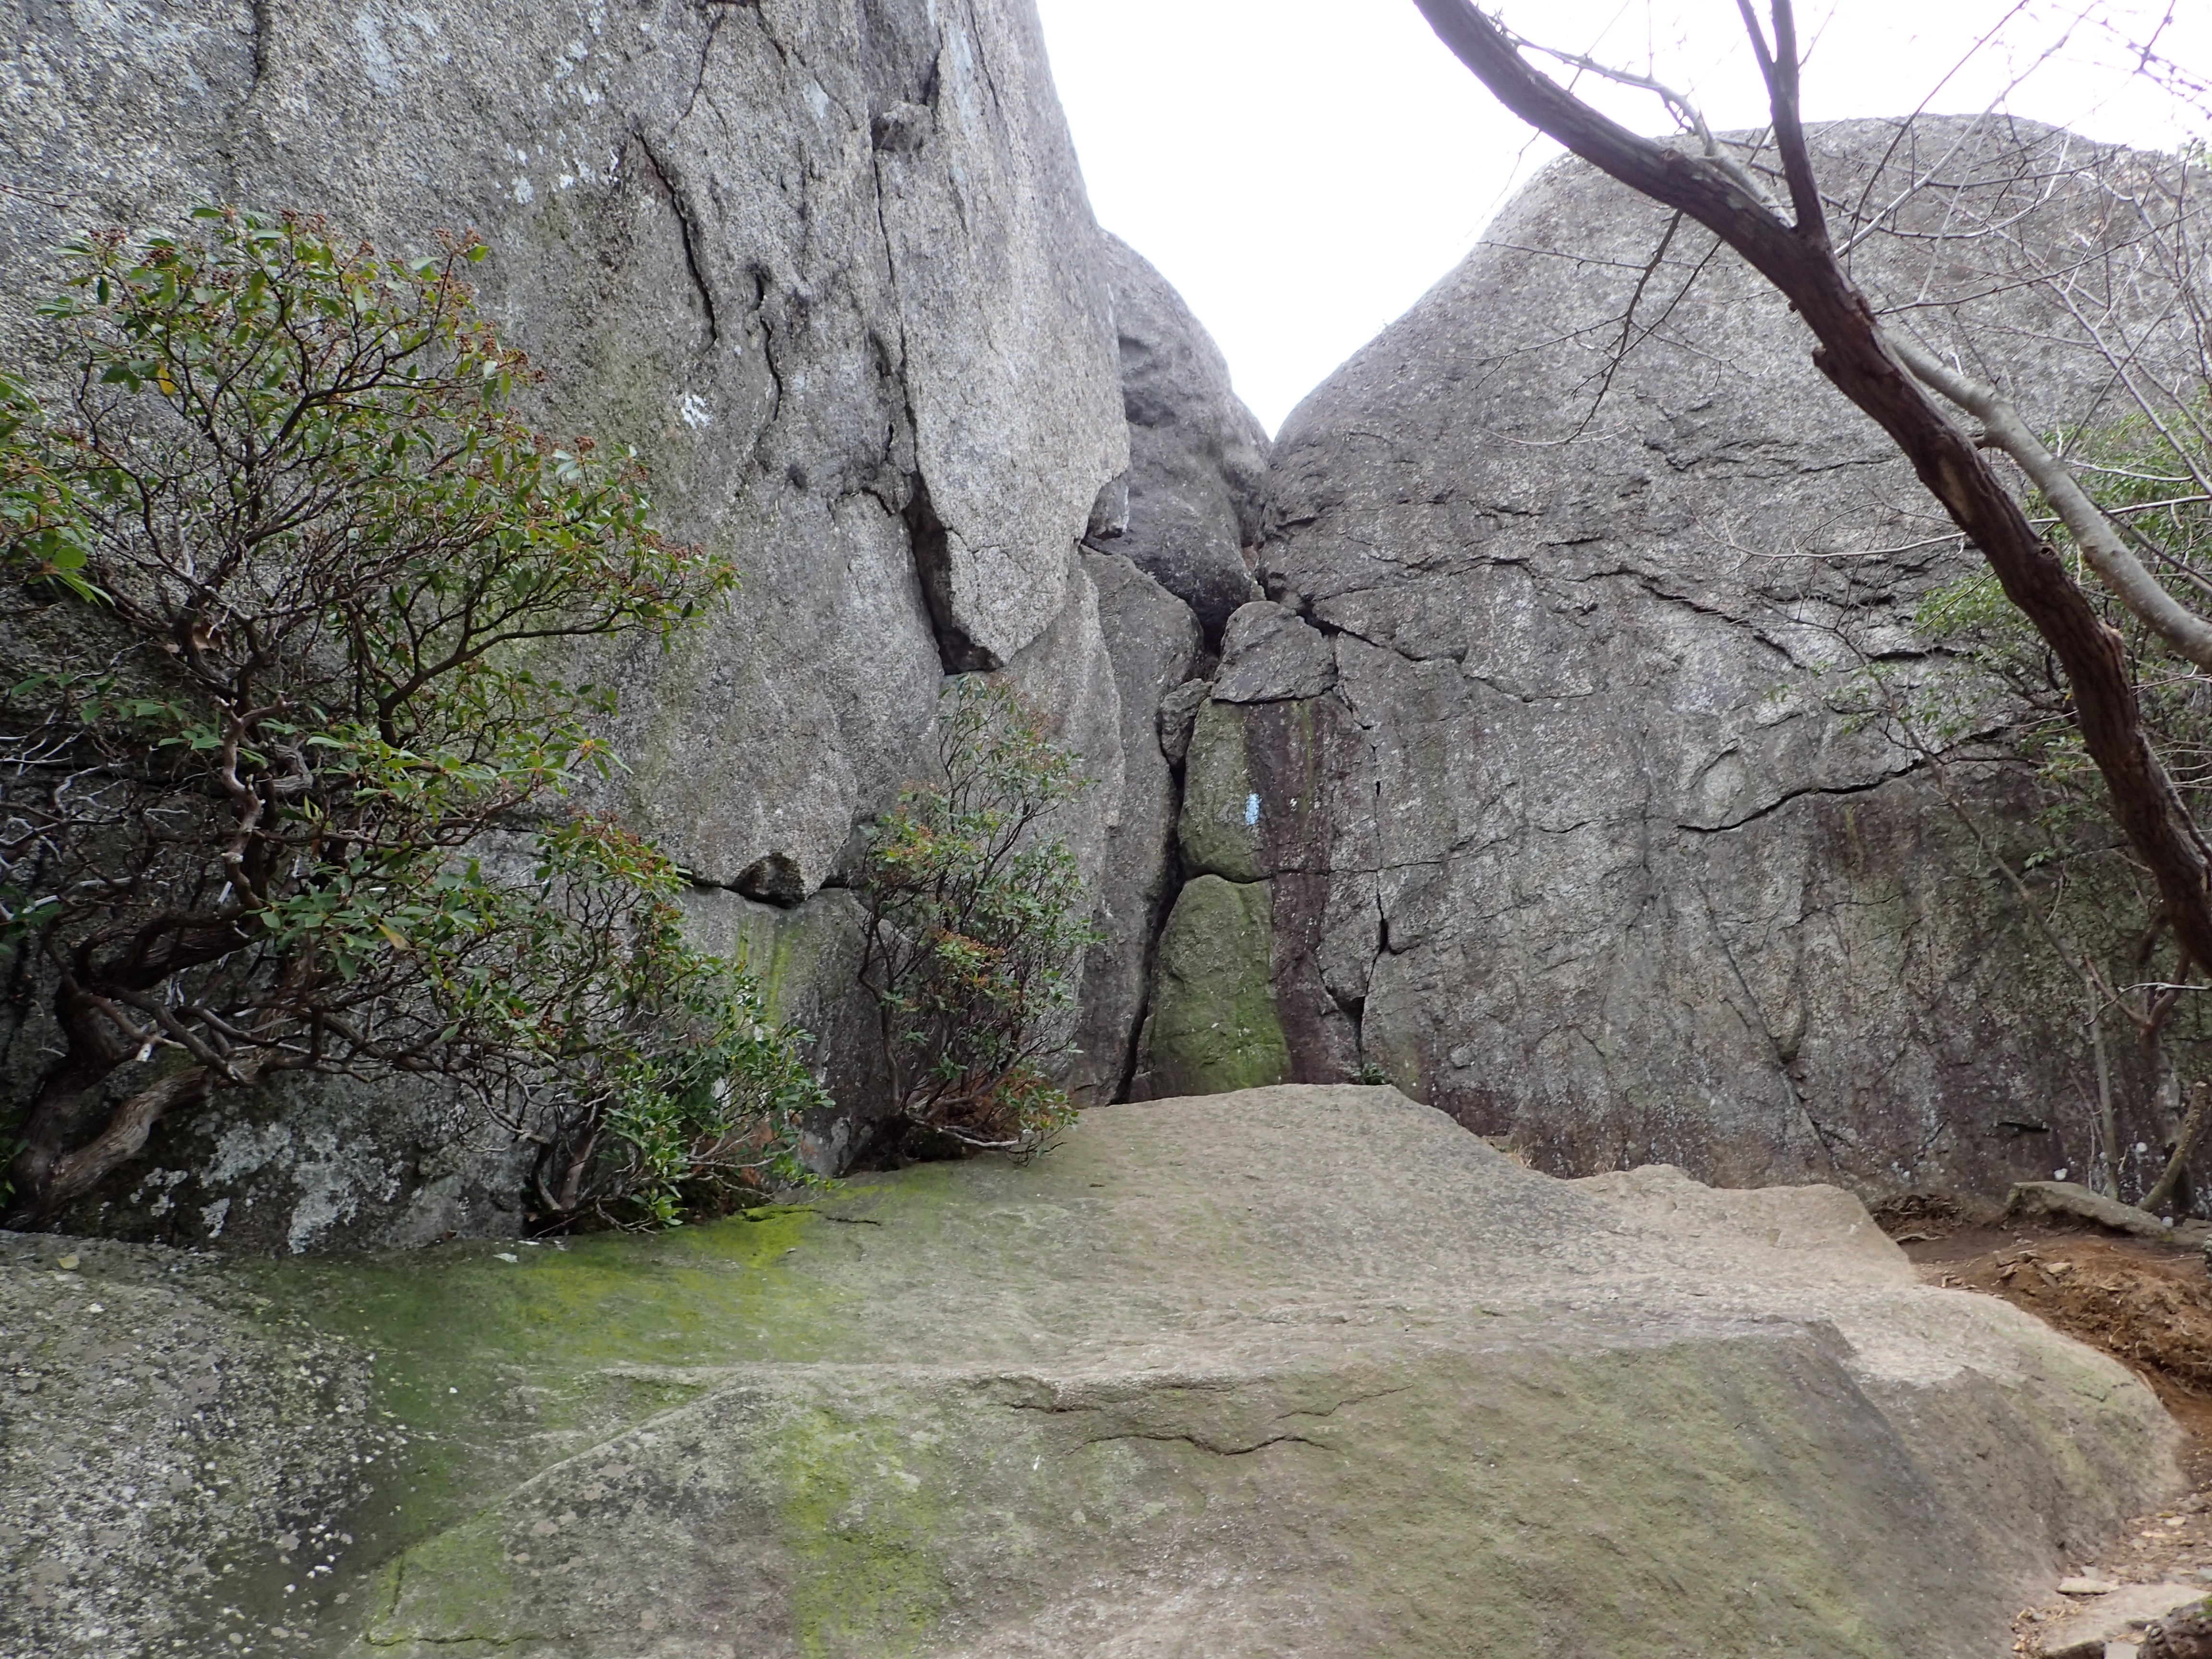
Start of the more continuous scrambling.
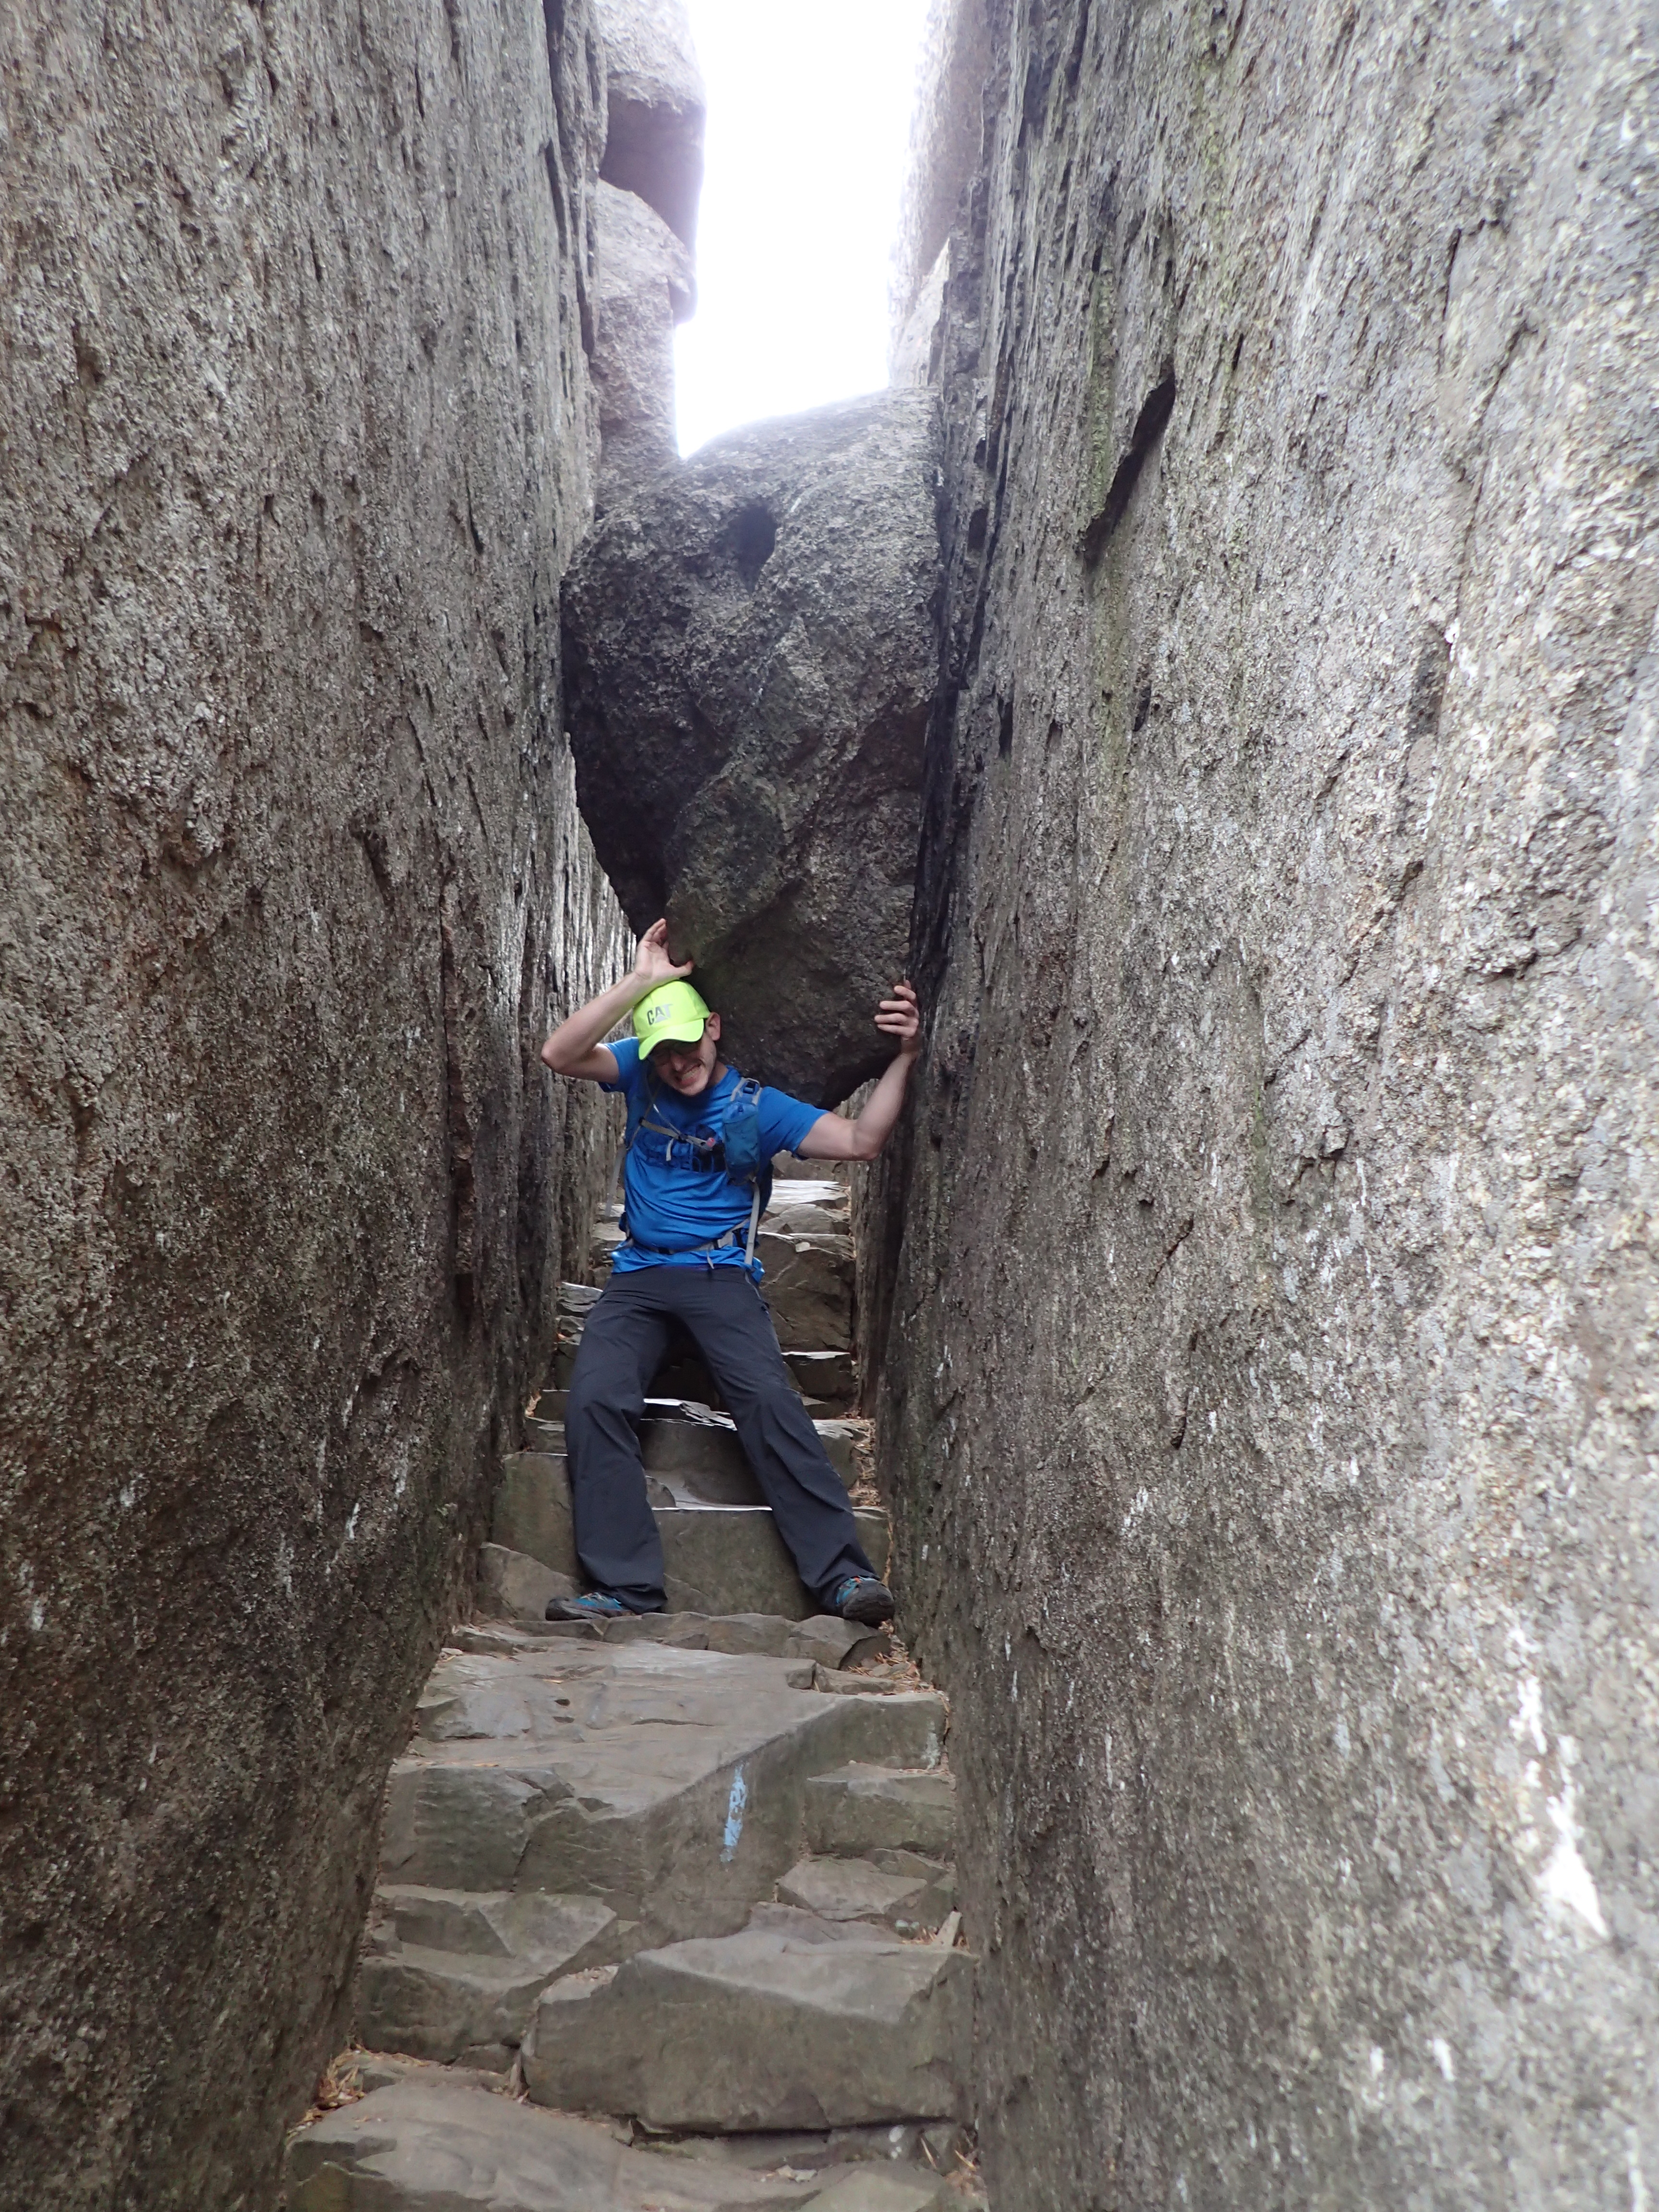
Took some time to show off my strength before continuing along the trail between the rock faces.
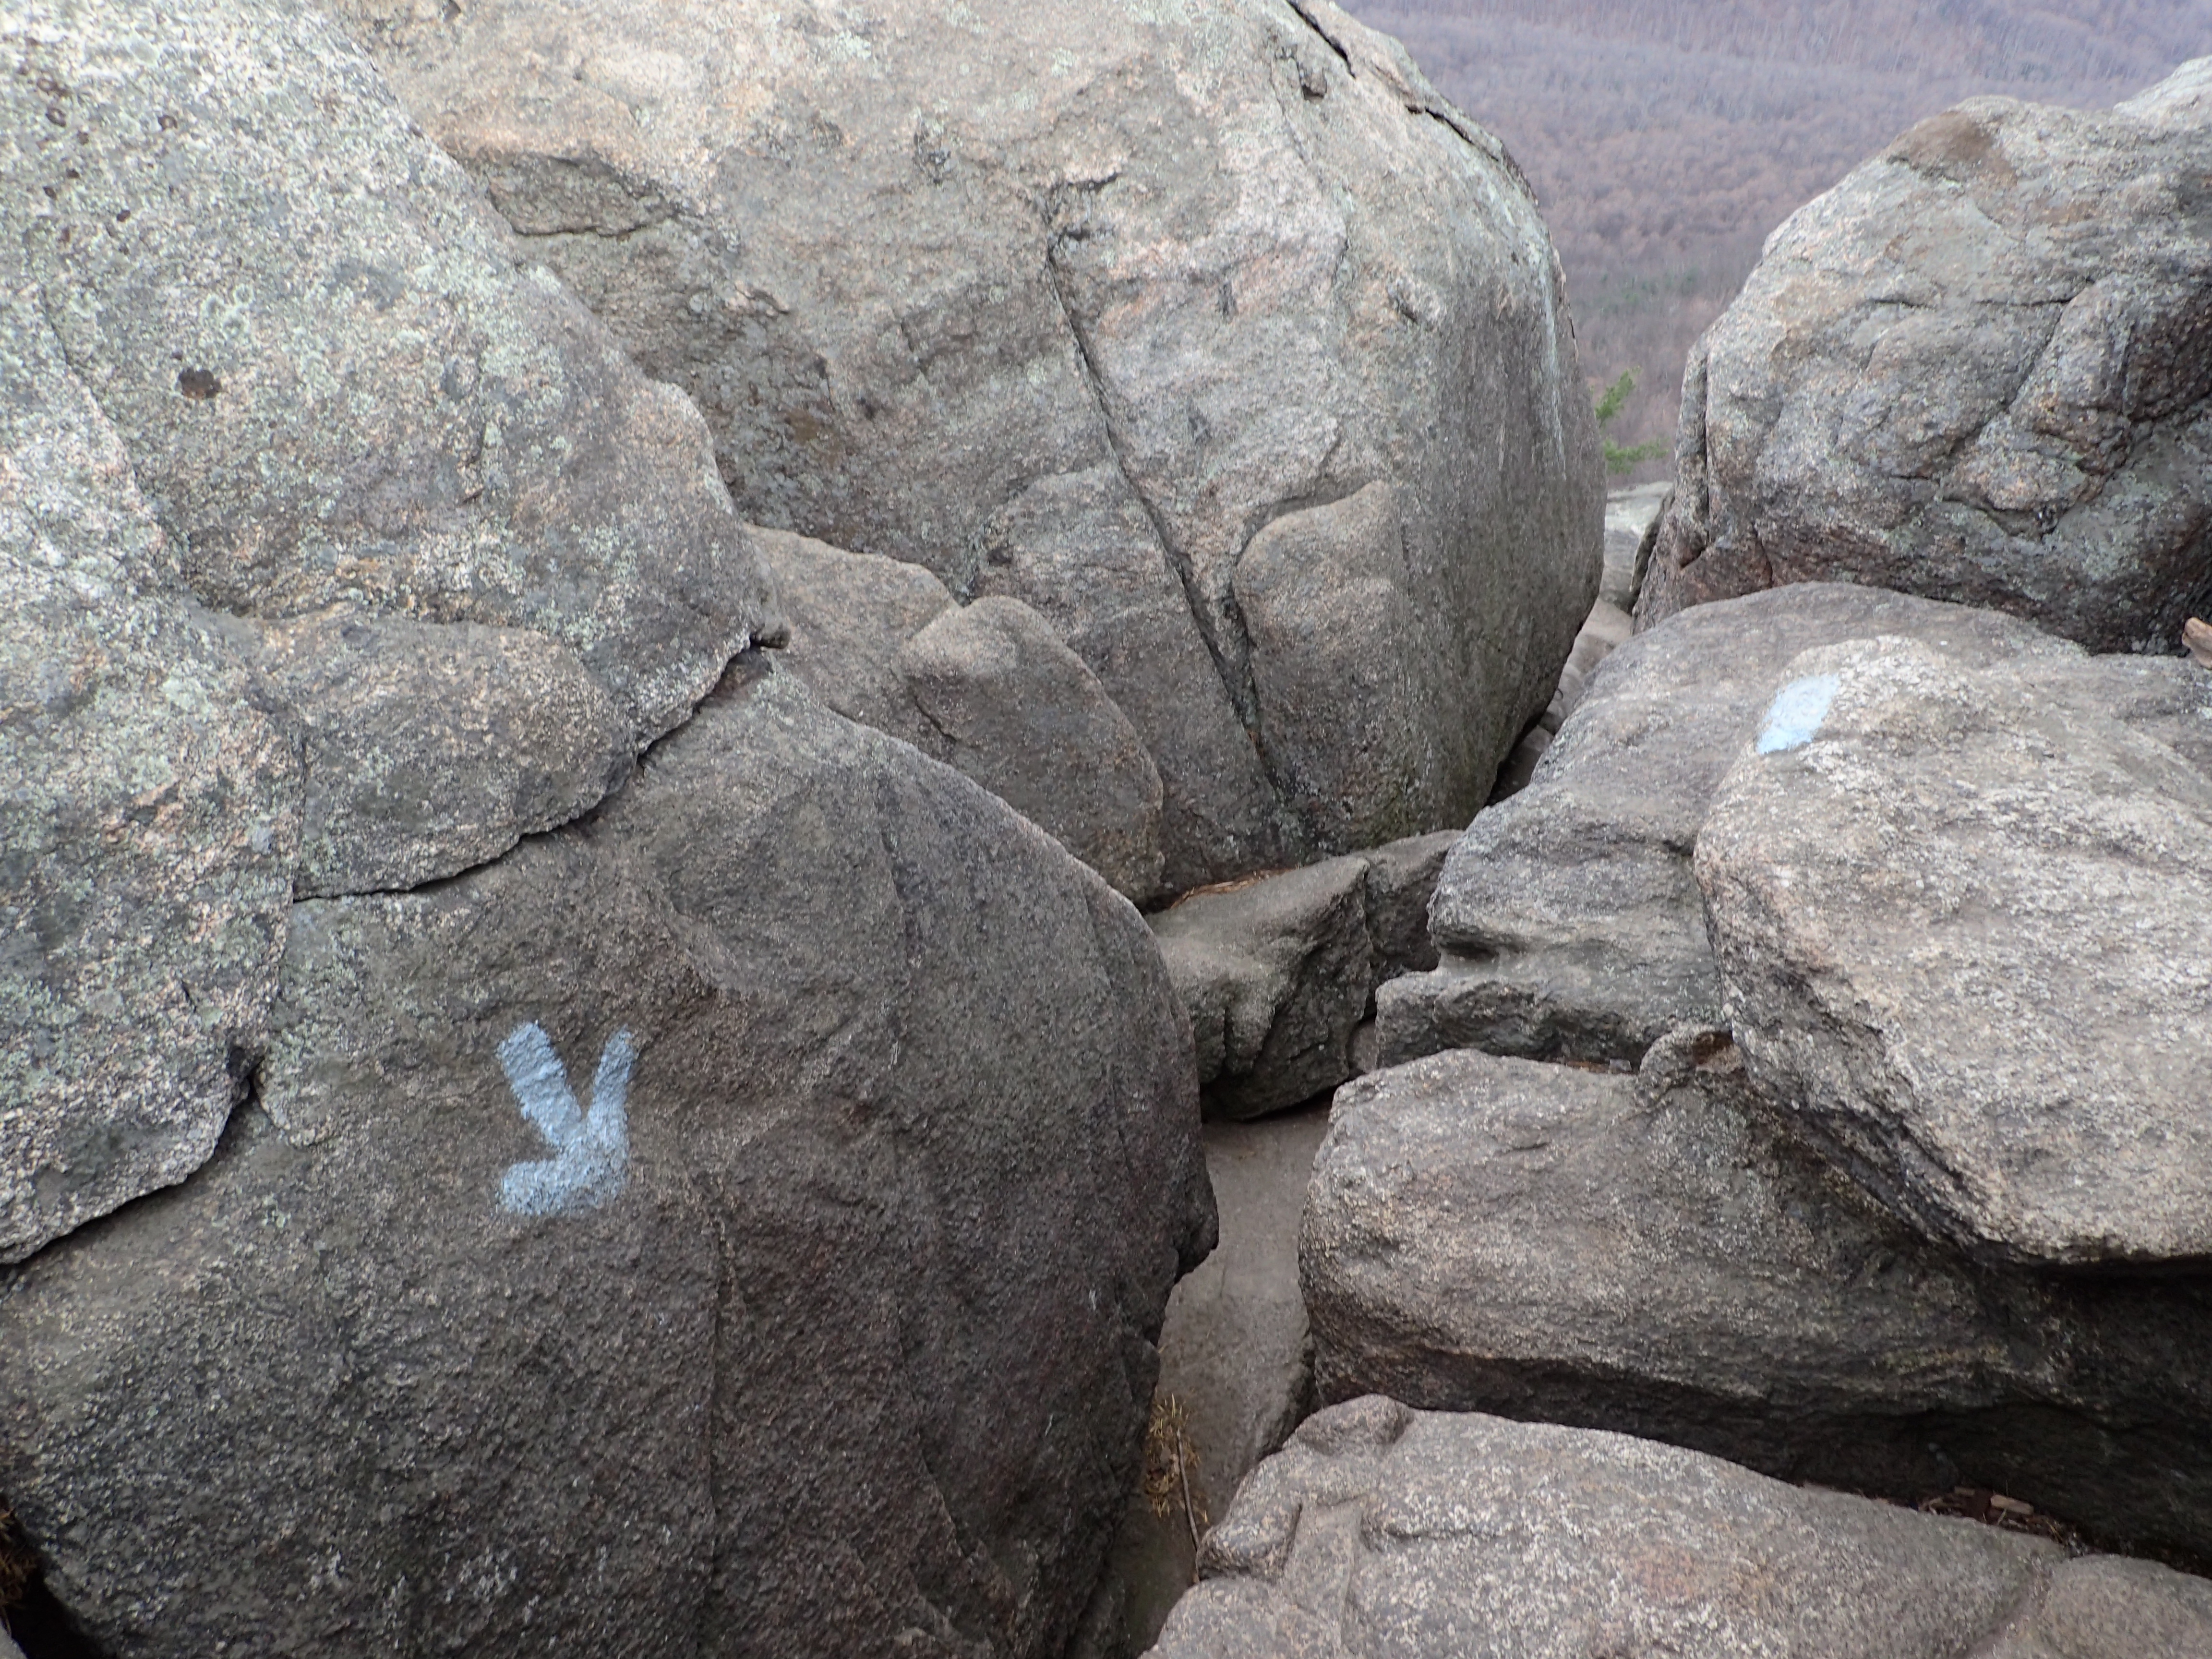
From this point you continue weaving your way along the rocky ridge before reaching the second overlook. This is really the most varied and fun part of the hike.
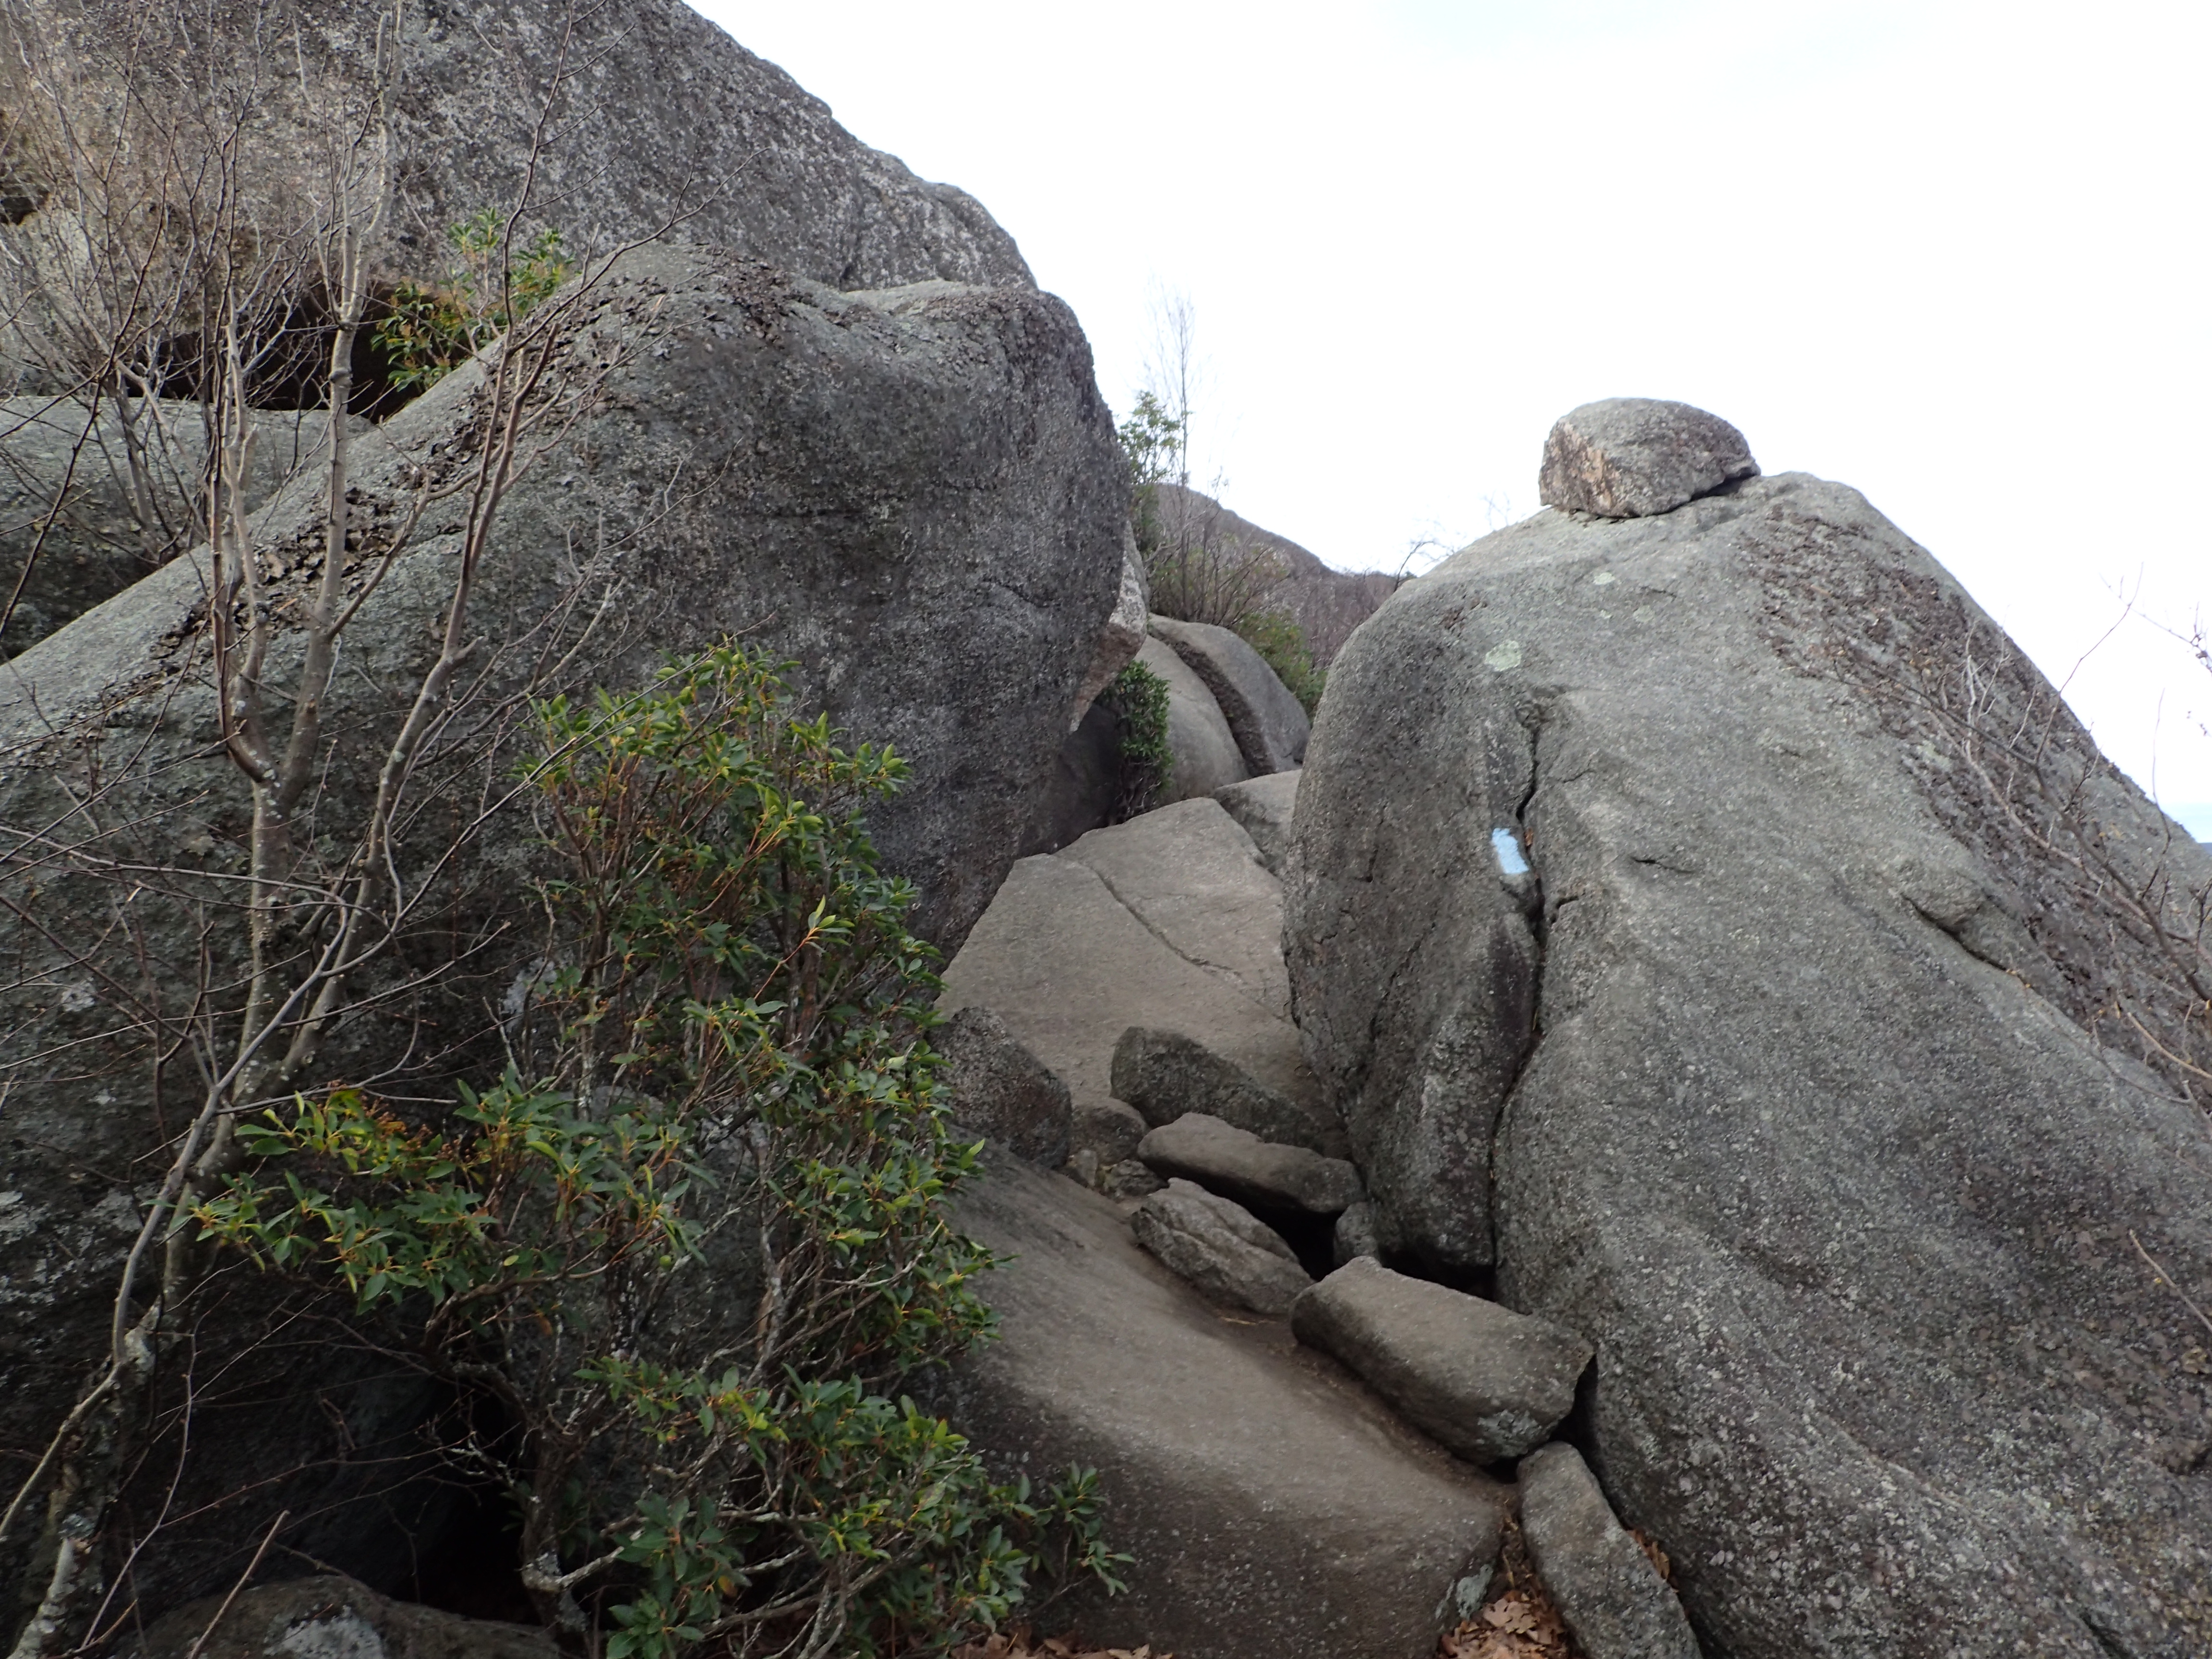
Blue markers guide the way.
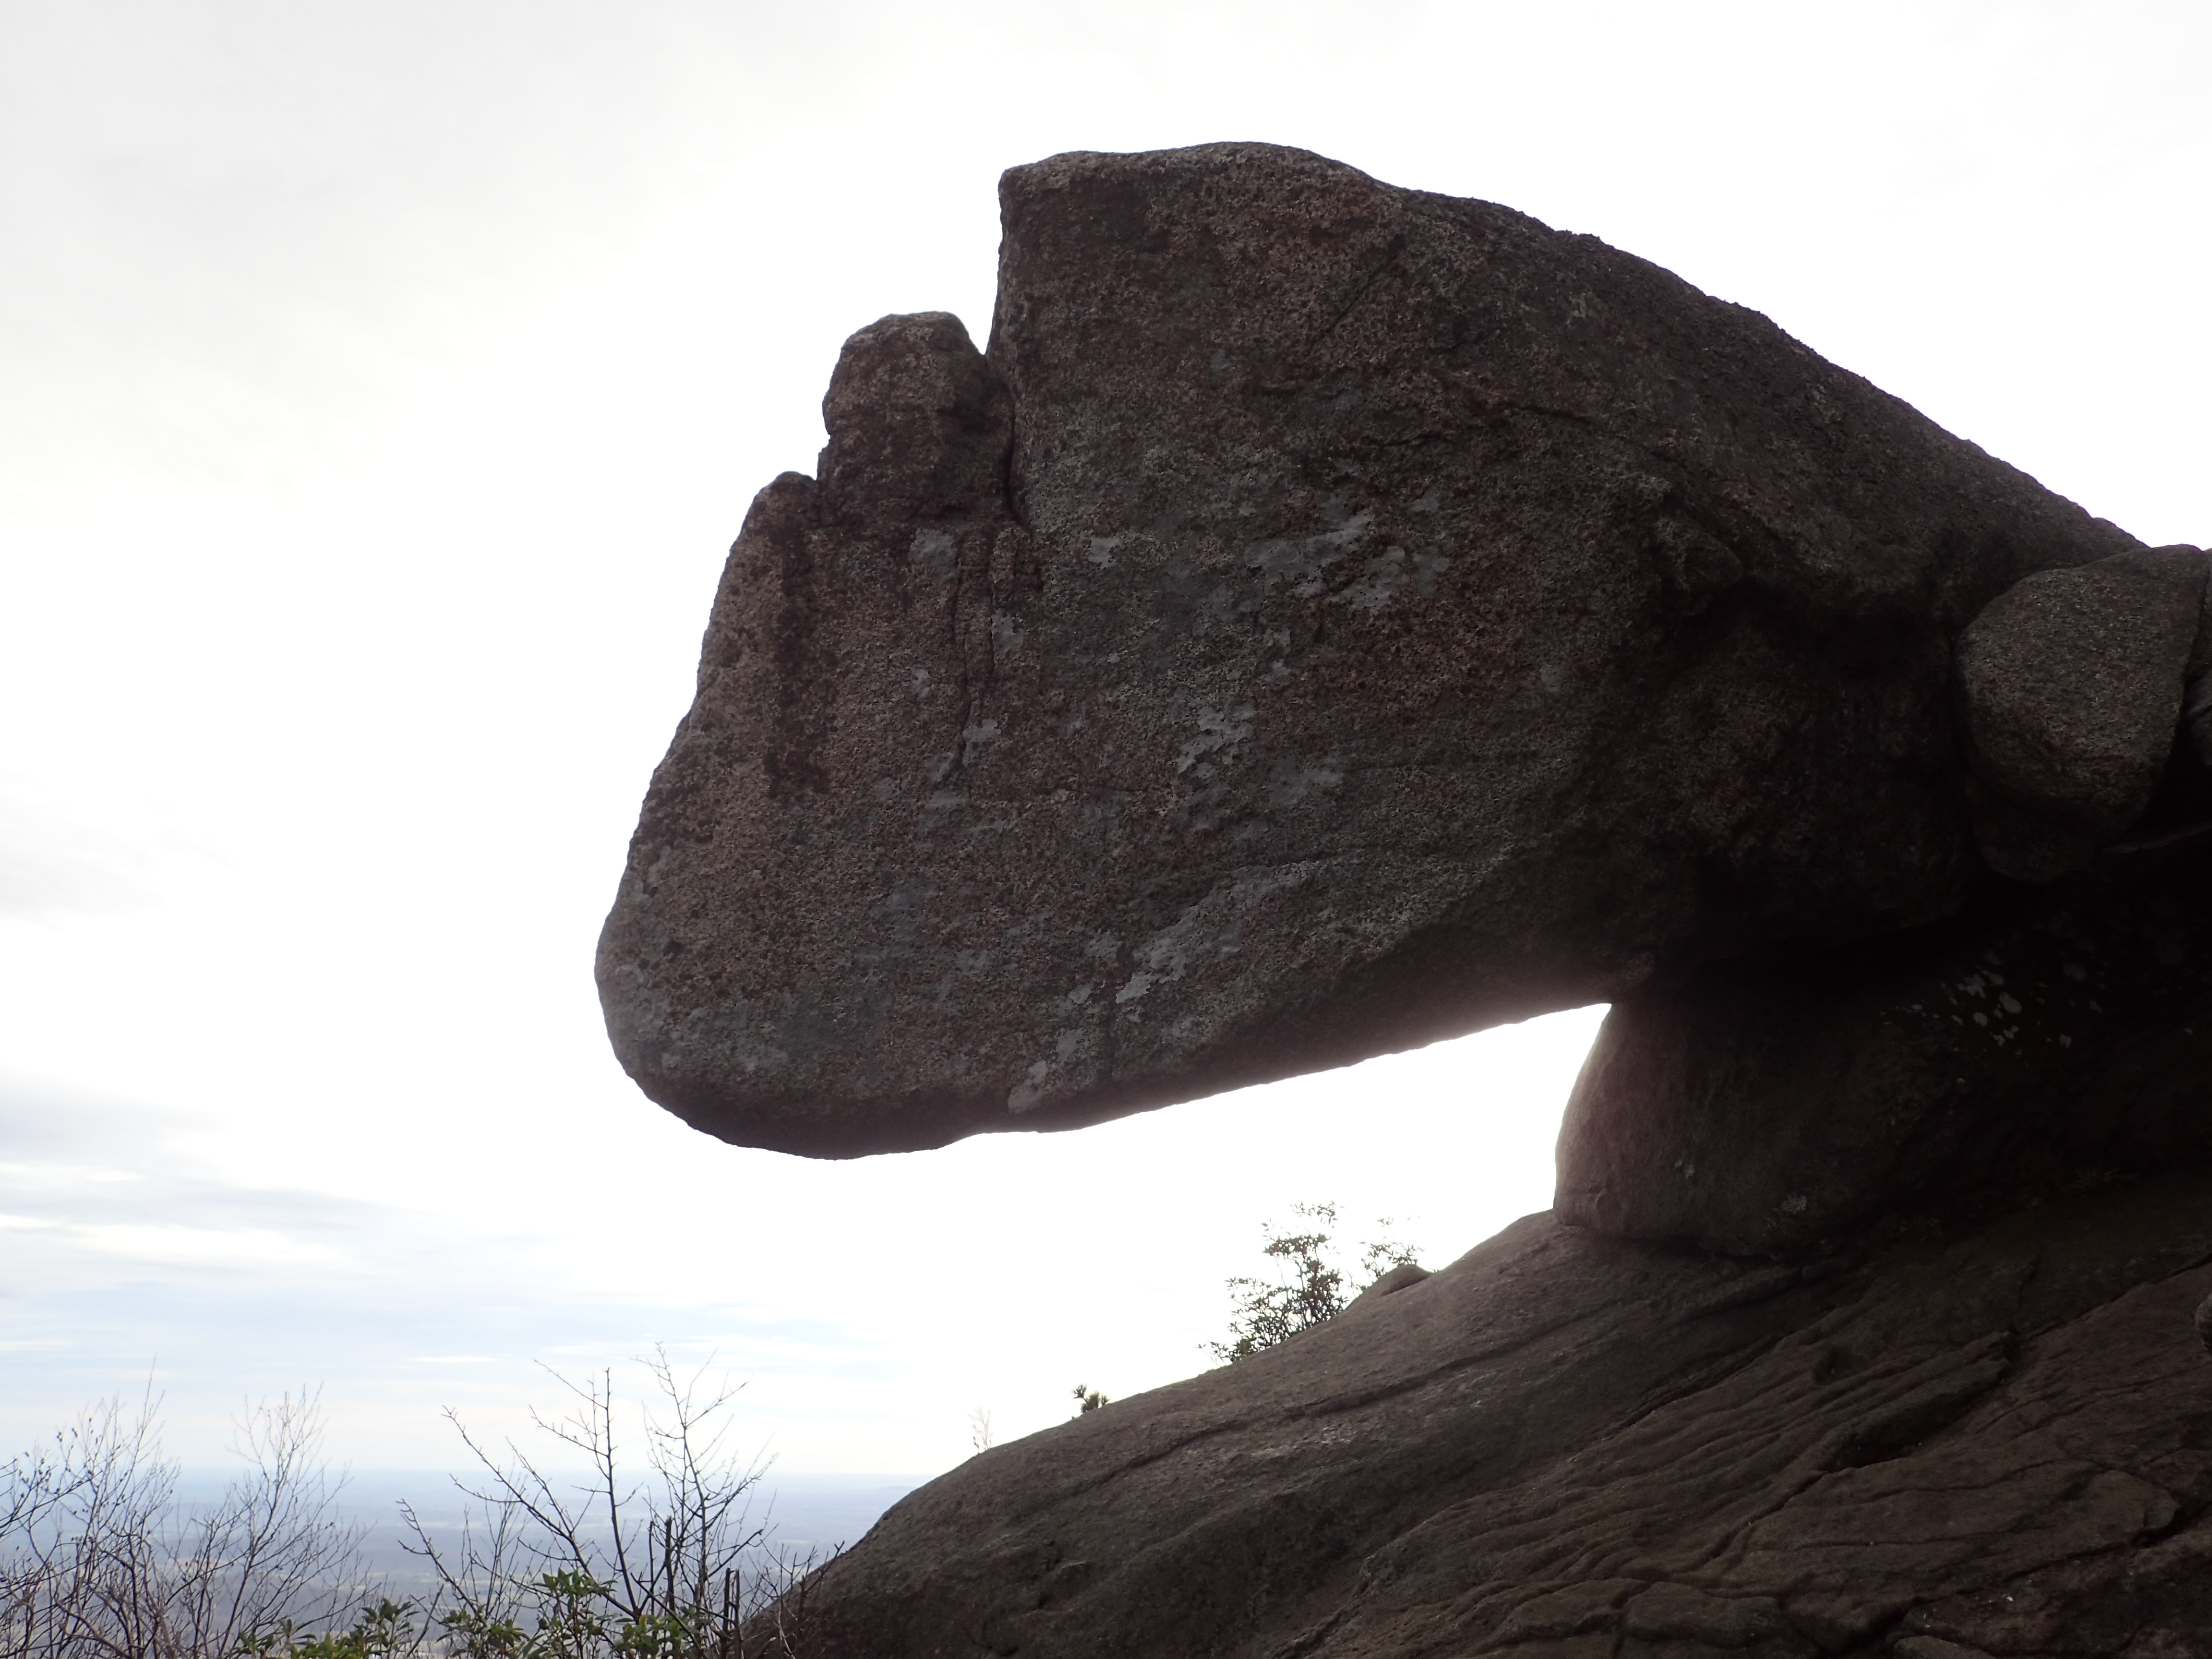
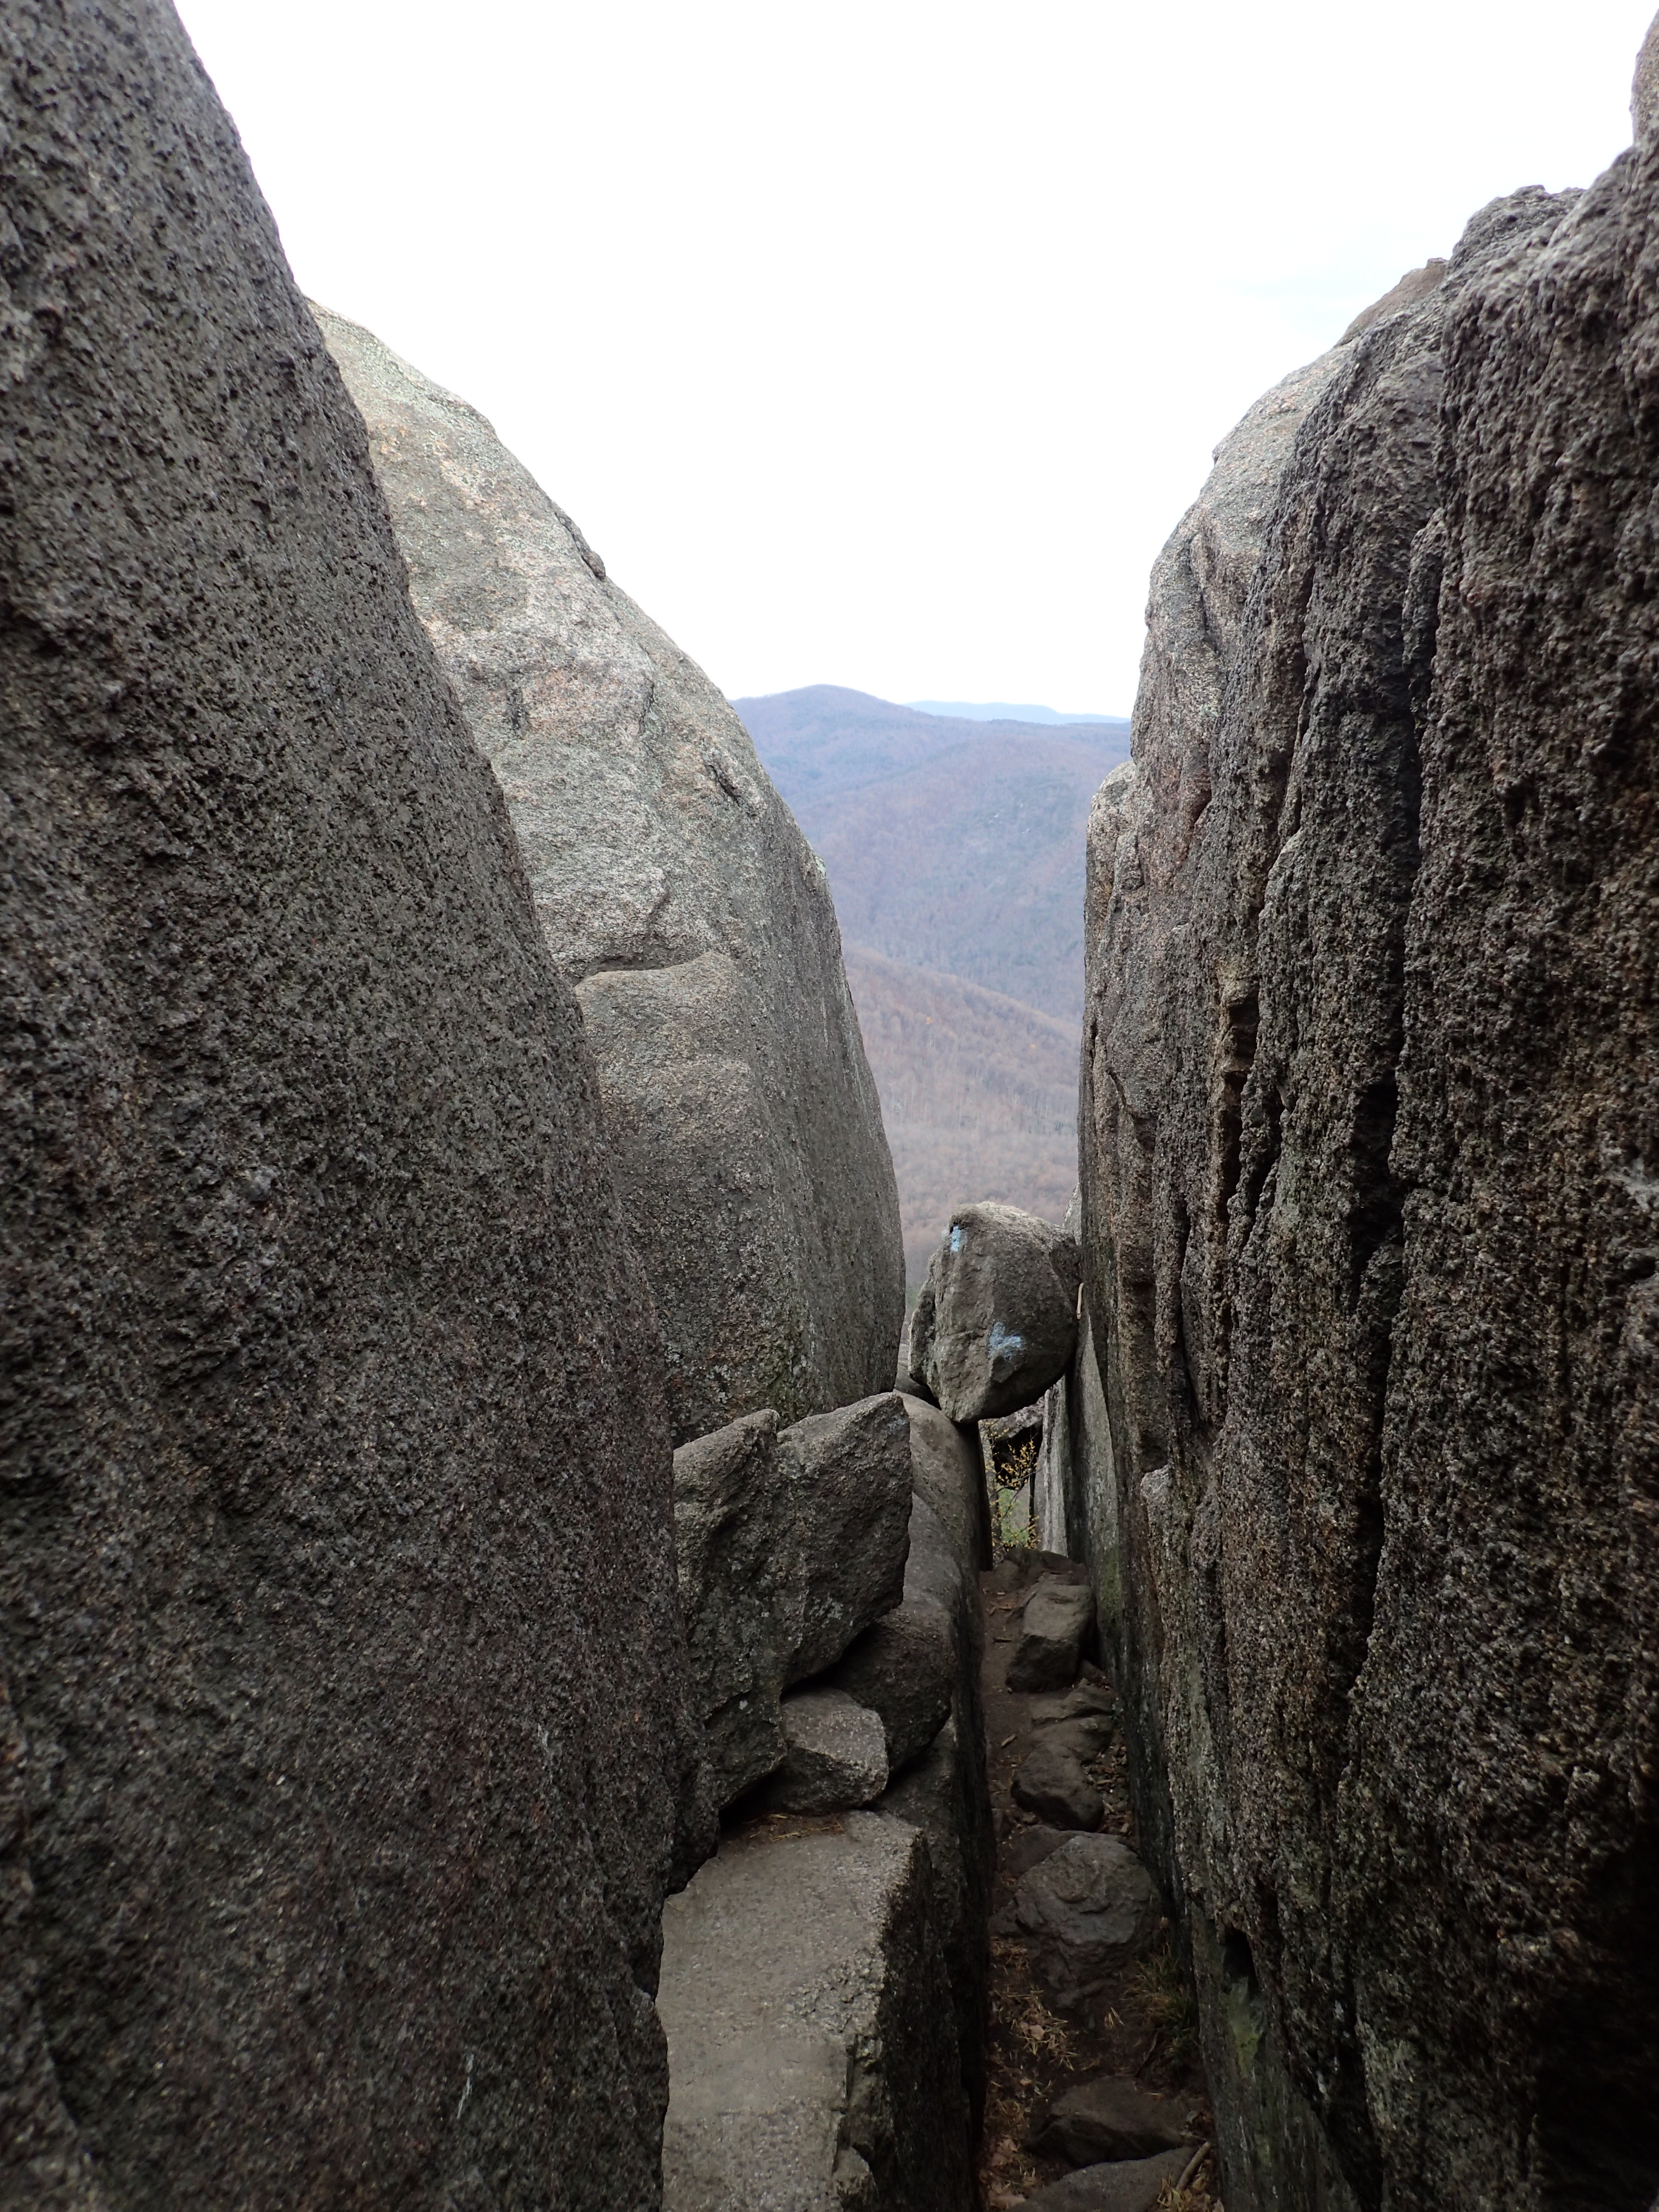
Precariously balanced boulder.

View along the trail.

The hiking was pretty unique and varied which really made it fun.

Some parts are steeper than others but it is all perfectly doable!

Getting closer to the second overlook.
From the second overlook you are able to get more of the same great views along the way. We didn’t spend too much time here but it was a nice quite spot to spend some time if you have it. There are plenty of quite nooks you could find to stay away from the crowds.

Looking out from the second overlook.
After leaving the overlook it can be possible to end up in a precarious spot overlooking a pretty steep (maybe class 4/5.0) but short section you would have to down climb. However, this steep climb can be avoided completely if you find the trail out to your left around the boulders. So you don’t have to climb down such steep terrain if you do not feel comfortable! You reach the steep trail by crawling under the very inviting opening between the boulders or avoid it by taking the other opening around the boulder to your left.
Crawling under this rock will lead you to the steeper descent.
After working our way down from the second overlook we just had another short section of trail mixed with boulders and wooded trail to the actual summit.

The ridge is littered with a lot of interestingly shaped and situated boulders to observe.
All in all it took us maybe an hour to cross the ridge to the summit from the start of the scrambling section. It was not very hard in the grand scheme of things but it is 100% fun and varied. Once on the summit there are plenty of large boulders you can climb on top of to get unobstructed views of the surrounding area.

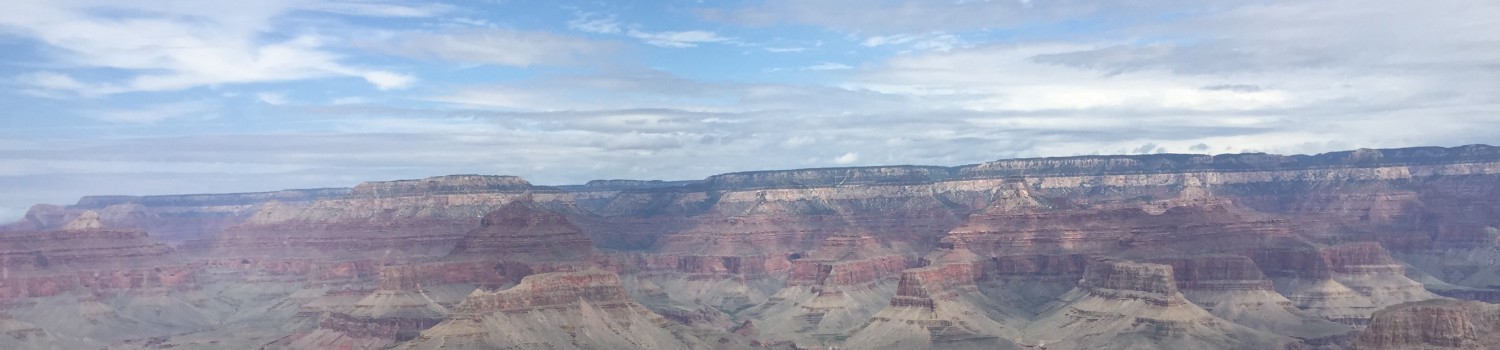
View from the summit.
View from the summit looking towards the opposite end of the ridge from where we started.

Looking out from our summit perch.
We spent a good bit of time on the summit taking in the views and having a snack. Since we were lucky to get warm weather in the 60’s (at the end of November!) we didn’t want to take it for granted by running back down, especially since it was such a nice change from the icy weather of the Adirondacks. Despite the beautiful weather we had the summit relatively to ourselves for at least a little while before more people began arriving on the summit. After taking some photos and finishing our snacks we grabbed our things and started making our way back down the mountain.
From here you can either traverse back across the way you started or you can continue on down the other side of the ridge to the fire road. We decided we would just finish the hike as a loop as this way added a bit more distance and we also didn’t want to have to negotiate all the people coming back the other way through some of the tighter spaces. From this point there is no more scrambling and the hike down is quite easy and went by quickly.
At the junction with the fire road you will also reach an outhouse which the park service prefers you use to do your business.

Out house at the junction with the fire road.
After another quick stop at the outhouse we continued our way down the fire road.
Looking down the fire road.
The fire road leads you right back down to the trailhead and is only a couple of miles long. The road was a little boring but we made quick work of it and before too long we were back down at the brook which runs right by the trailhead and all the way back down towards the parking area and valley beyond.

Bridges crossing the brook.
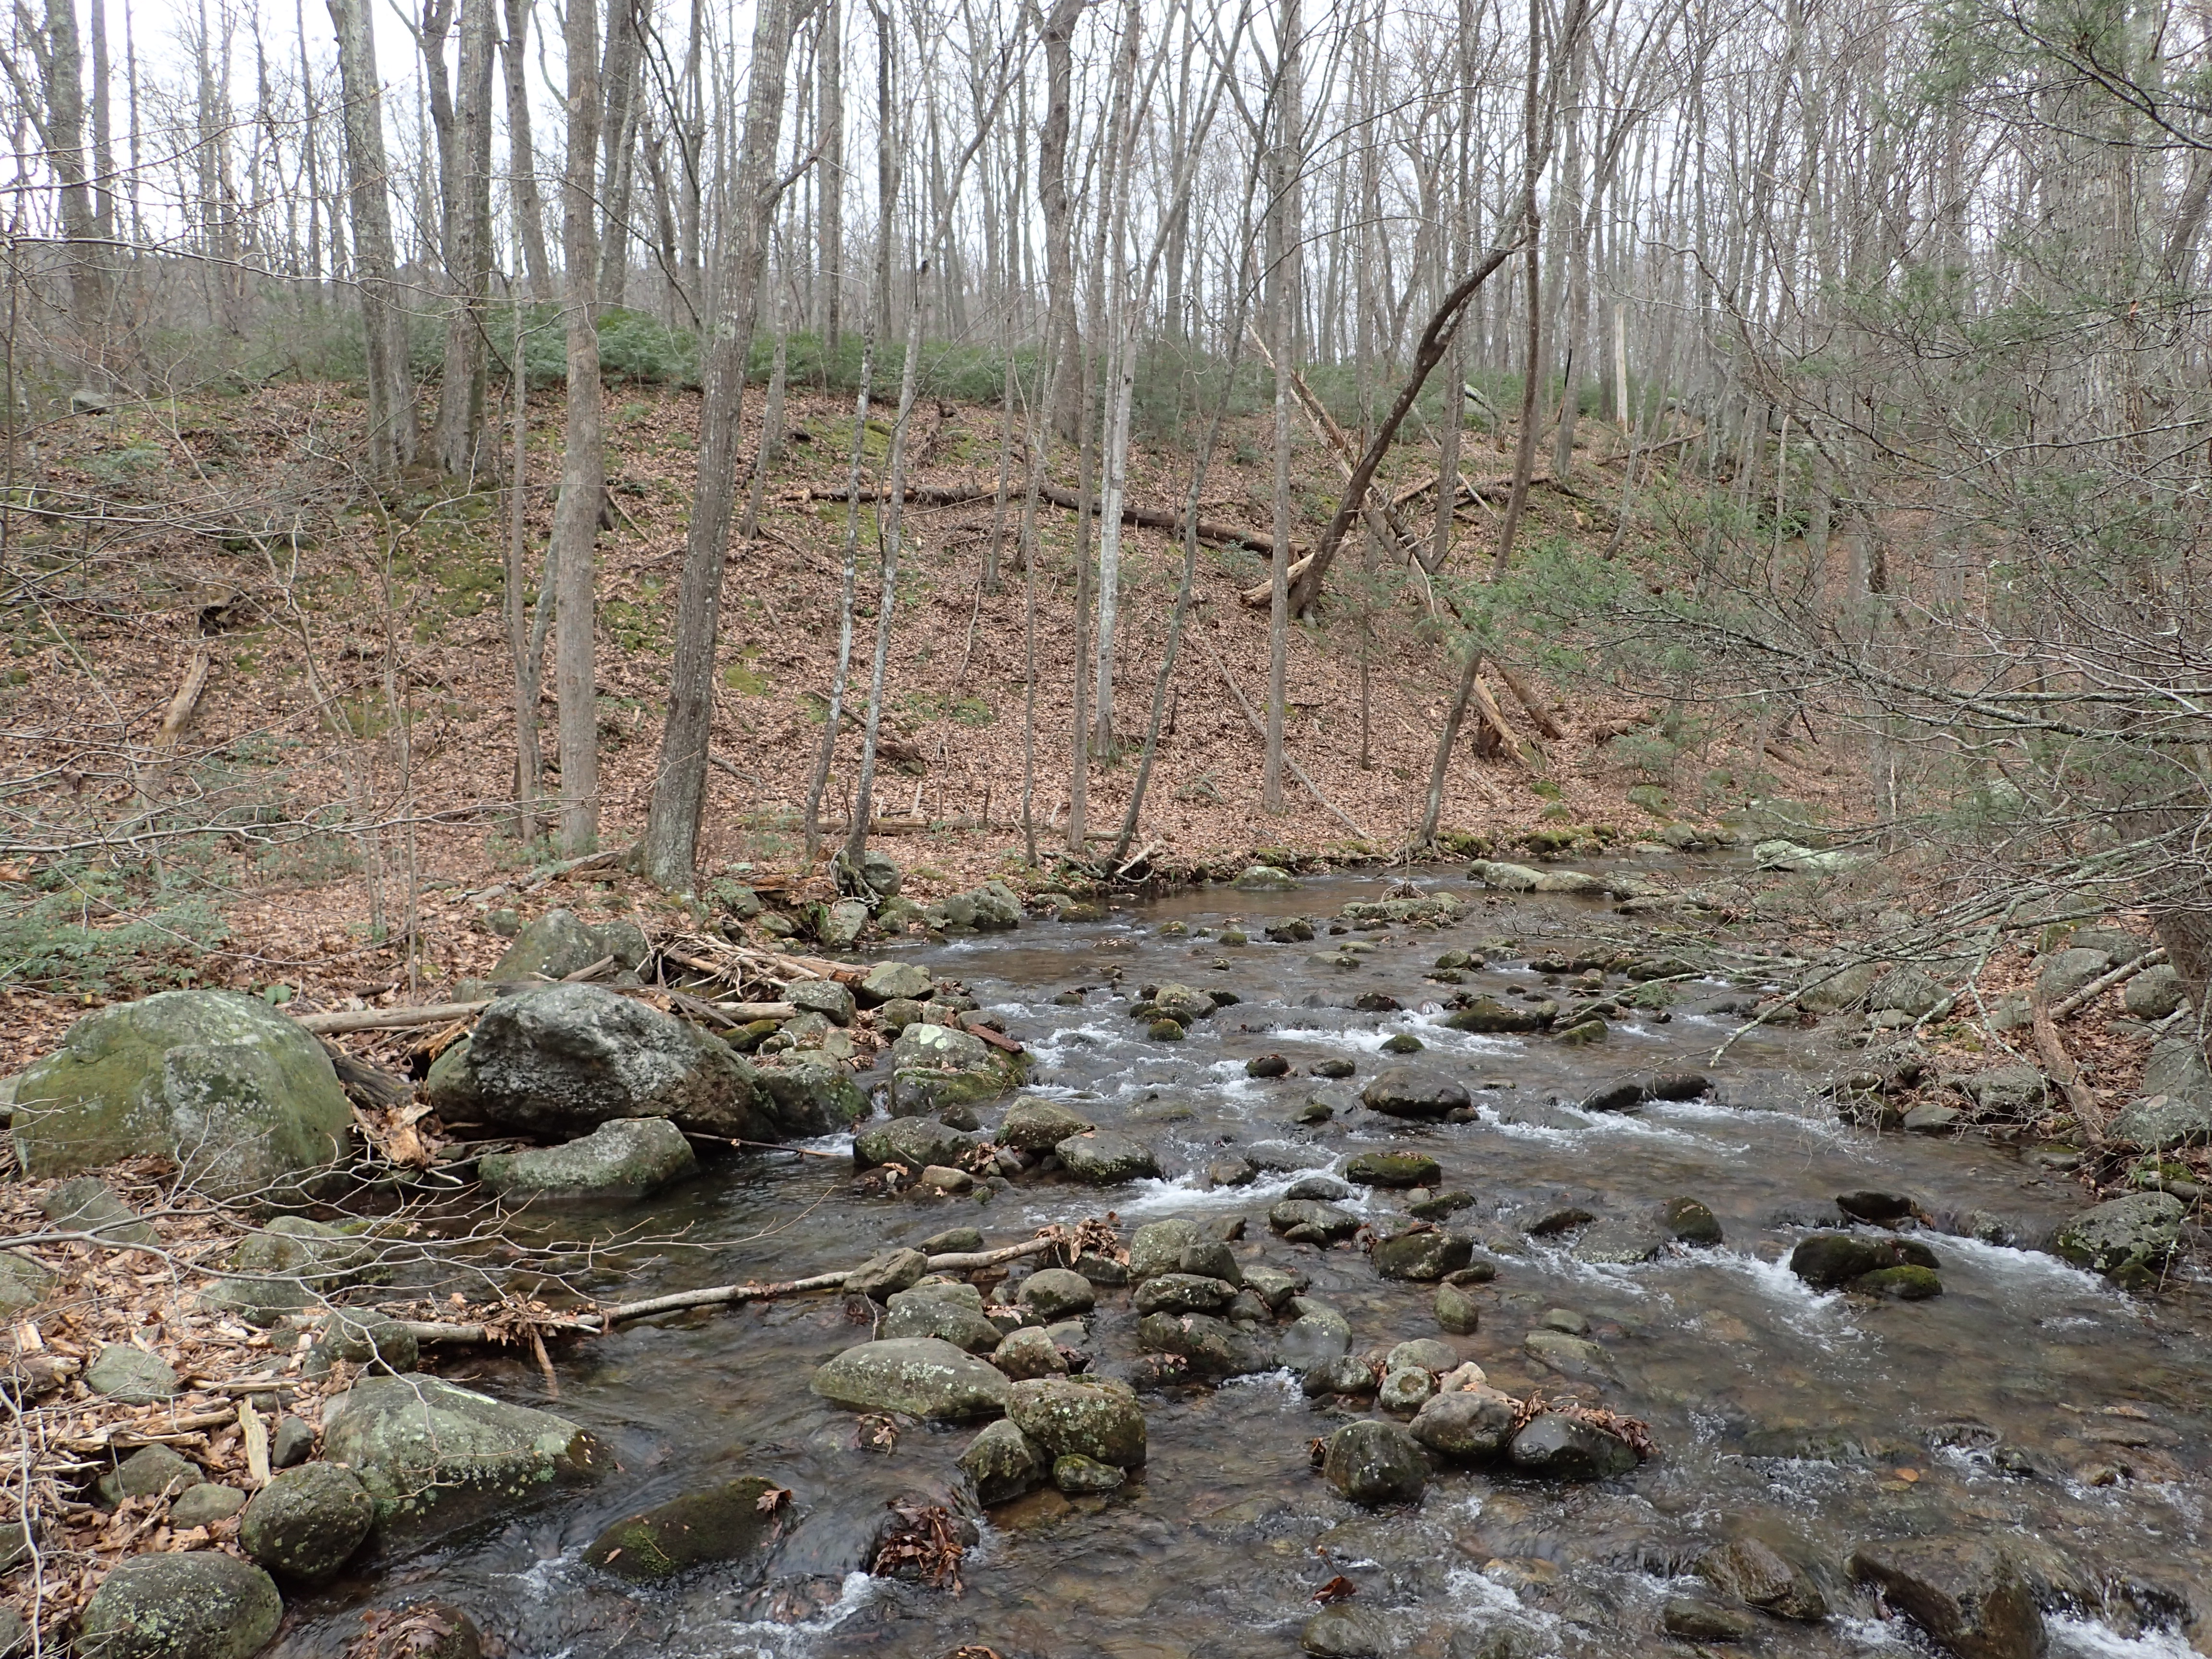
Looking back up the brook.
After crossing the brook we were right back at the trailhead and only had to hike the last 0.8 miles back to the car. We made it back to the car without incident at about 12 noon. Overall the hike was not very long and compared to hiking in the Adirondack High Peaks, not very difficult. However, whatever the hike lacks in distance or difficulty it makes up for with fun. If this hike were a bit longer or at a higher elevation it would be a super classic that people would really go out of their way to climb. So, in the end I would highly recommend you take the time to climb this fun little mountain if you are anywhere in the area. This hike, among other beautiful waterfalls and scenery make Shenandoah National Park a really great park to visit.
Categories: National Parks, Trip Reports, Virginia

