
TRIP REPORT: Cliff and Redfield from Loj – Adirondacks, NY 8-30-15
Hike stats at a glance:
~20 miles
2 High Peaks – Mount Redfield (4,606ft) Cliff Mountain (3,960ft)
10 hours total time
Hot and Humid ~80 Degrees
For my first hiking trip back in the place I like to call home, the Adirondack High Peaks, I chose to go with climbing Cliff and Redfield. I decided for this trip I would hike them starting at the Adirondack Loj trail head. This is not the most popular choice as I think most people prefer to hike it from the (slightly flatter?) Upper Works trail head, but for me it was about spending more time hiking and less time driving from Keene over to the Upper Works trailhead which I think is a bit of a drag.
I spent the night sleeping at the Rooster Comb parking lot in town (like a boss of course) before heading over to the Loj parking lot for a nice early start. I was able to stop at Stewart’s for a hot and ready breakfast sandwich at about 5am, and I have to say its really great to start hiking with a warm meal! I parked and geared up, signing into the trailhead register at just before 6am.
The first 2 miles from the parking lot to Marcy Dam is a popular and familiar trail to most people who have done any hiking at all in the area so I won’t bore you with specifics. There isn’t much to it as it is a pretty big and well trodden trail. The only thing to note is that after about 1 mile you will hit a trail junction, just be sure to hang a left and follow the sign for the Marcy Dam. After that it is easy walking or even running if you prefer until you reach the very obvious Dam.
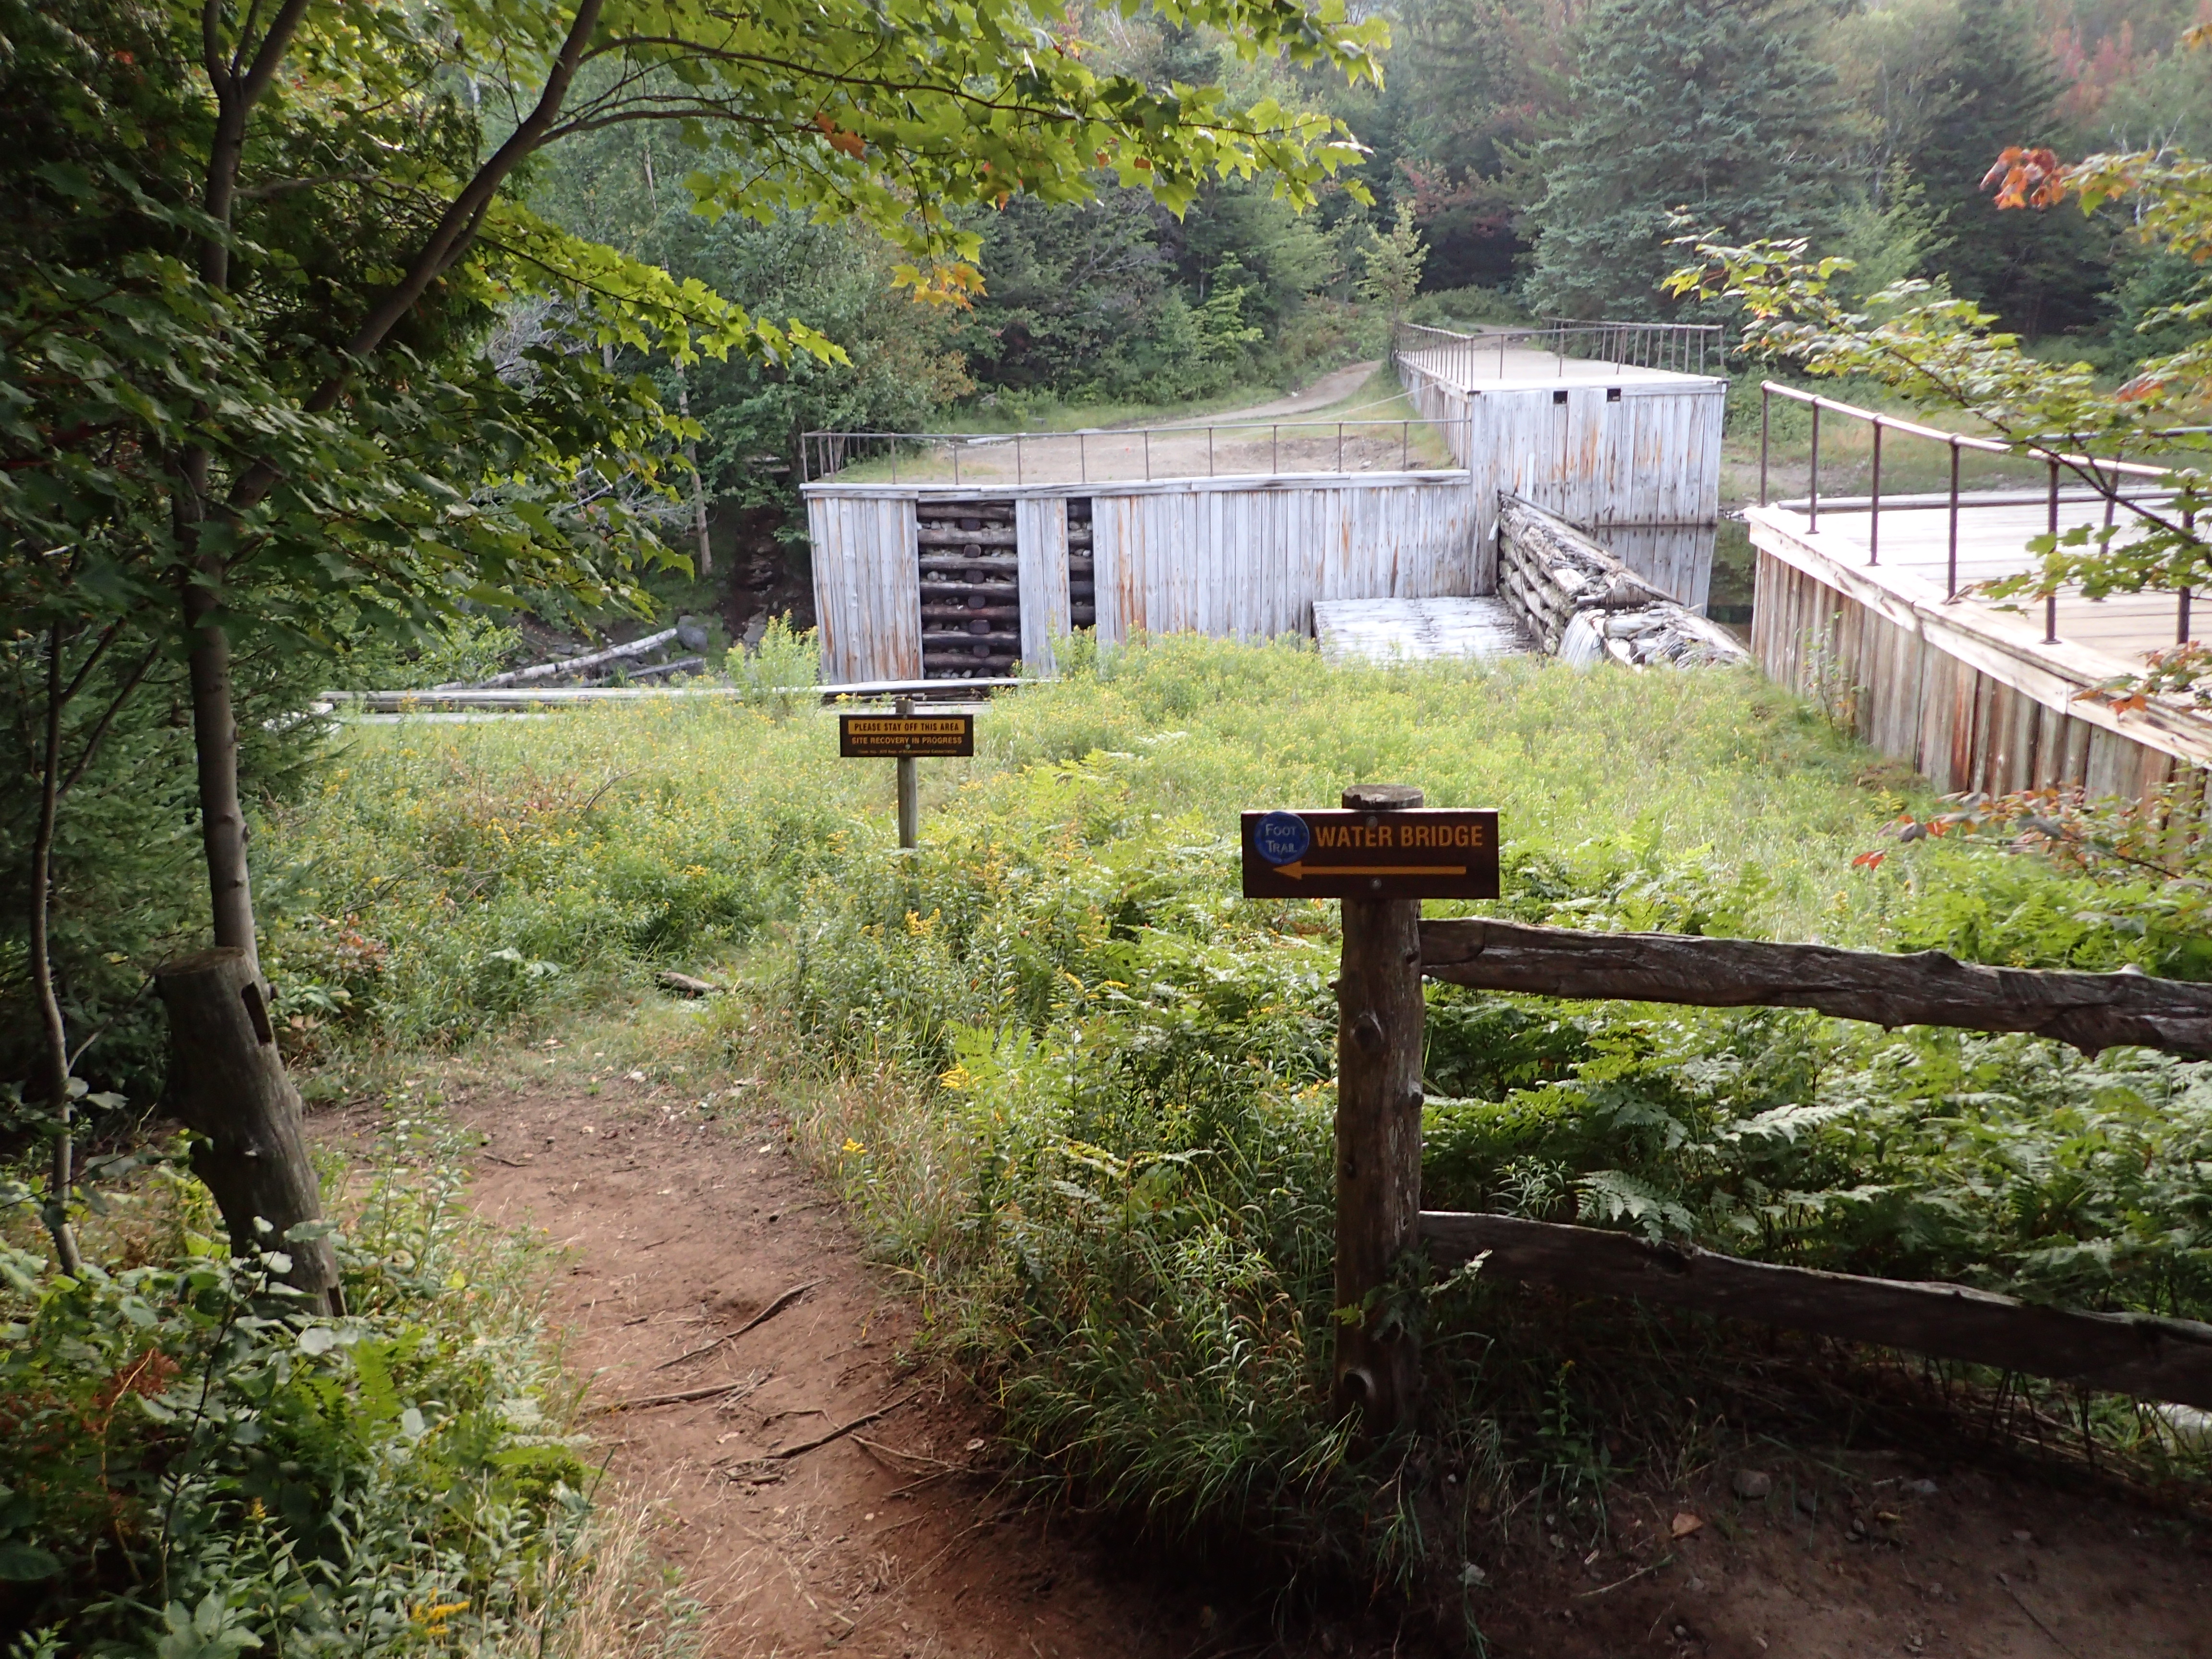
Marcy Dam Crossing Junction
Once you reach the Dam you will be directed to hang a left and towards the water crossing which is a little further down the trail. A wooden bridge will lead you safely over to the other bank. No toll required.
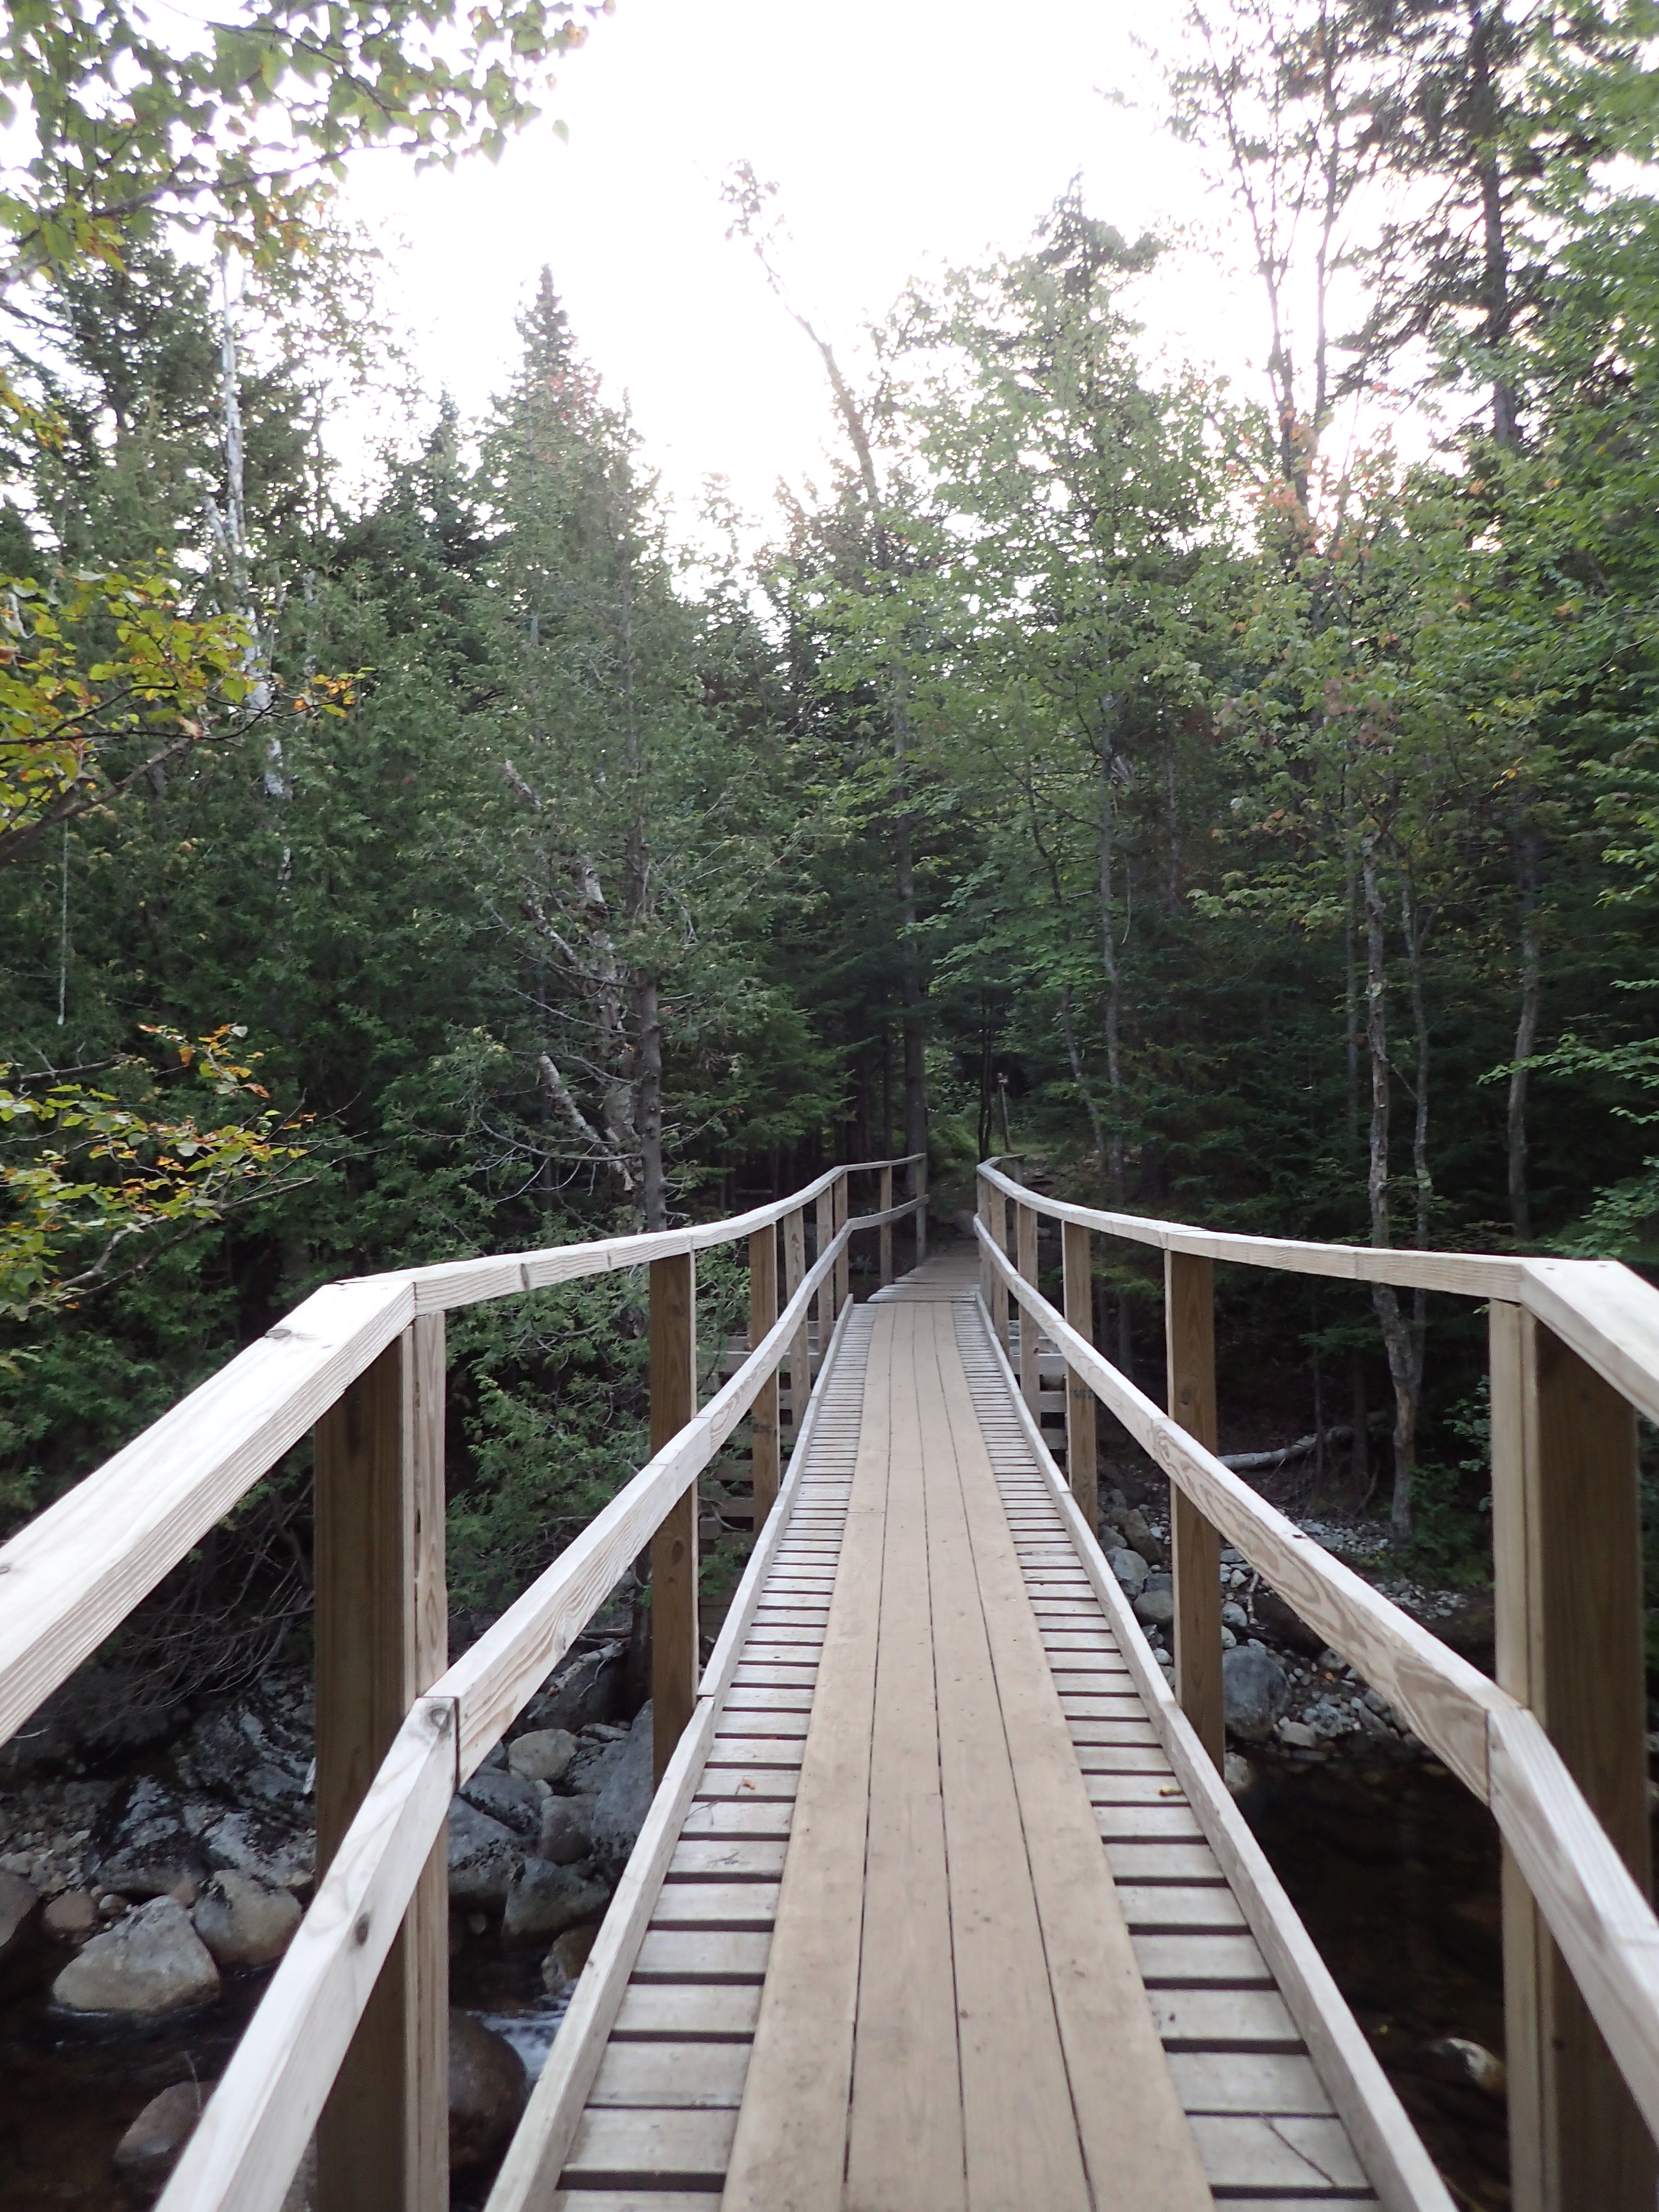
Marcy Dam Crossing
Once on the other side of the bridge you will come to another trail junction with the winter ski trail. Just hang a right and head back up towards the Dam. From here you can get a really great view of the surrounding peaks. I have seen this view a dozen times by this point but it really never gets old, no matter which season you are in. On this particular day I reached Marcy Dam at 6:38am.
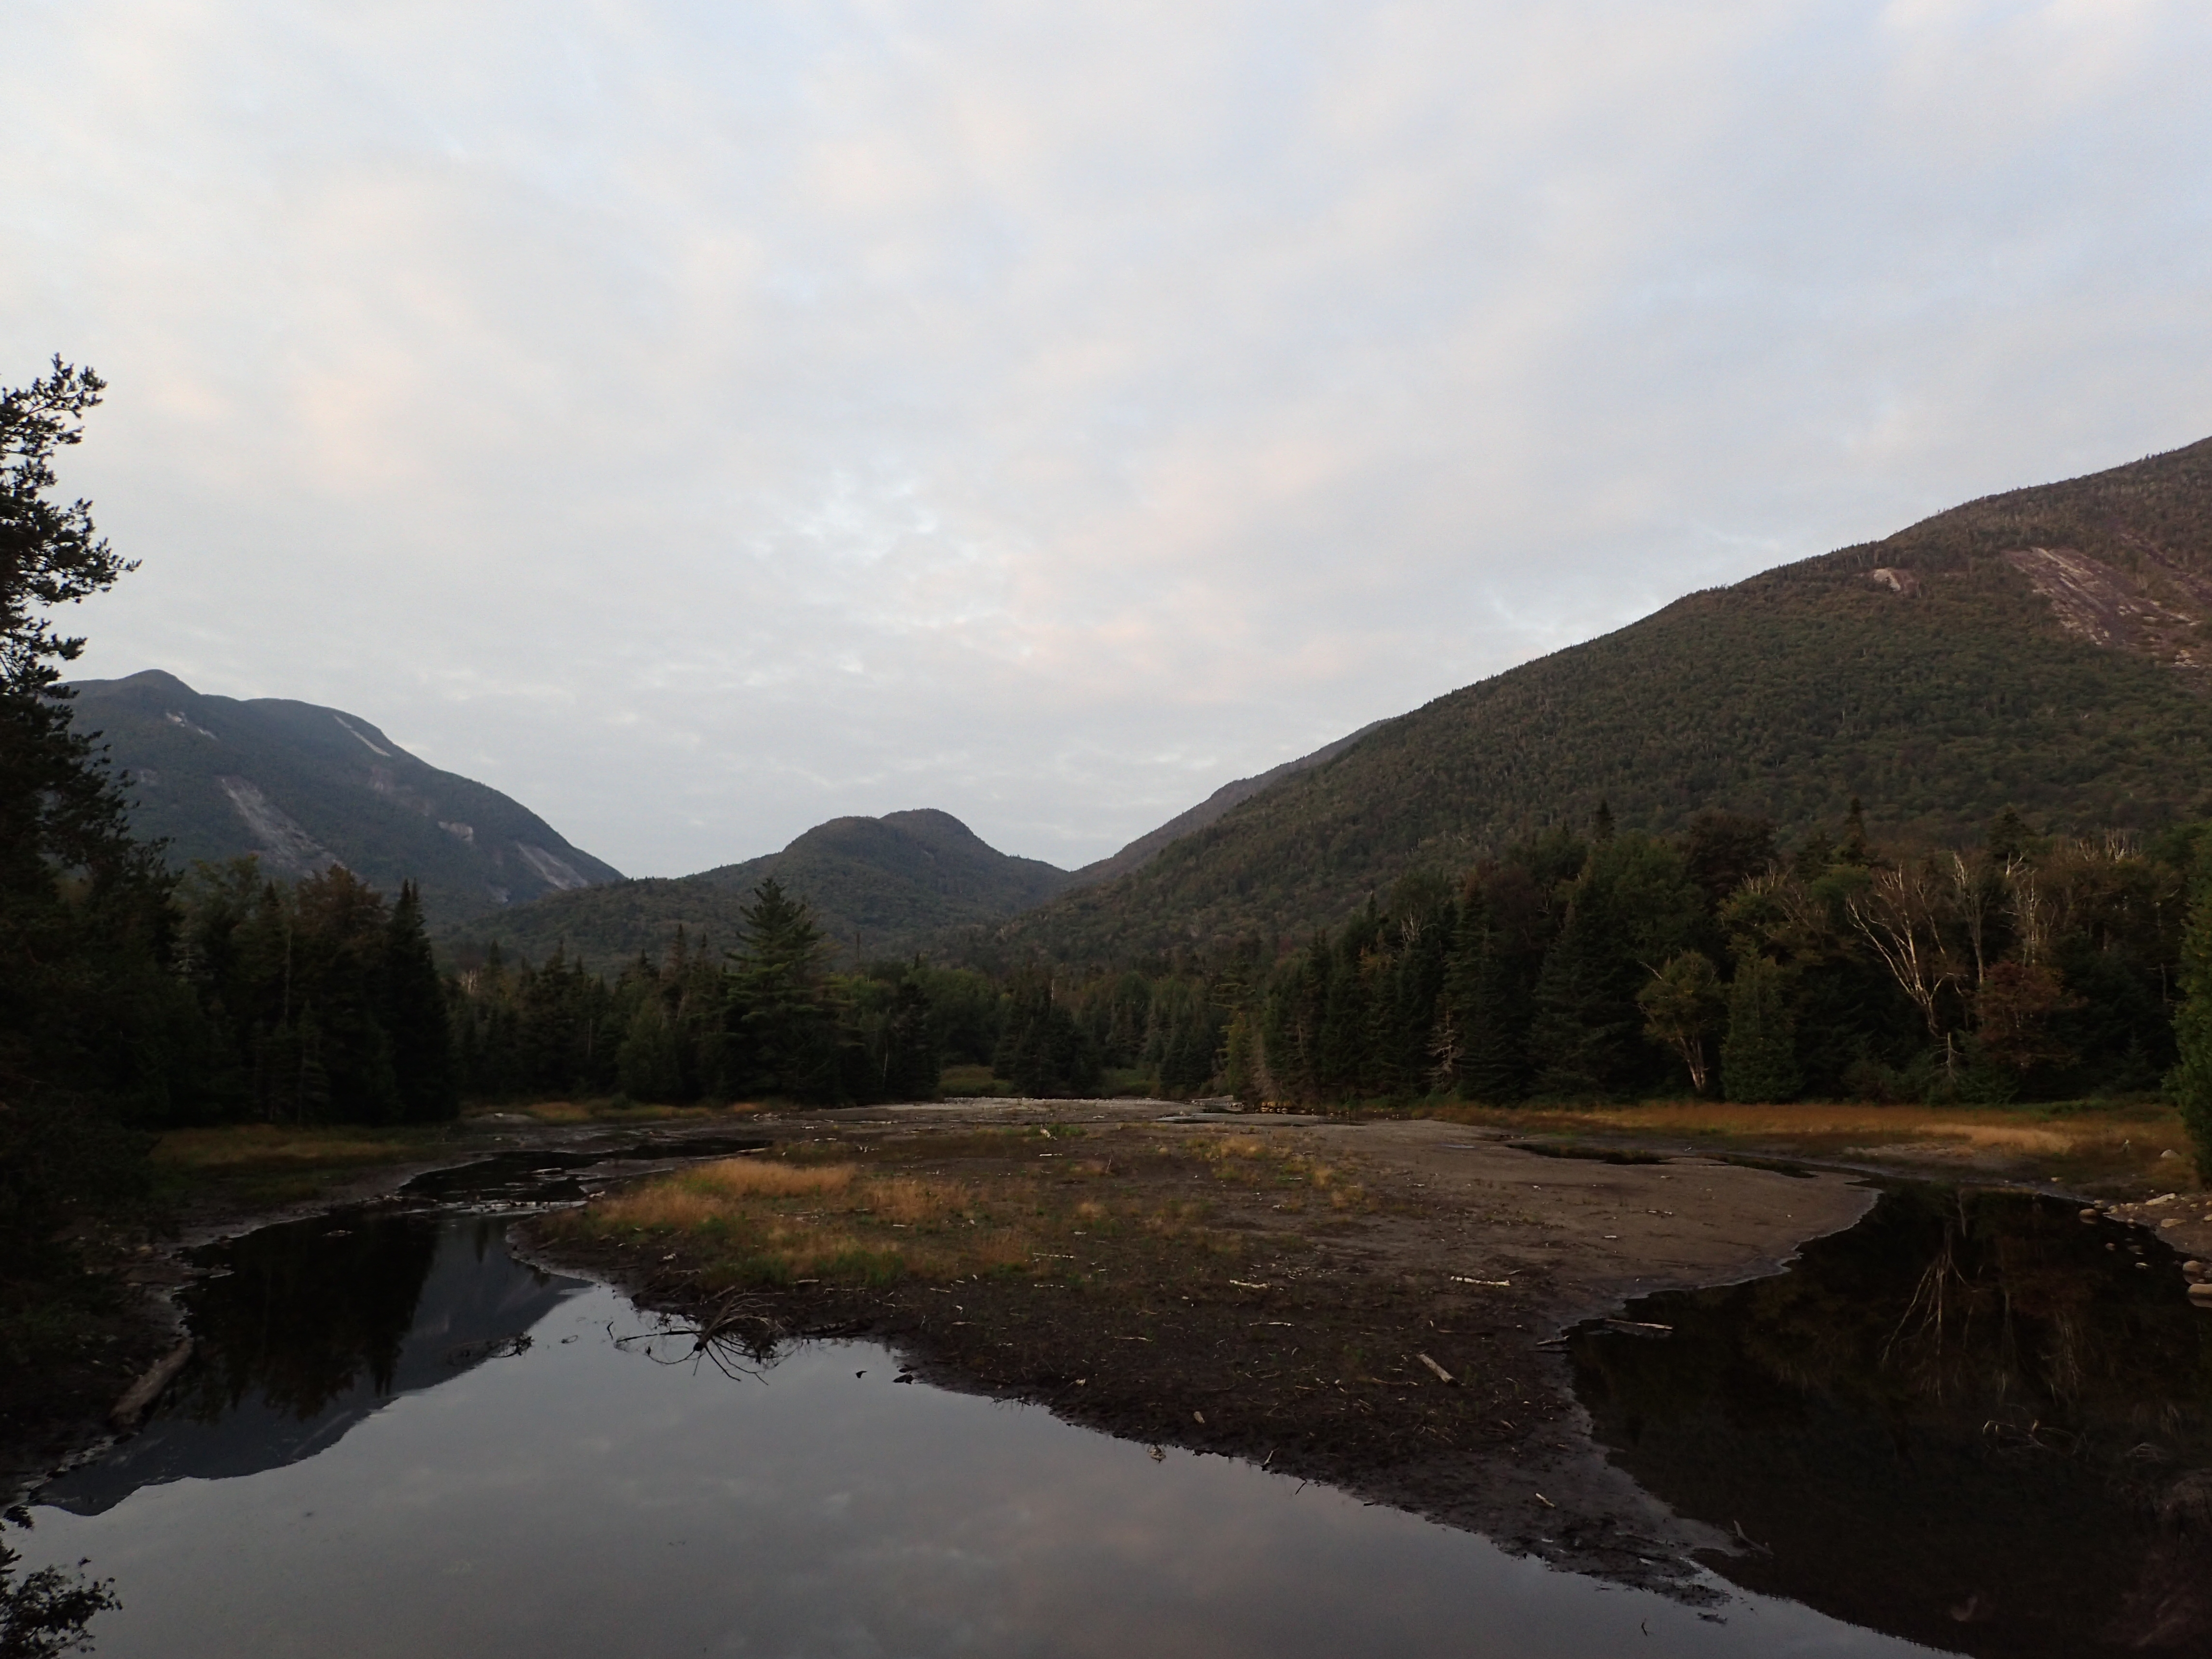
View from Marcy Dam
From here you can follow the marked trail which will lead you to another trail register along the way for people that have spent the night camping at the dam. For this part be sure to pay attention as there are a few different junctions from this point on and you want to make sure you don’t take the wrong one or you could end up having a much longer day than necessary!
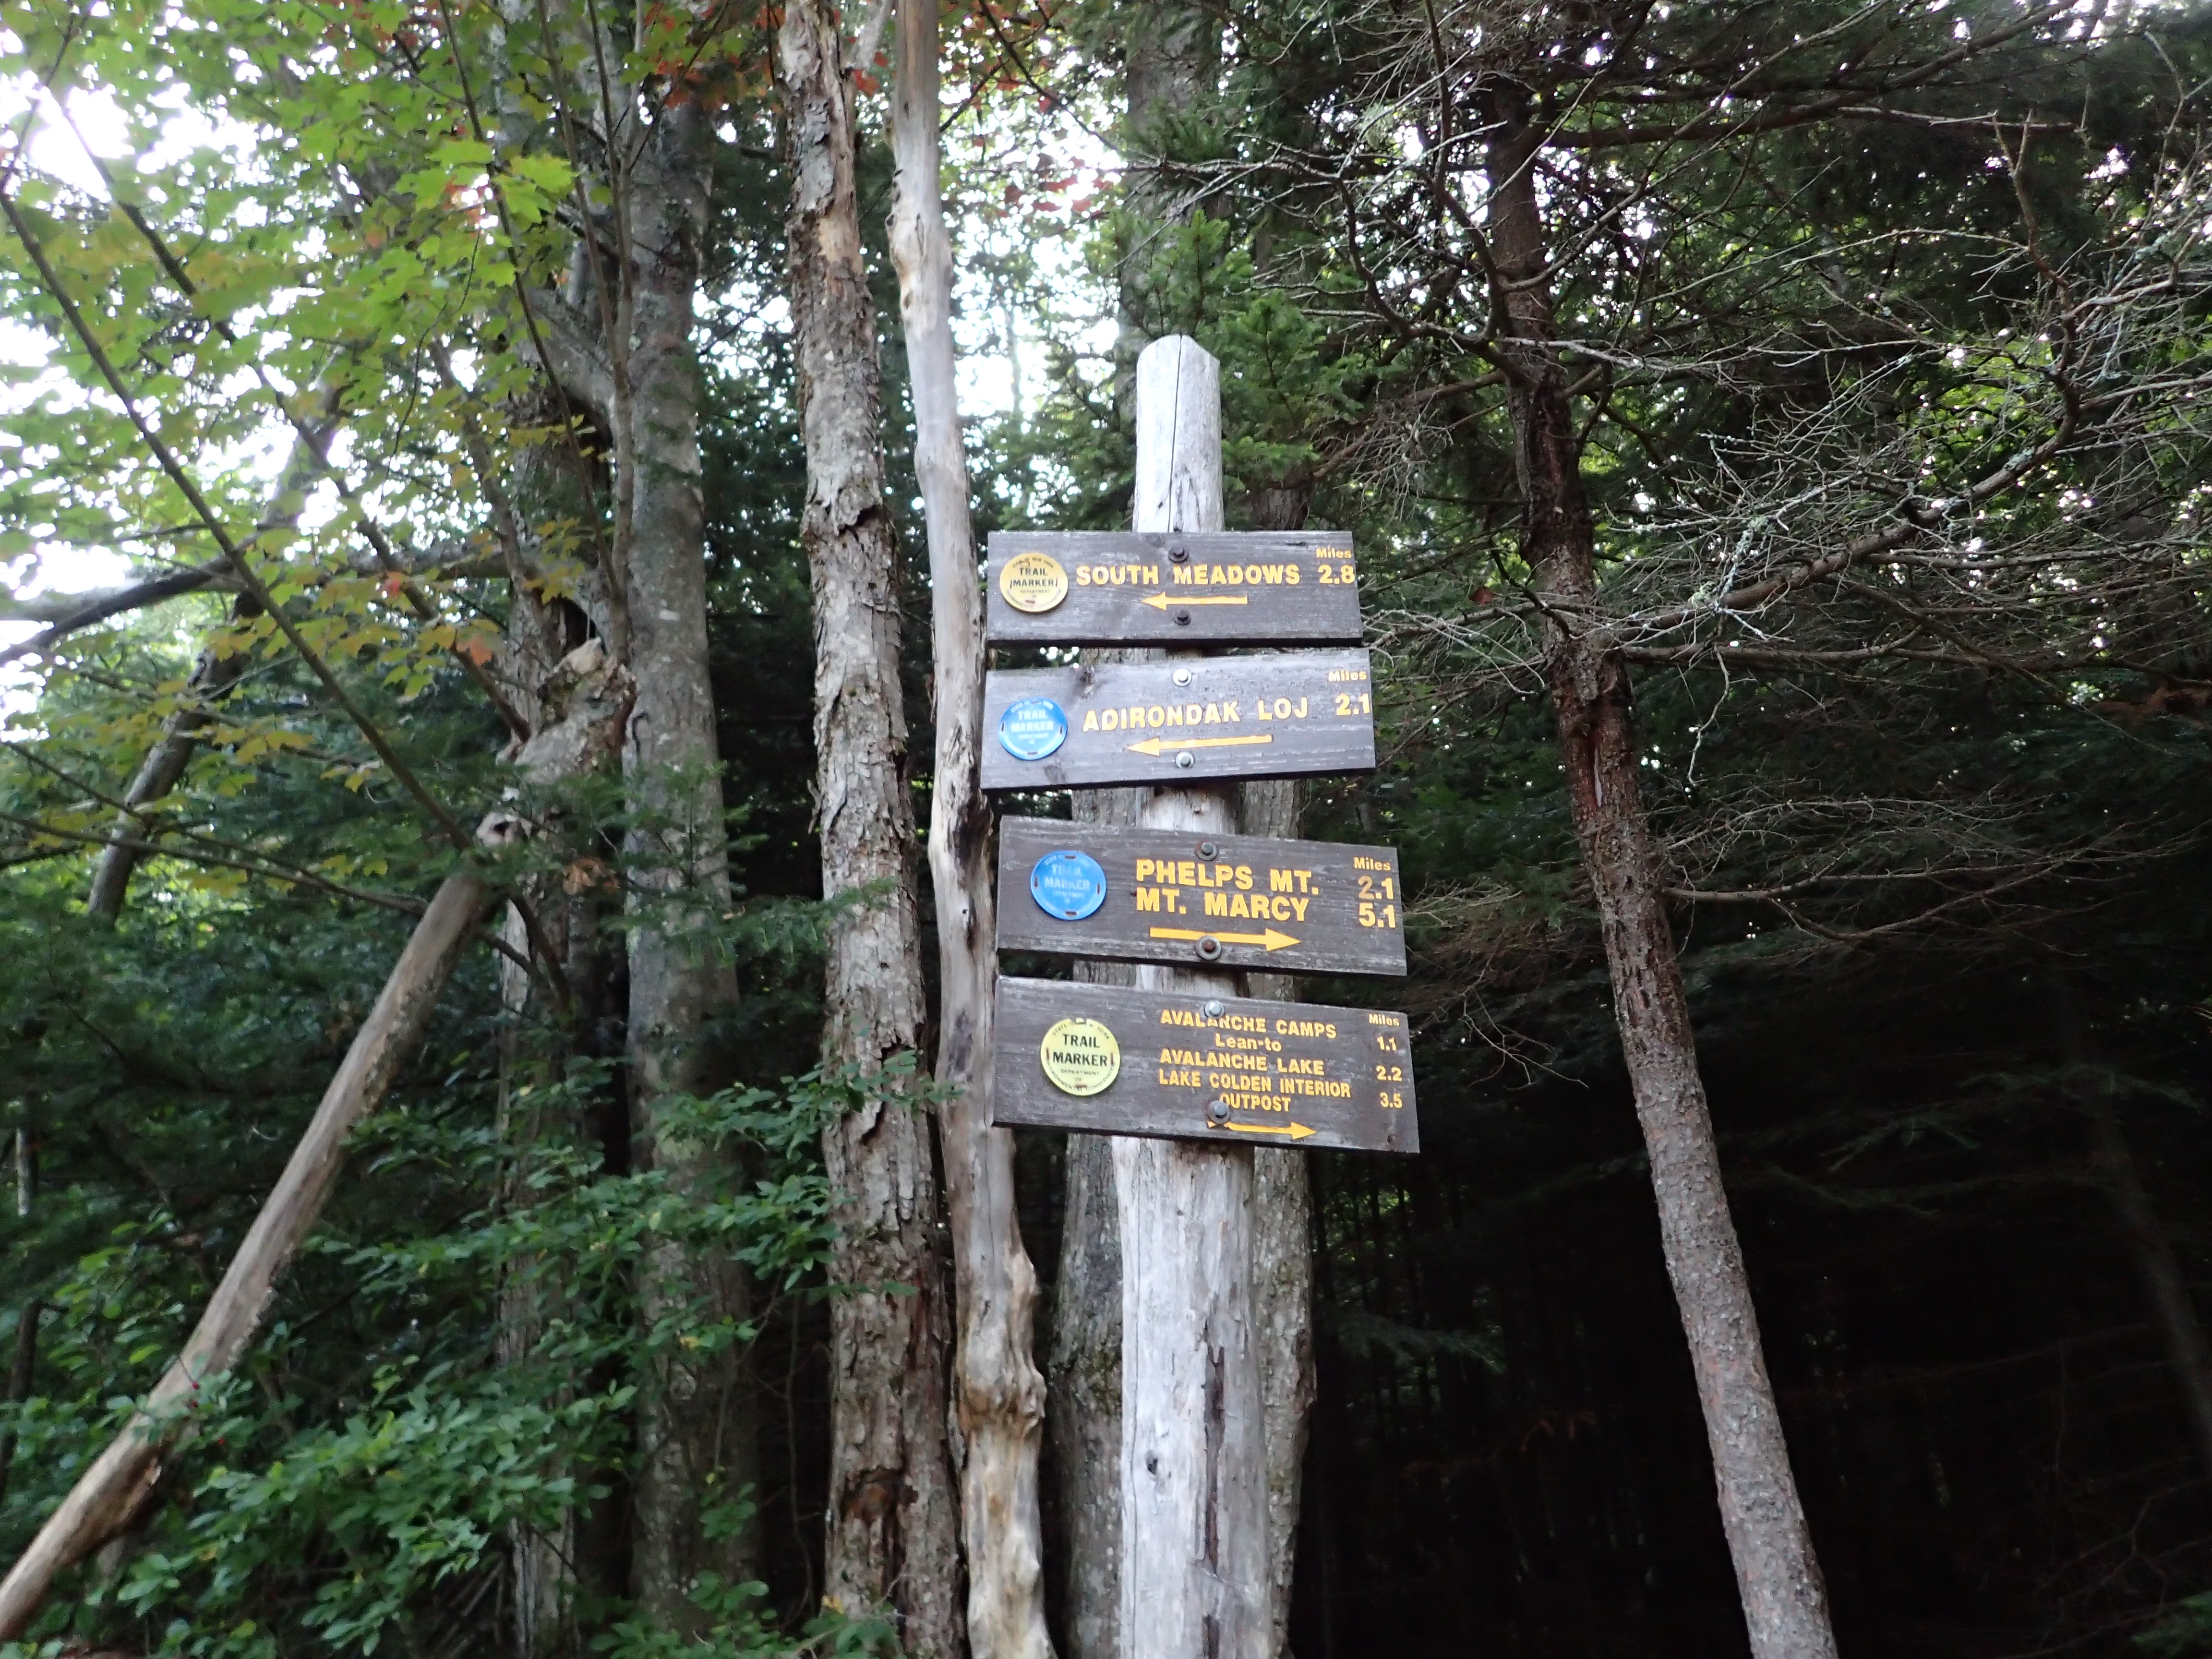
First major junction after Marcy Dam
At the first junction you will find quite a few signs marking different directions. The one you will want to follow is the sign leading towards Avalanche Lake. There is also another sign on a separate post leading the way.
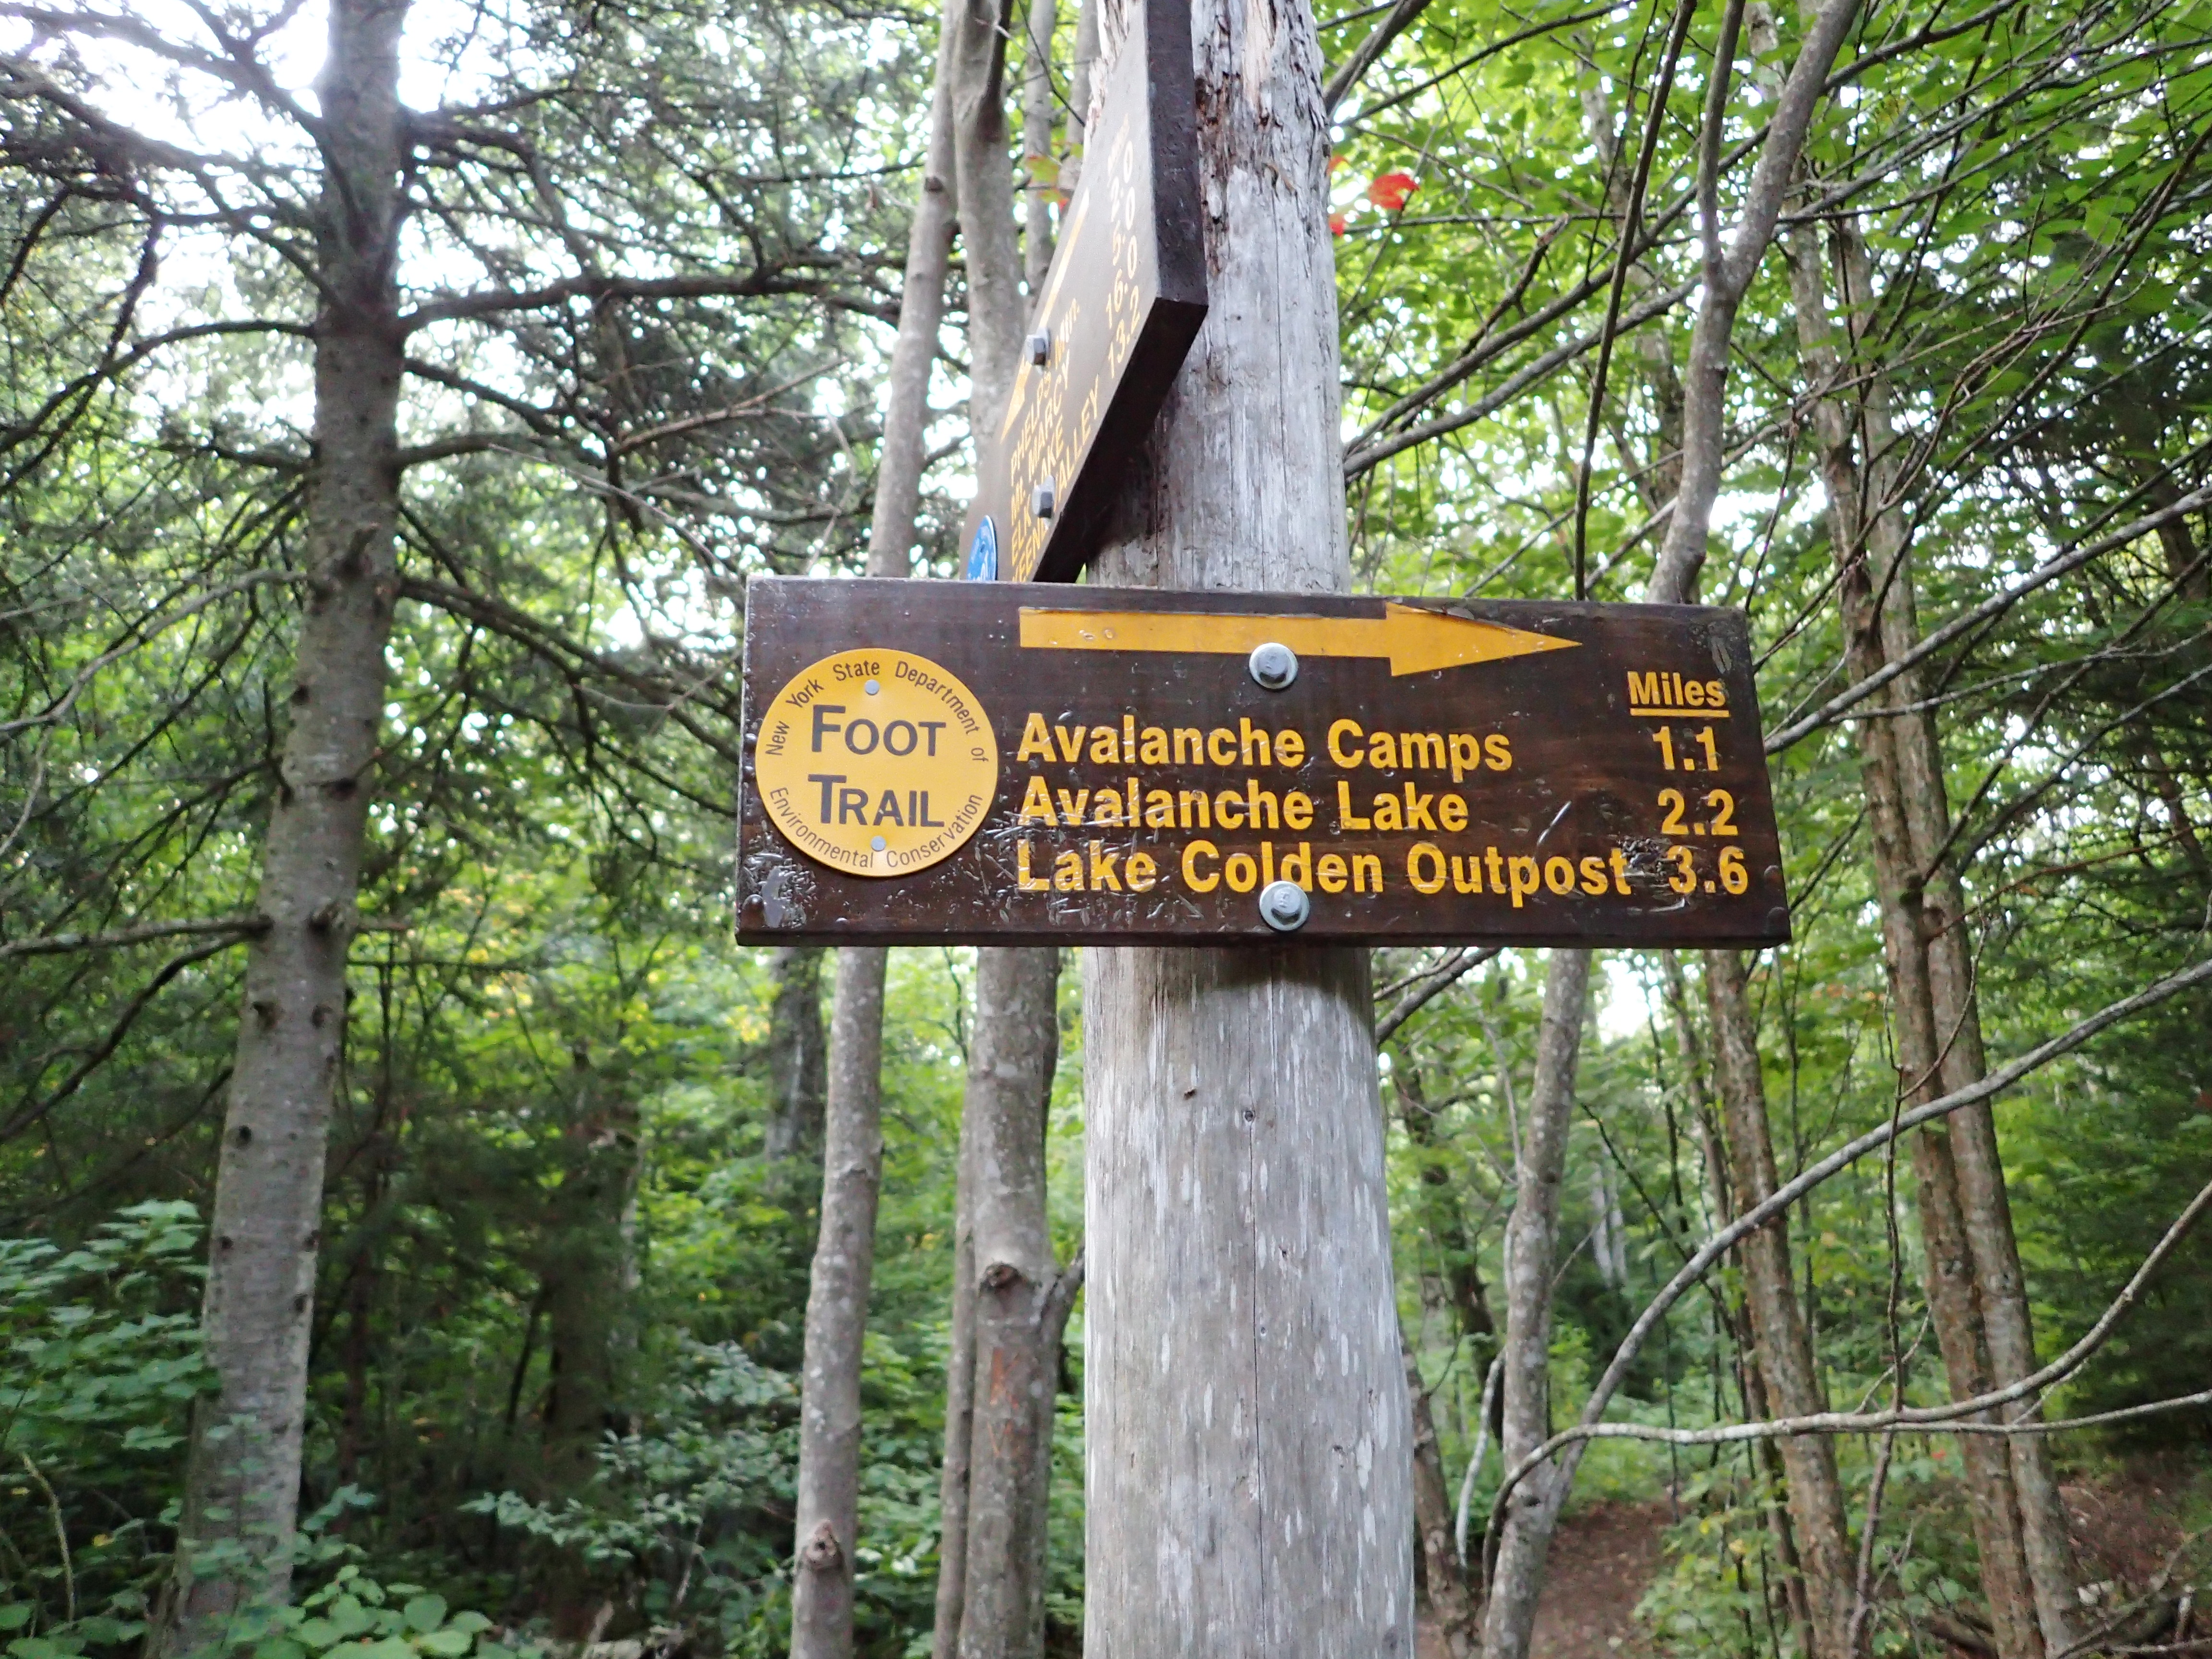
More signs, less problems.
The next stretch of trail is not anything particularly interest for the area, and is really quite typical, but it is in decent shape and on this particular day everything was pretty bone dry. It was a nice change of pace to not have to deal with all of the mud I had encountered earlier in the year. I followed this trail for a while enjoying the views, especially of the brook, before arriving at the next trail junction.
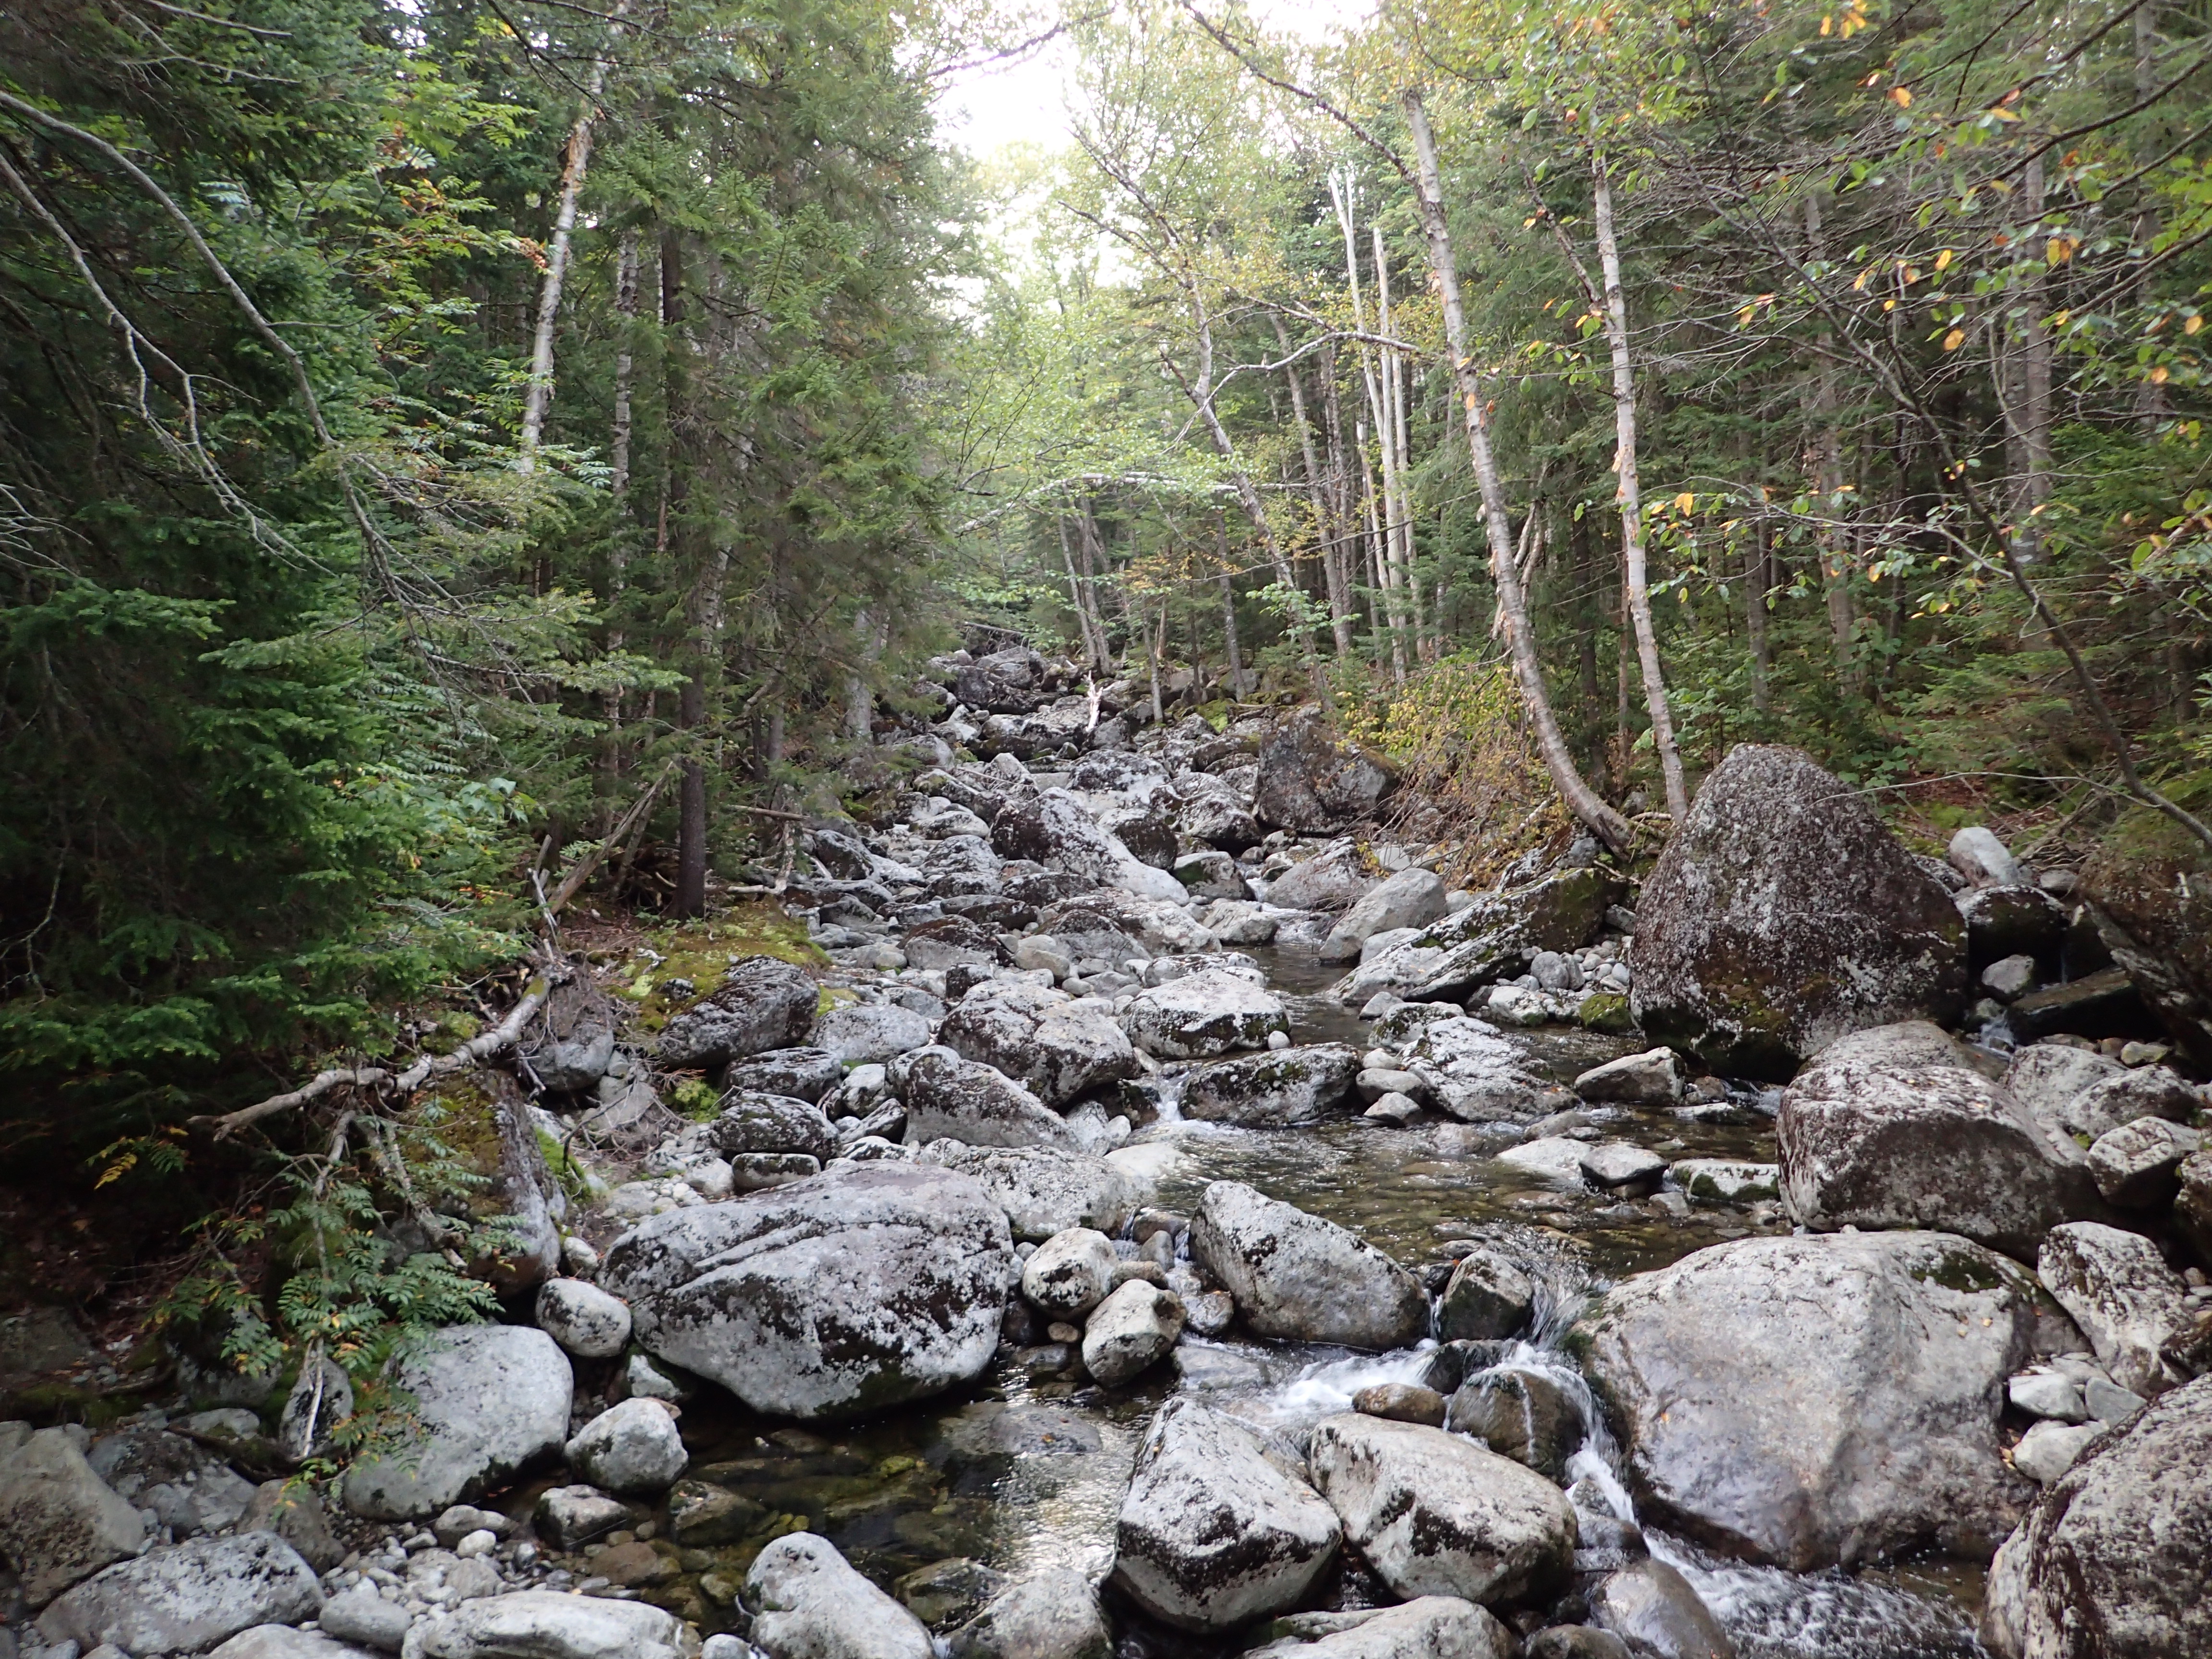
The brooks of the high peaks are truly beautiful.
At this next intersection you do have a choice of either going around Avalanche Lake, or taking the high road by Lake Arnold. Although Avalanche Lake is my favorite place in the High Peaks, I choose to go with the high road and hike via the Lake Arnold trail. Avalanche Lake would be a great option in the winter when you can just glide across the frozen water but having to hike around the edge of the lake can be a challenge and would just take much more time than I was willing to devote to it on this particular day.

Choosing the high road.
From here the trail begins to really ramp up in terms of elevation gain. It is fairly mellow and the trail is in good shape but the grade is mostly constant for the entire 1.5 miles. Some people may not enjoy so much uphill travel over a long distance but to me its the better option if you can maintain a good constant pace. On this particular day I was feeling pretty good and made decent time on my way up. Along the way just note that you will pass another junction leading towards Indian Falls. Just be sure to stay going straight and NOT cross over the water, continuing towards Lake Arnold.

Skip this junction and just keep hiking up hill.
Once you near the top of the steep section you will begin to level out once you reach the high ground on this side of Mt Colden. After another .5 miles from the last junction you will reach the junction for the Mt Colden trail. Be sure to stay straight and not turn right onto the wrong trail. I made this mistake not paying attention and it took me about 5 minutes to realize I was climbing the wrong way.
The correct direction.
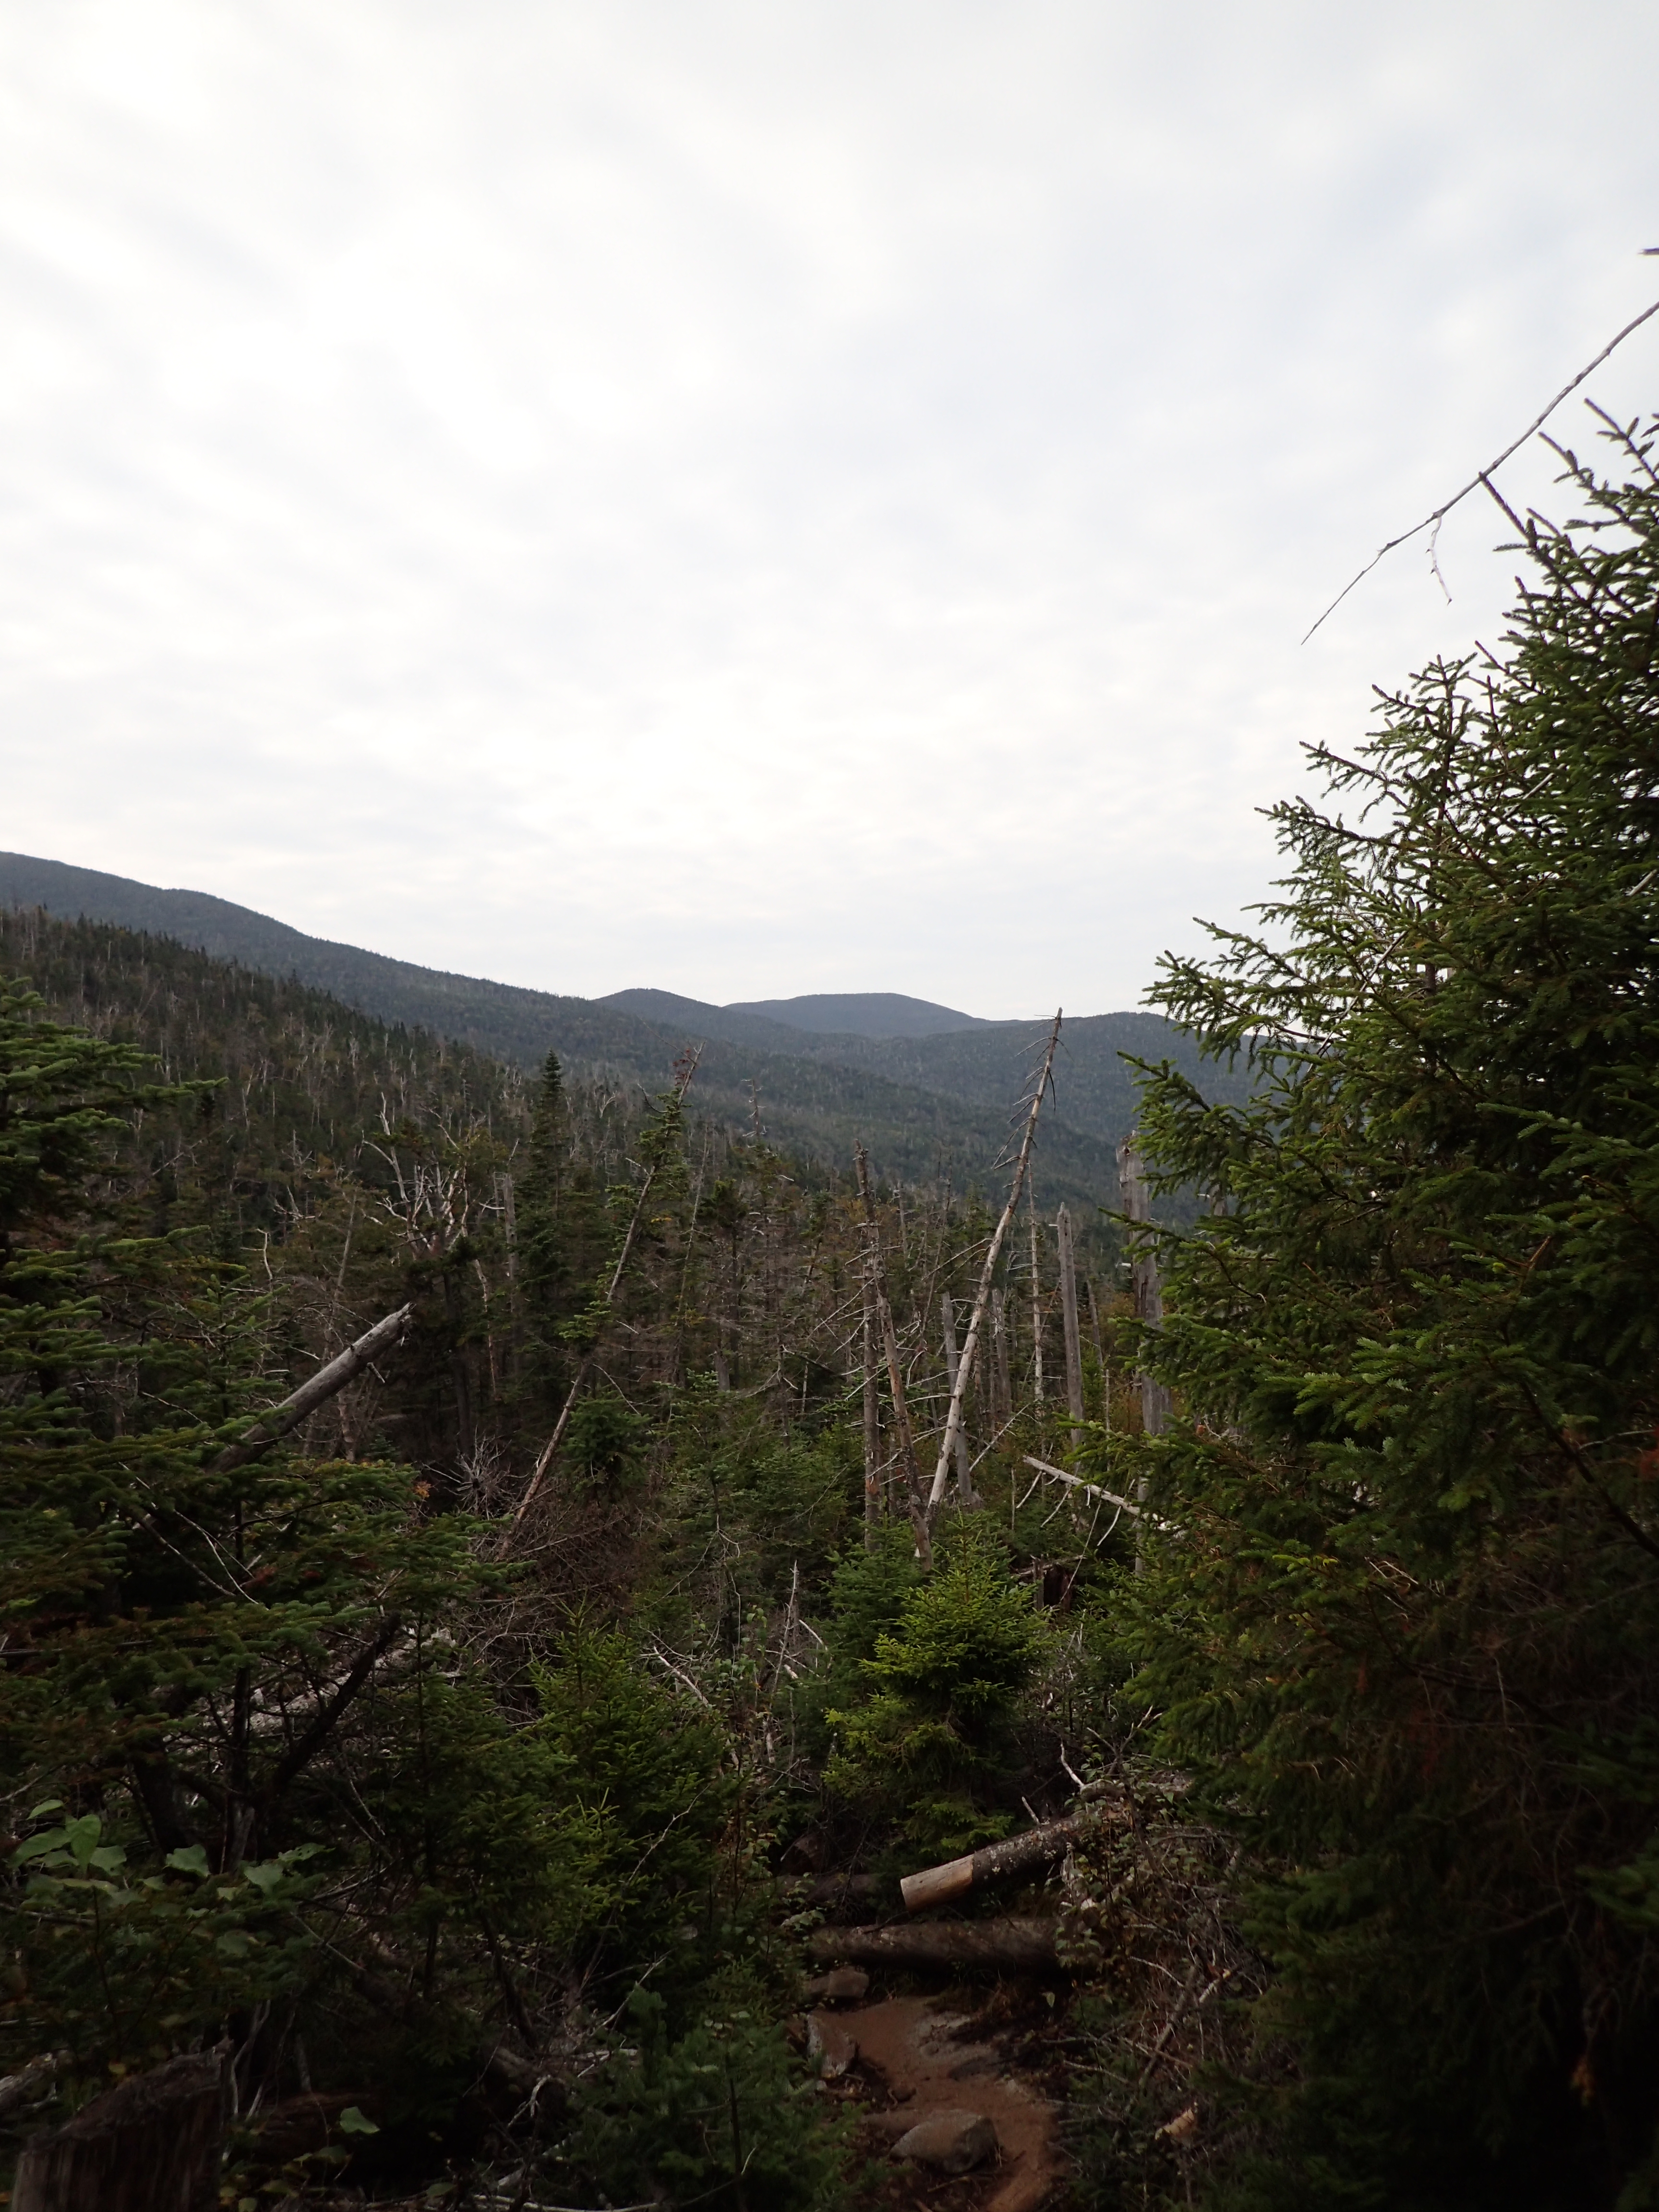
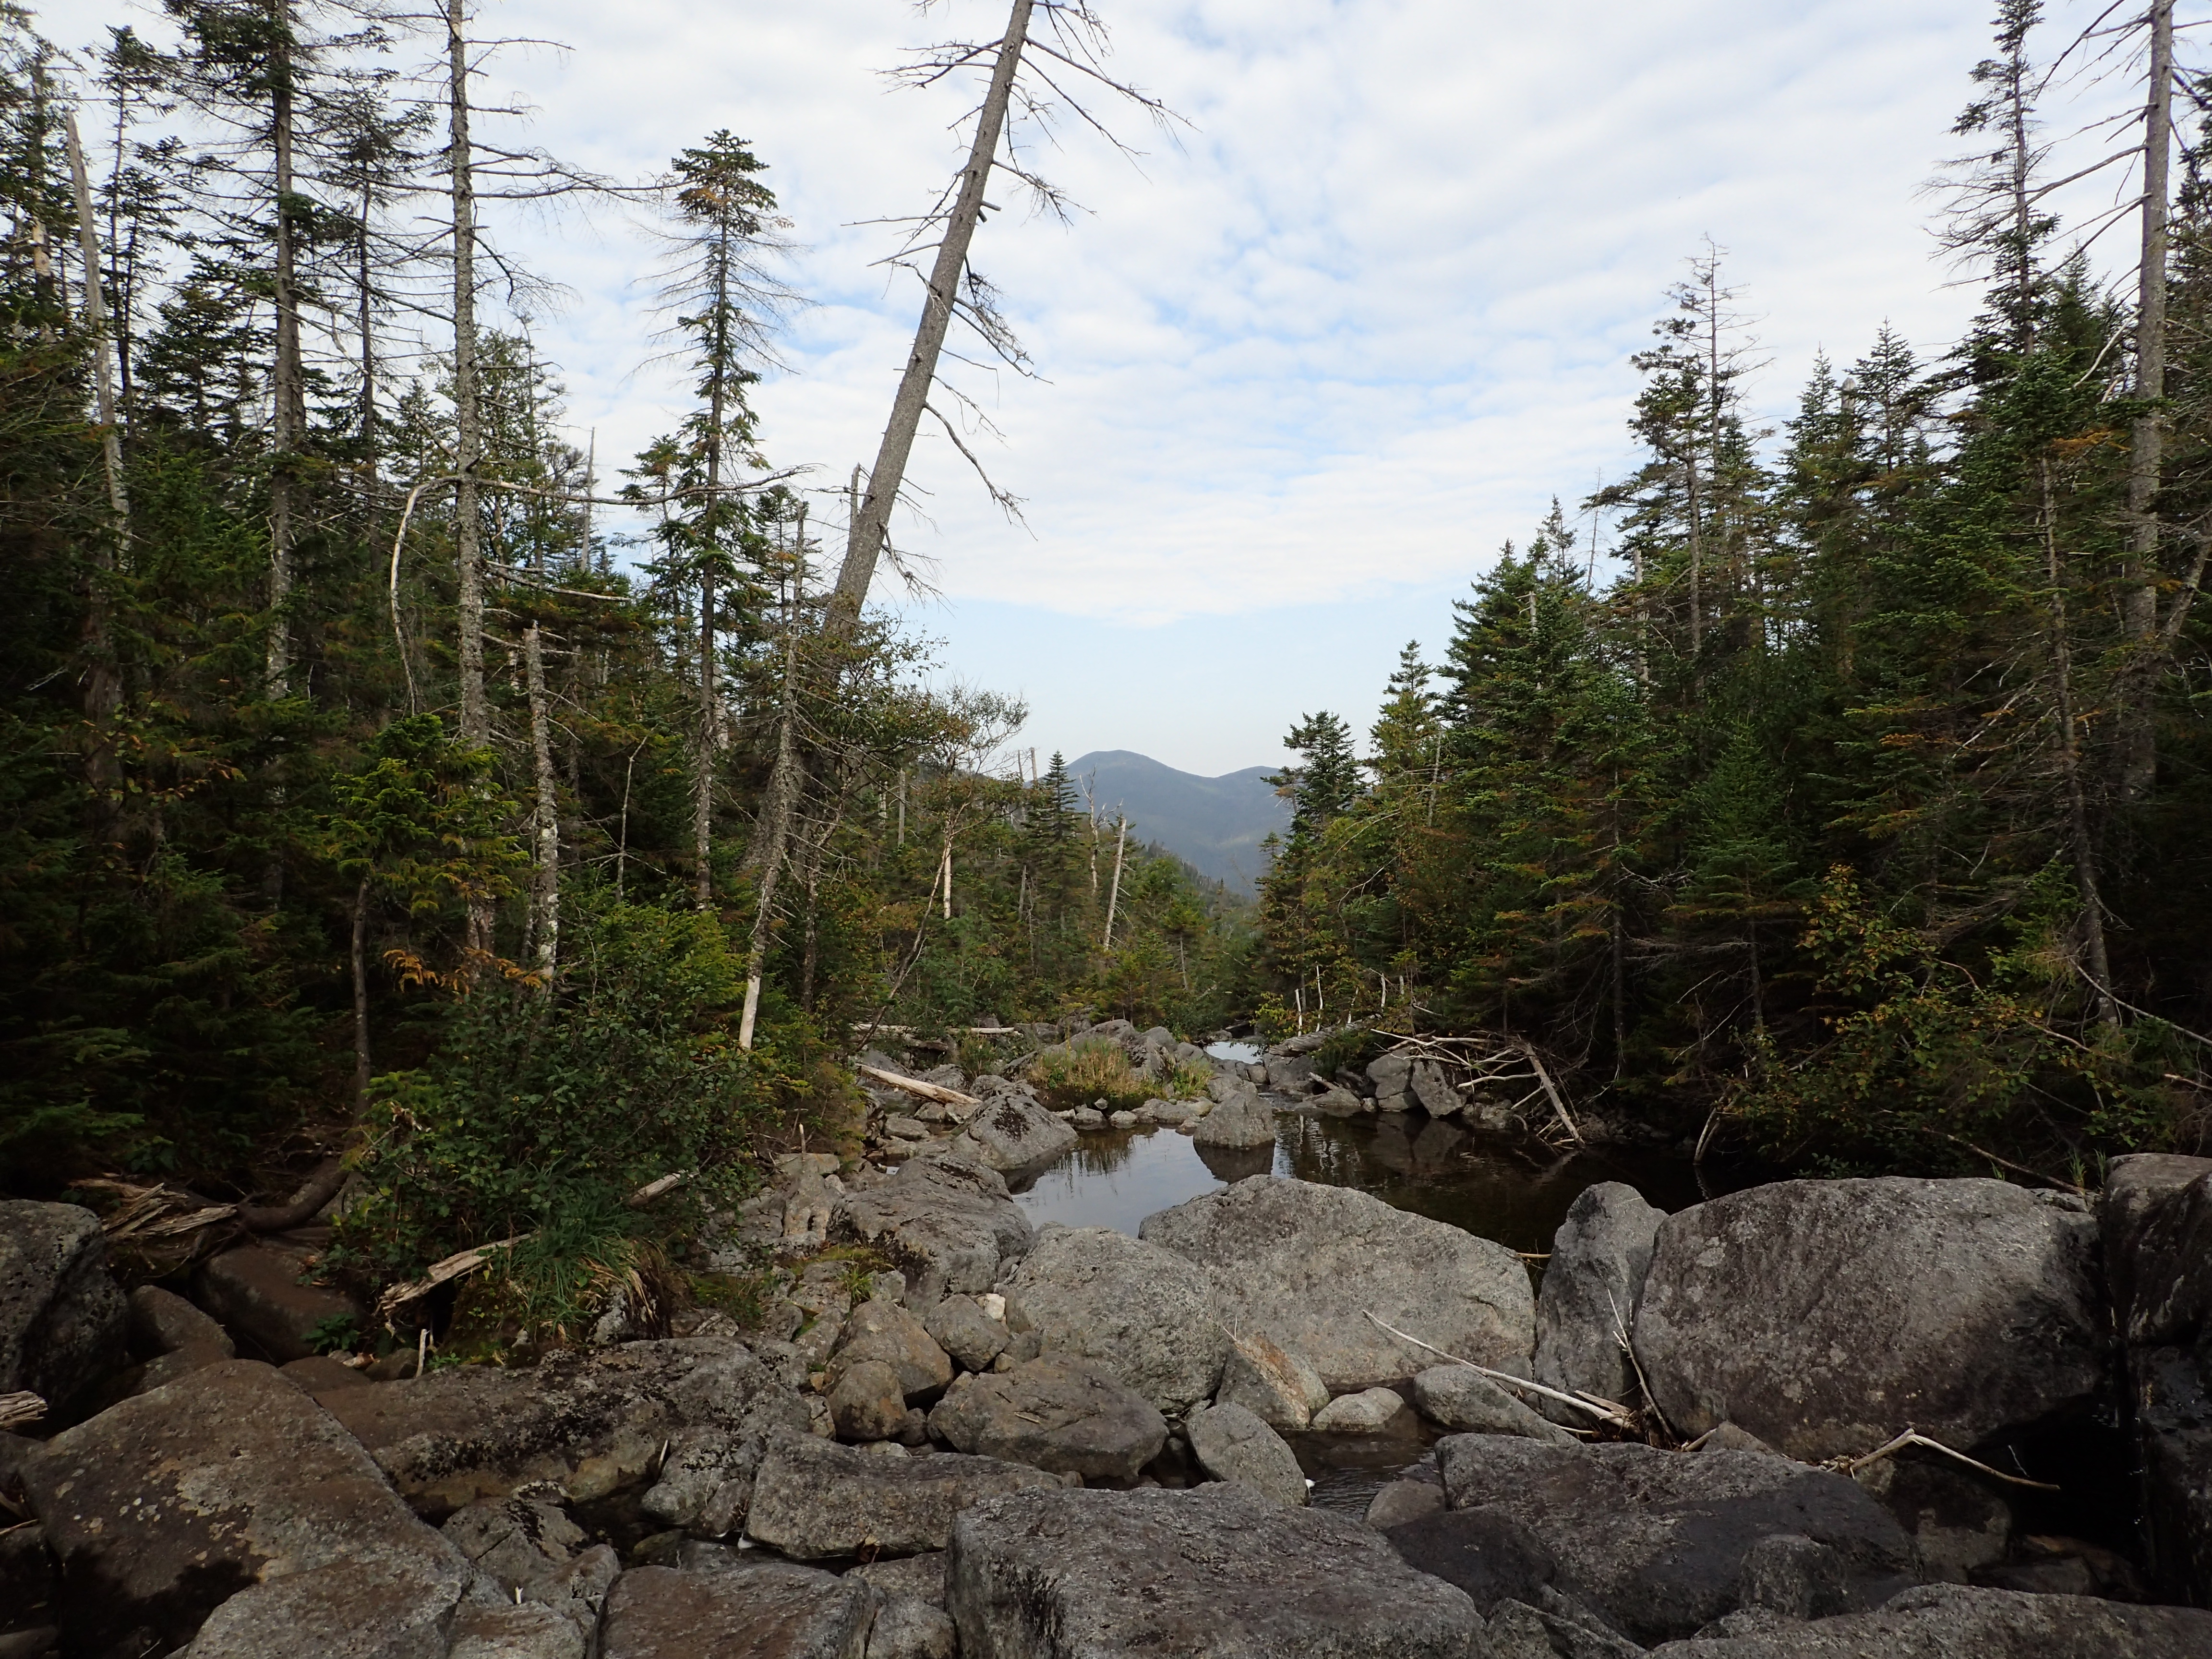
At this point you will have to go back down hill a slight way towards the Feldspar brook and the Uphill Lean-to which is right near the herd path leading to Redfield and Cliff. However, before heading back down you will get a few nice views of the open area between some of the areas High Peaks.
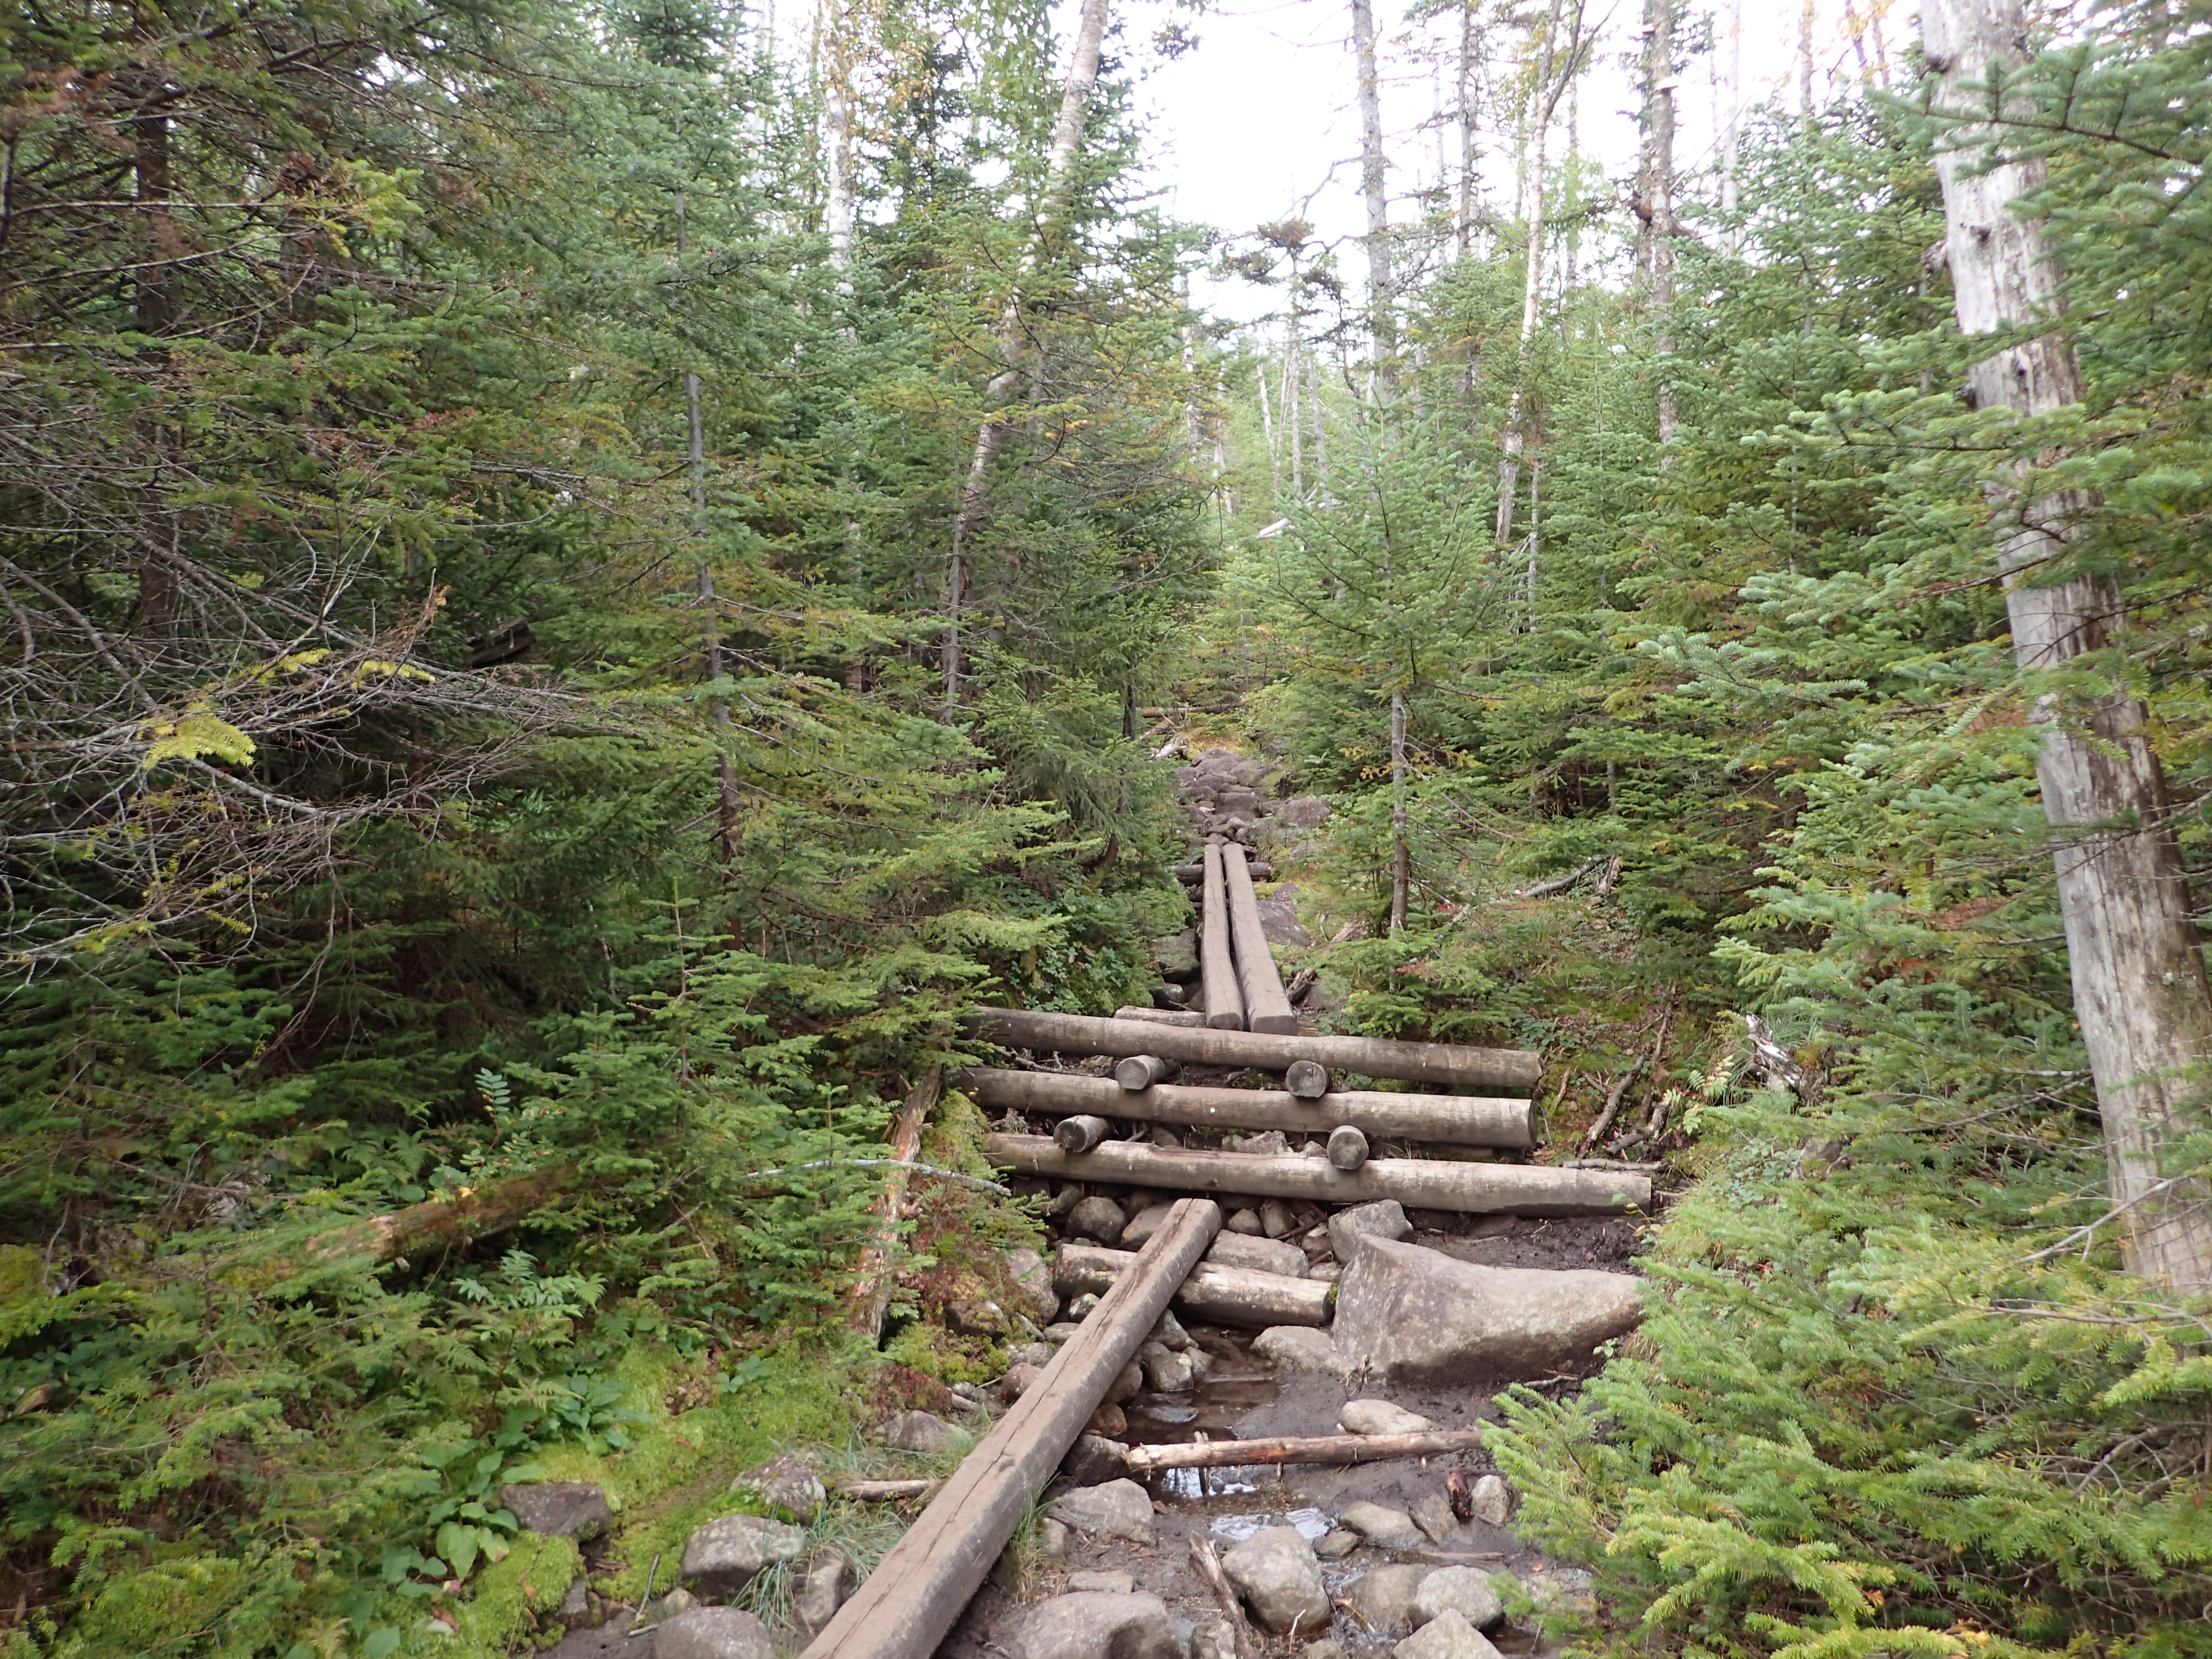
Once you reach the low ground you will come to perhaps the main reason why people avoid coming this way. There is water. Water. Everywhere. Lucky for me and you though, there are log bridges which make it a pretty easy affair. You just want to make sure to keep your balance because if you fall in, especially in some spots, you will be going for a full on swim. I believe in the past following Irene this trail was in extreme disrepair, and mostly impassable, but on this particular day it was in great shape and I managed to stay dry the entire way. Although I would say that it may be time to consider rerouting the route through higher ground.
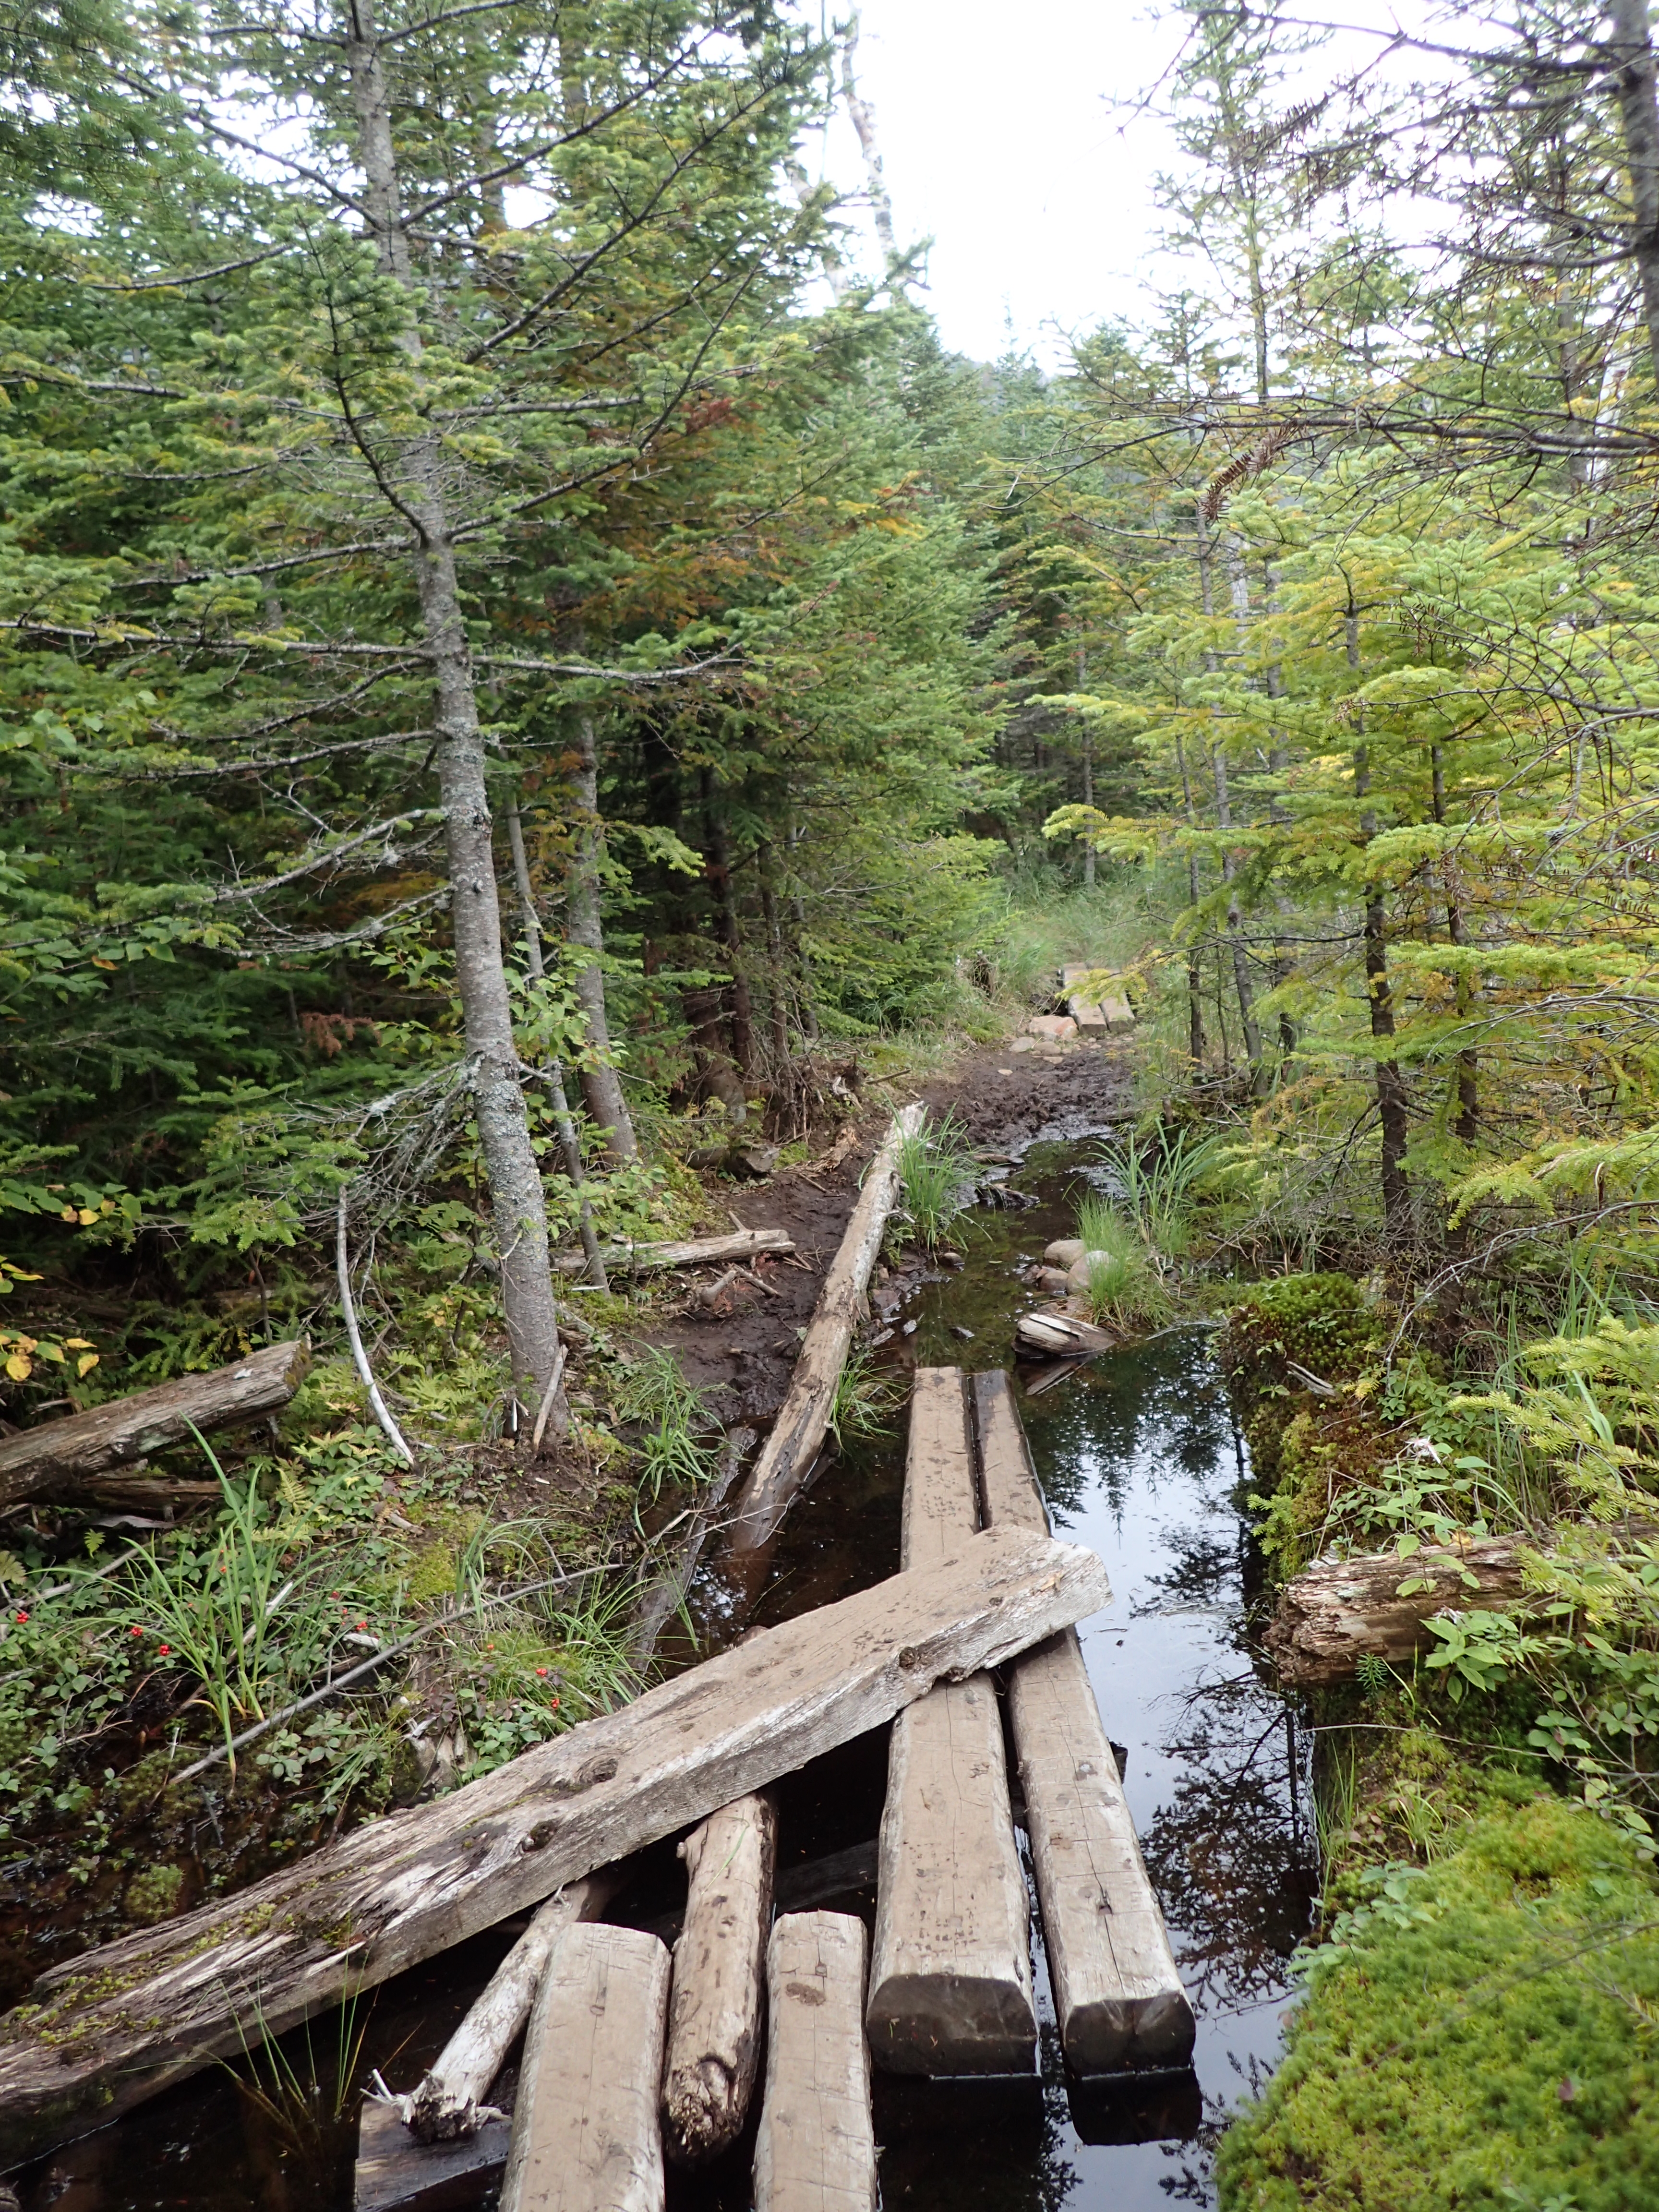
Low water and little mud on this hot day.

It may not seem like it but this water is probably close to 5 ft deep in spots adjacent to the logs.
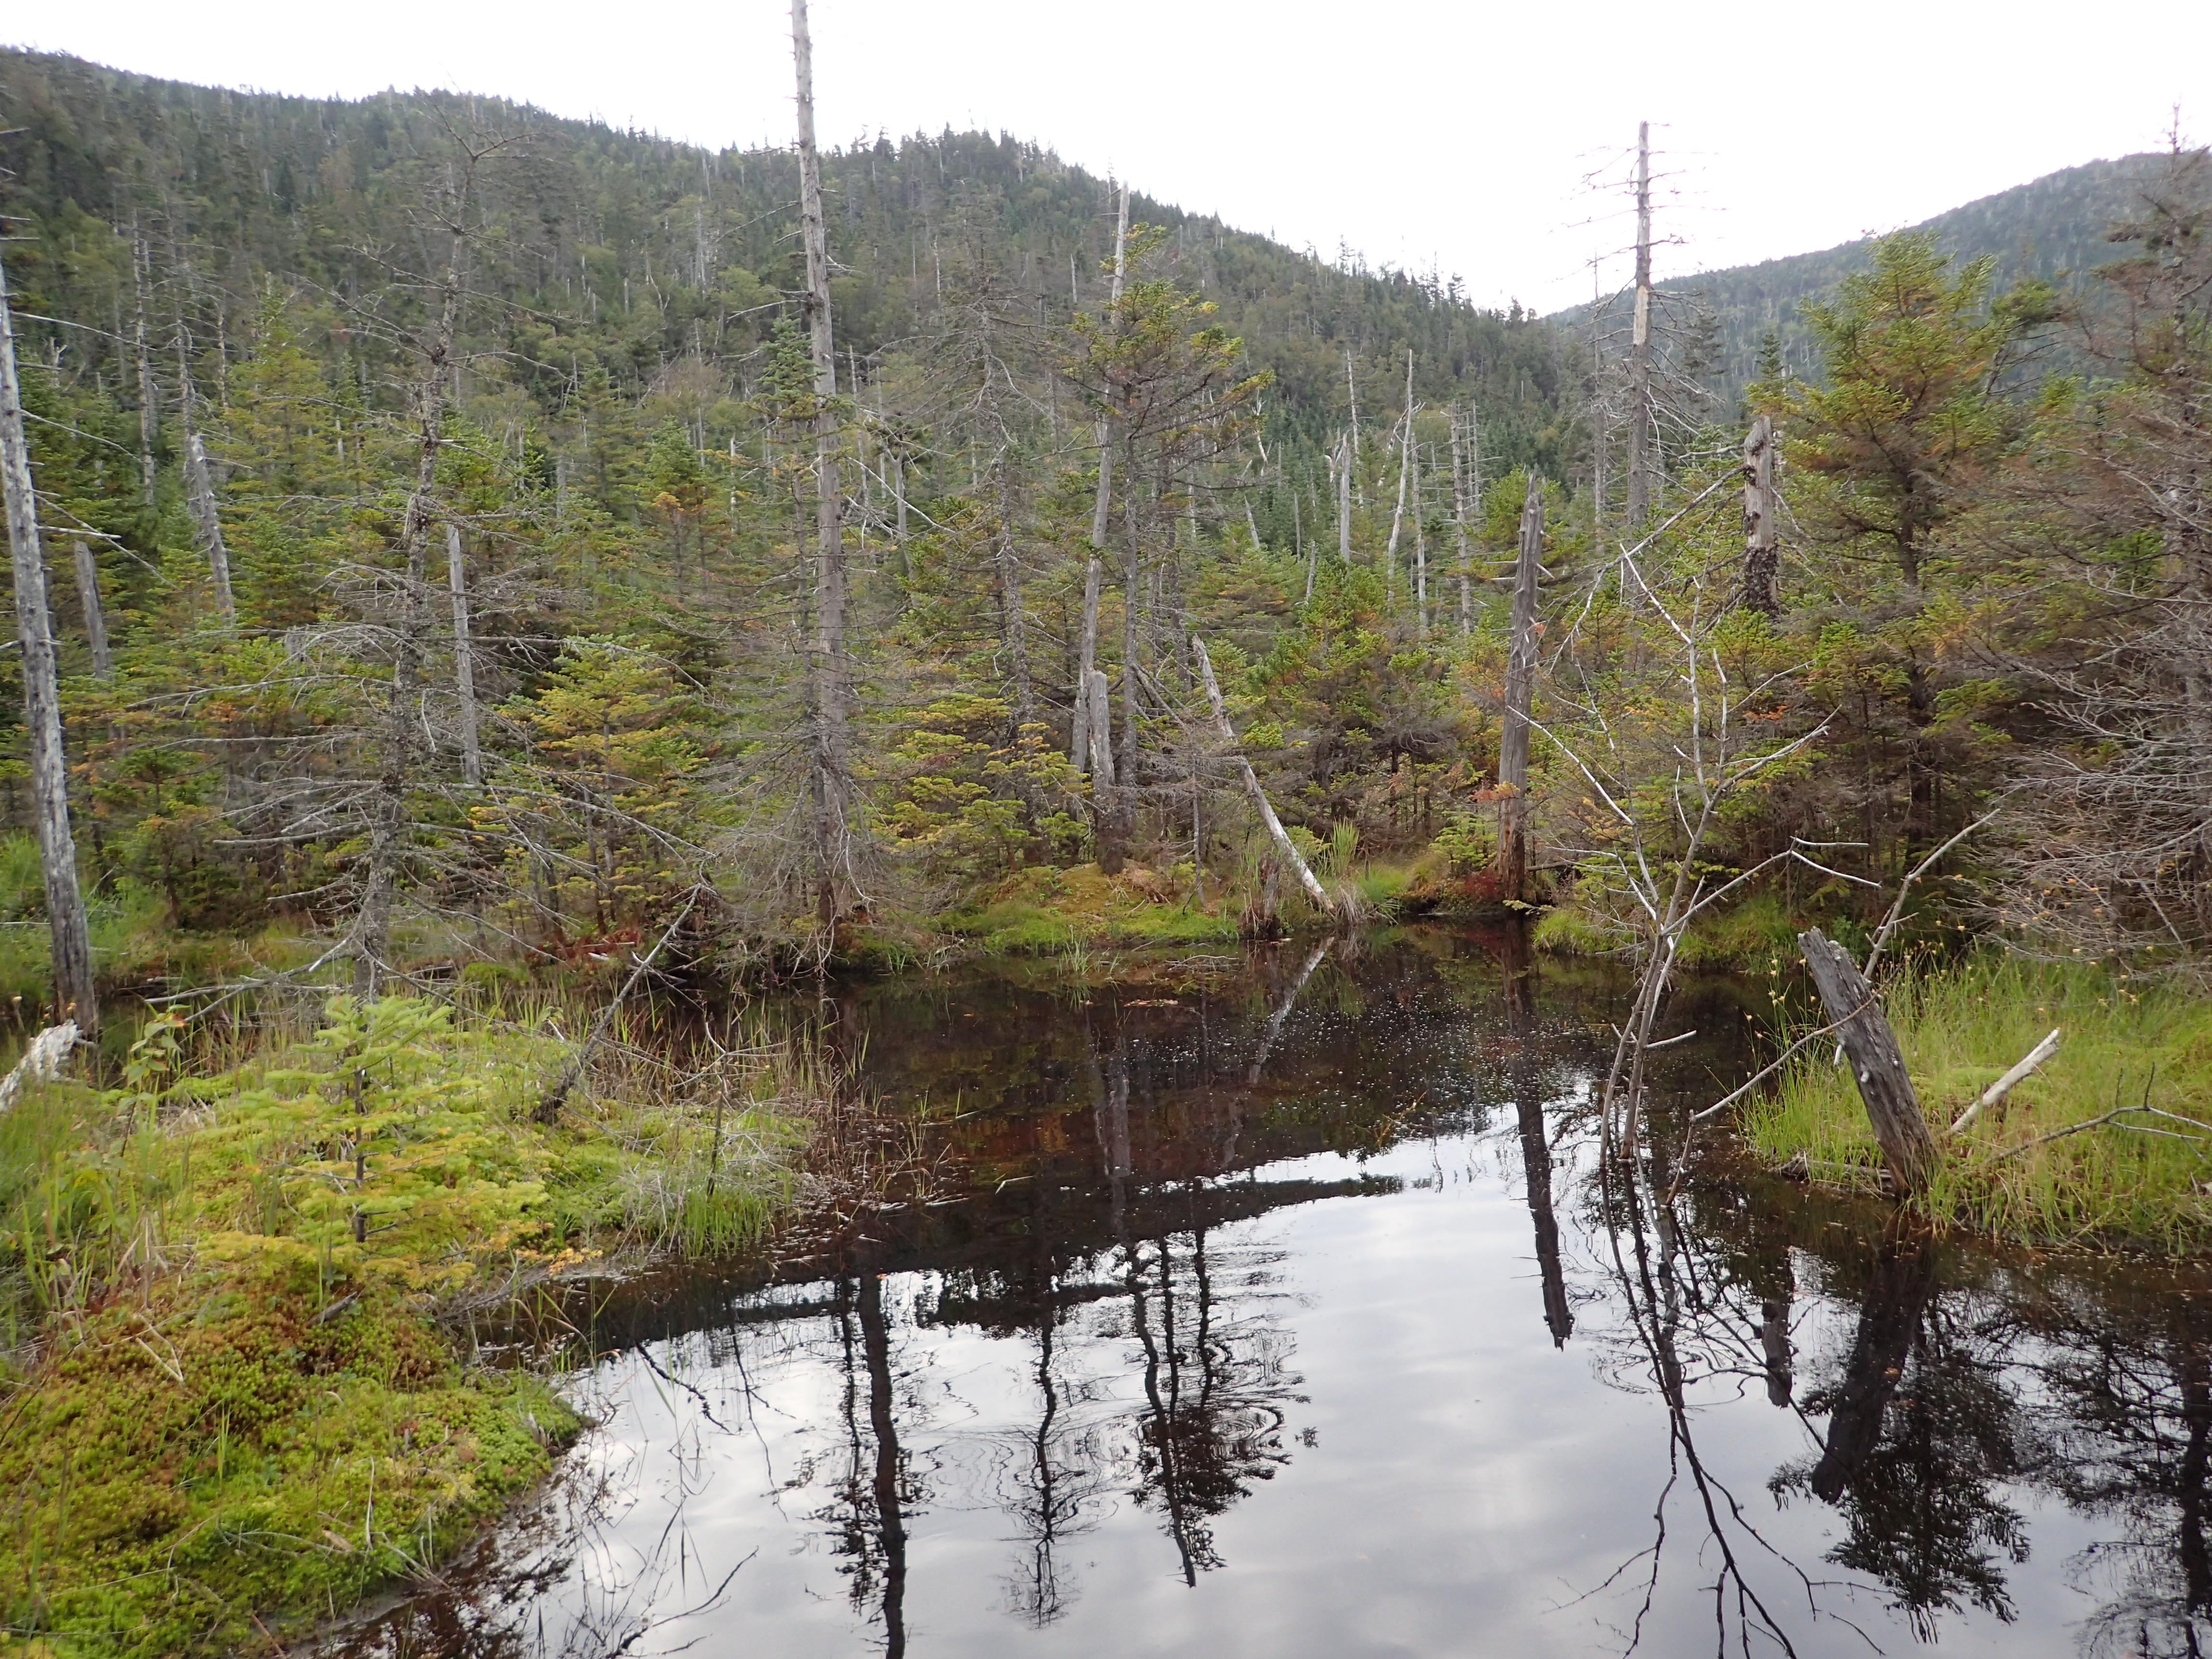
In my opinion it is still quite pretty.
Once you make it past the wet stuff you will come to another trail junction. At this one you want to make a right turn leading you towards the Uphill Lean-to.
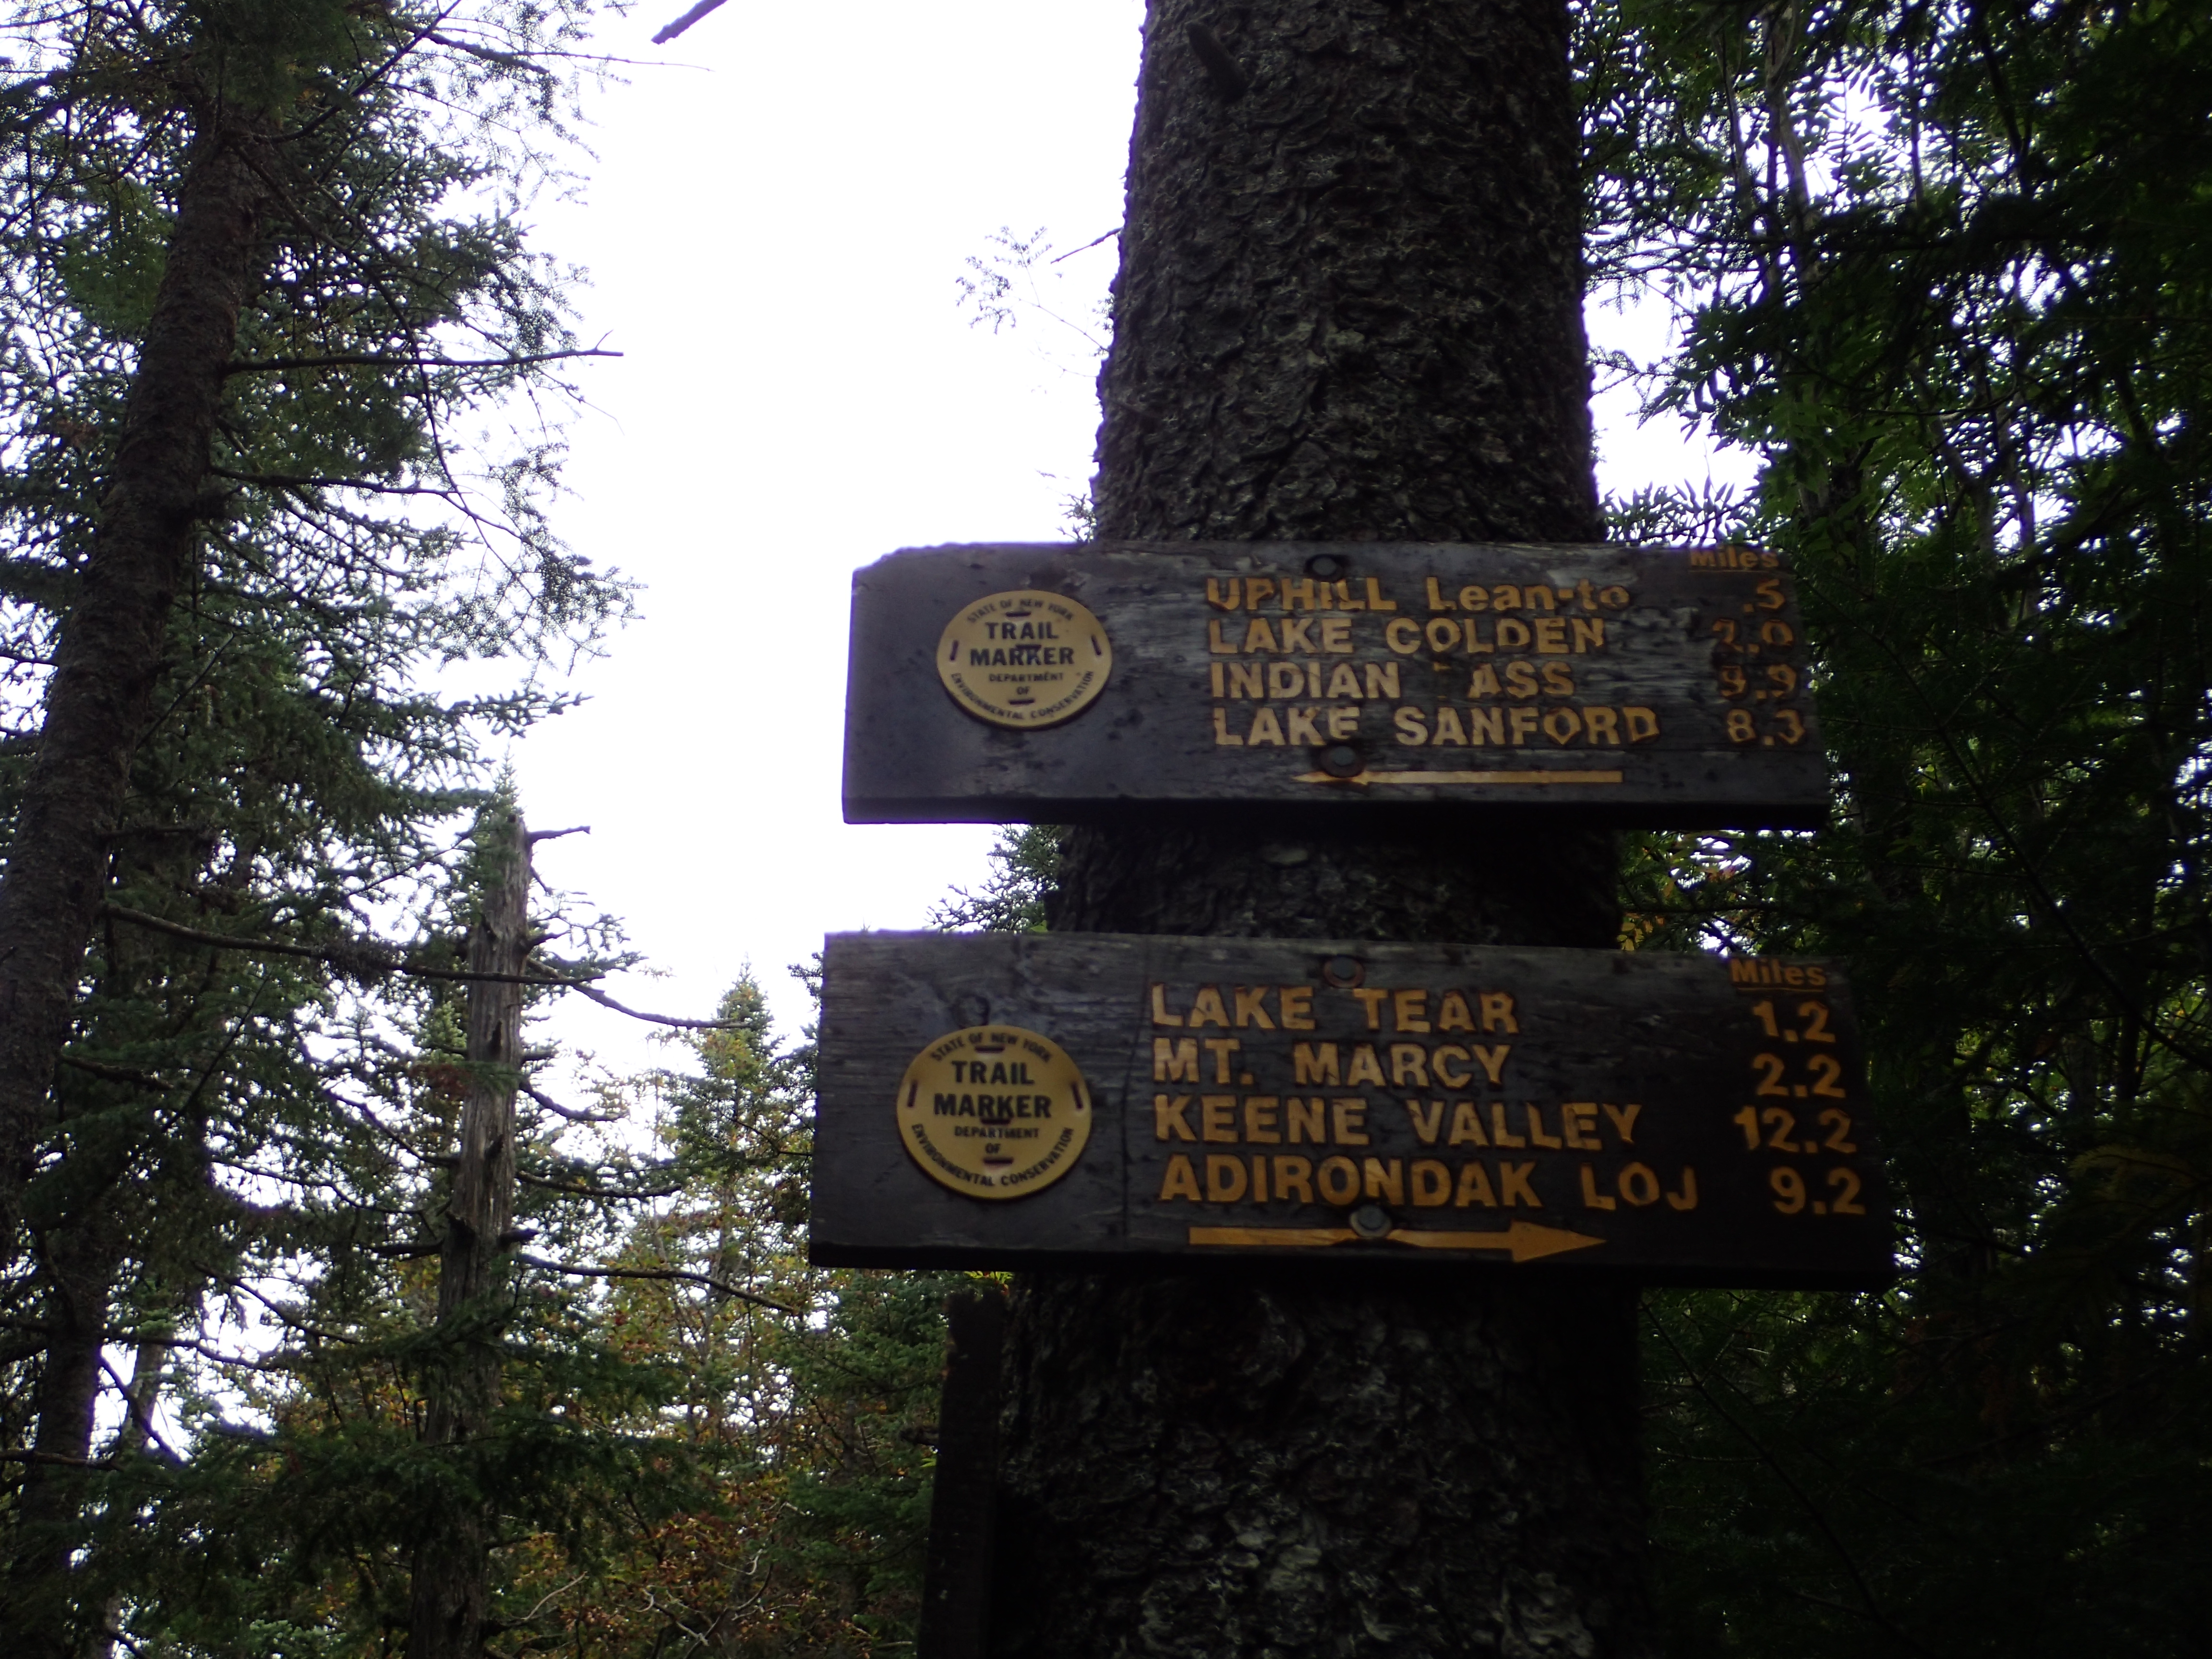
Take the Up Hill Lean-to direction.
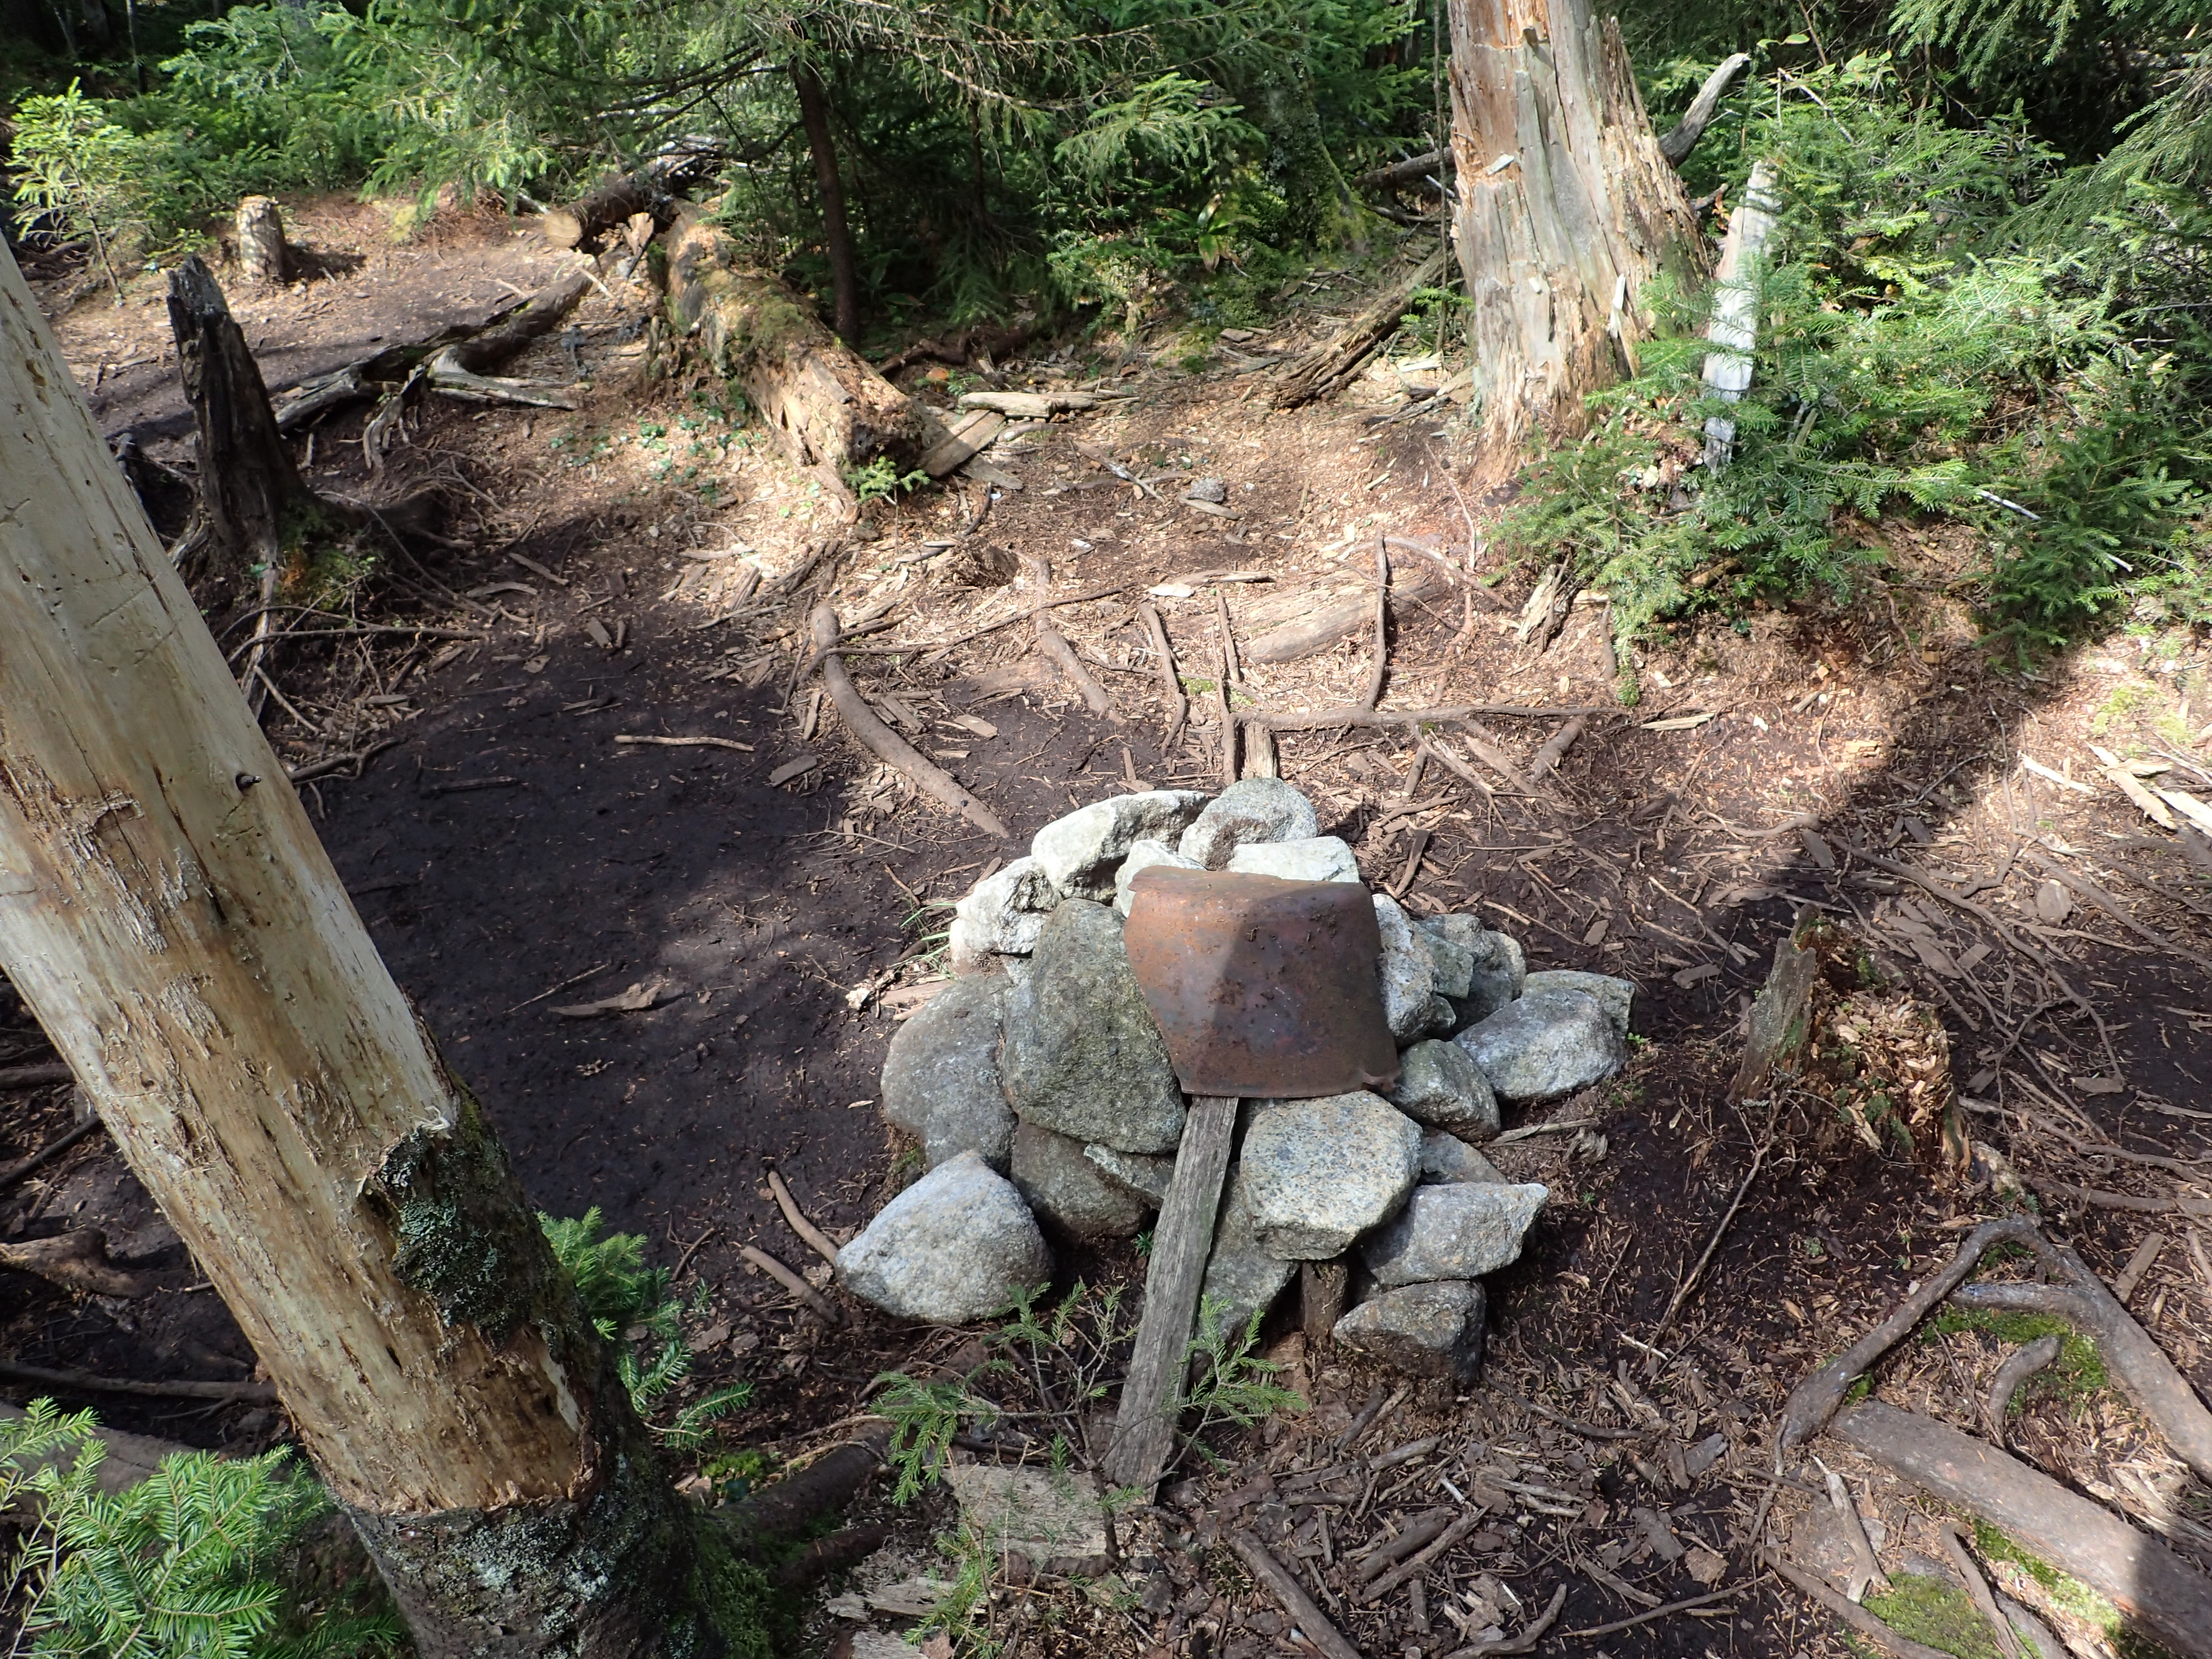
Once you pass the Feldspar Brook after taking this junction begin to keep an eye out because the cairn for the herd path will be coming up soon on your left, not far from the Uphill Lean-to. I made it to the brook at 8:45am.
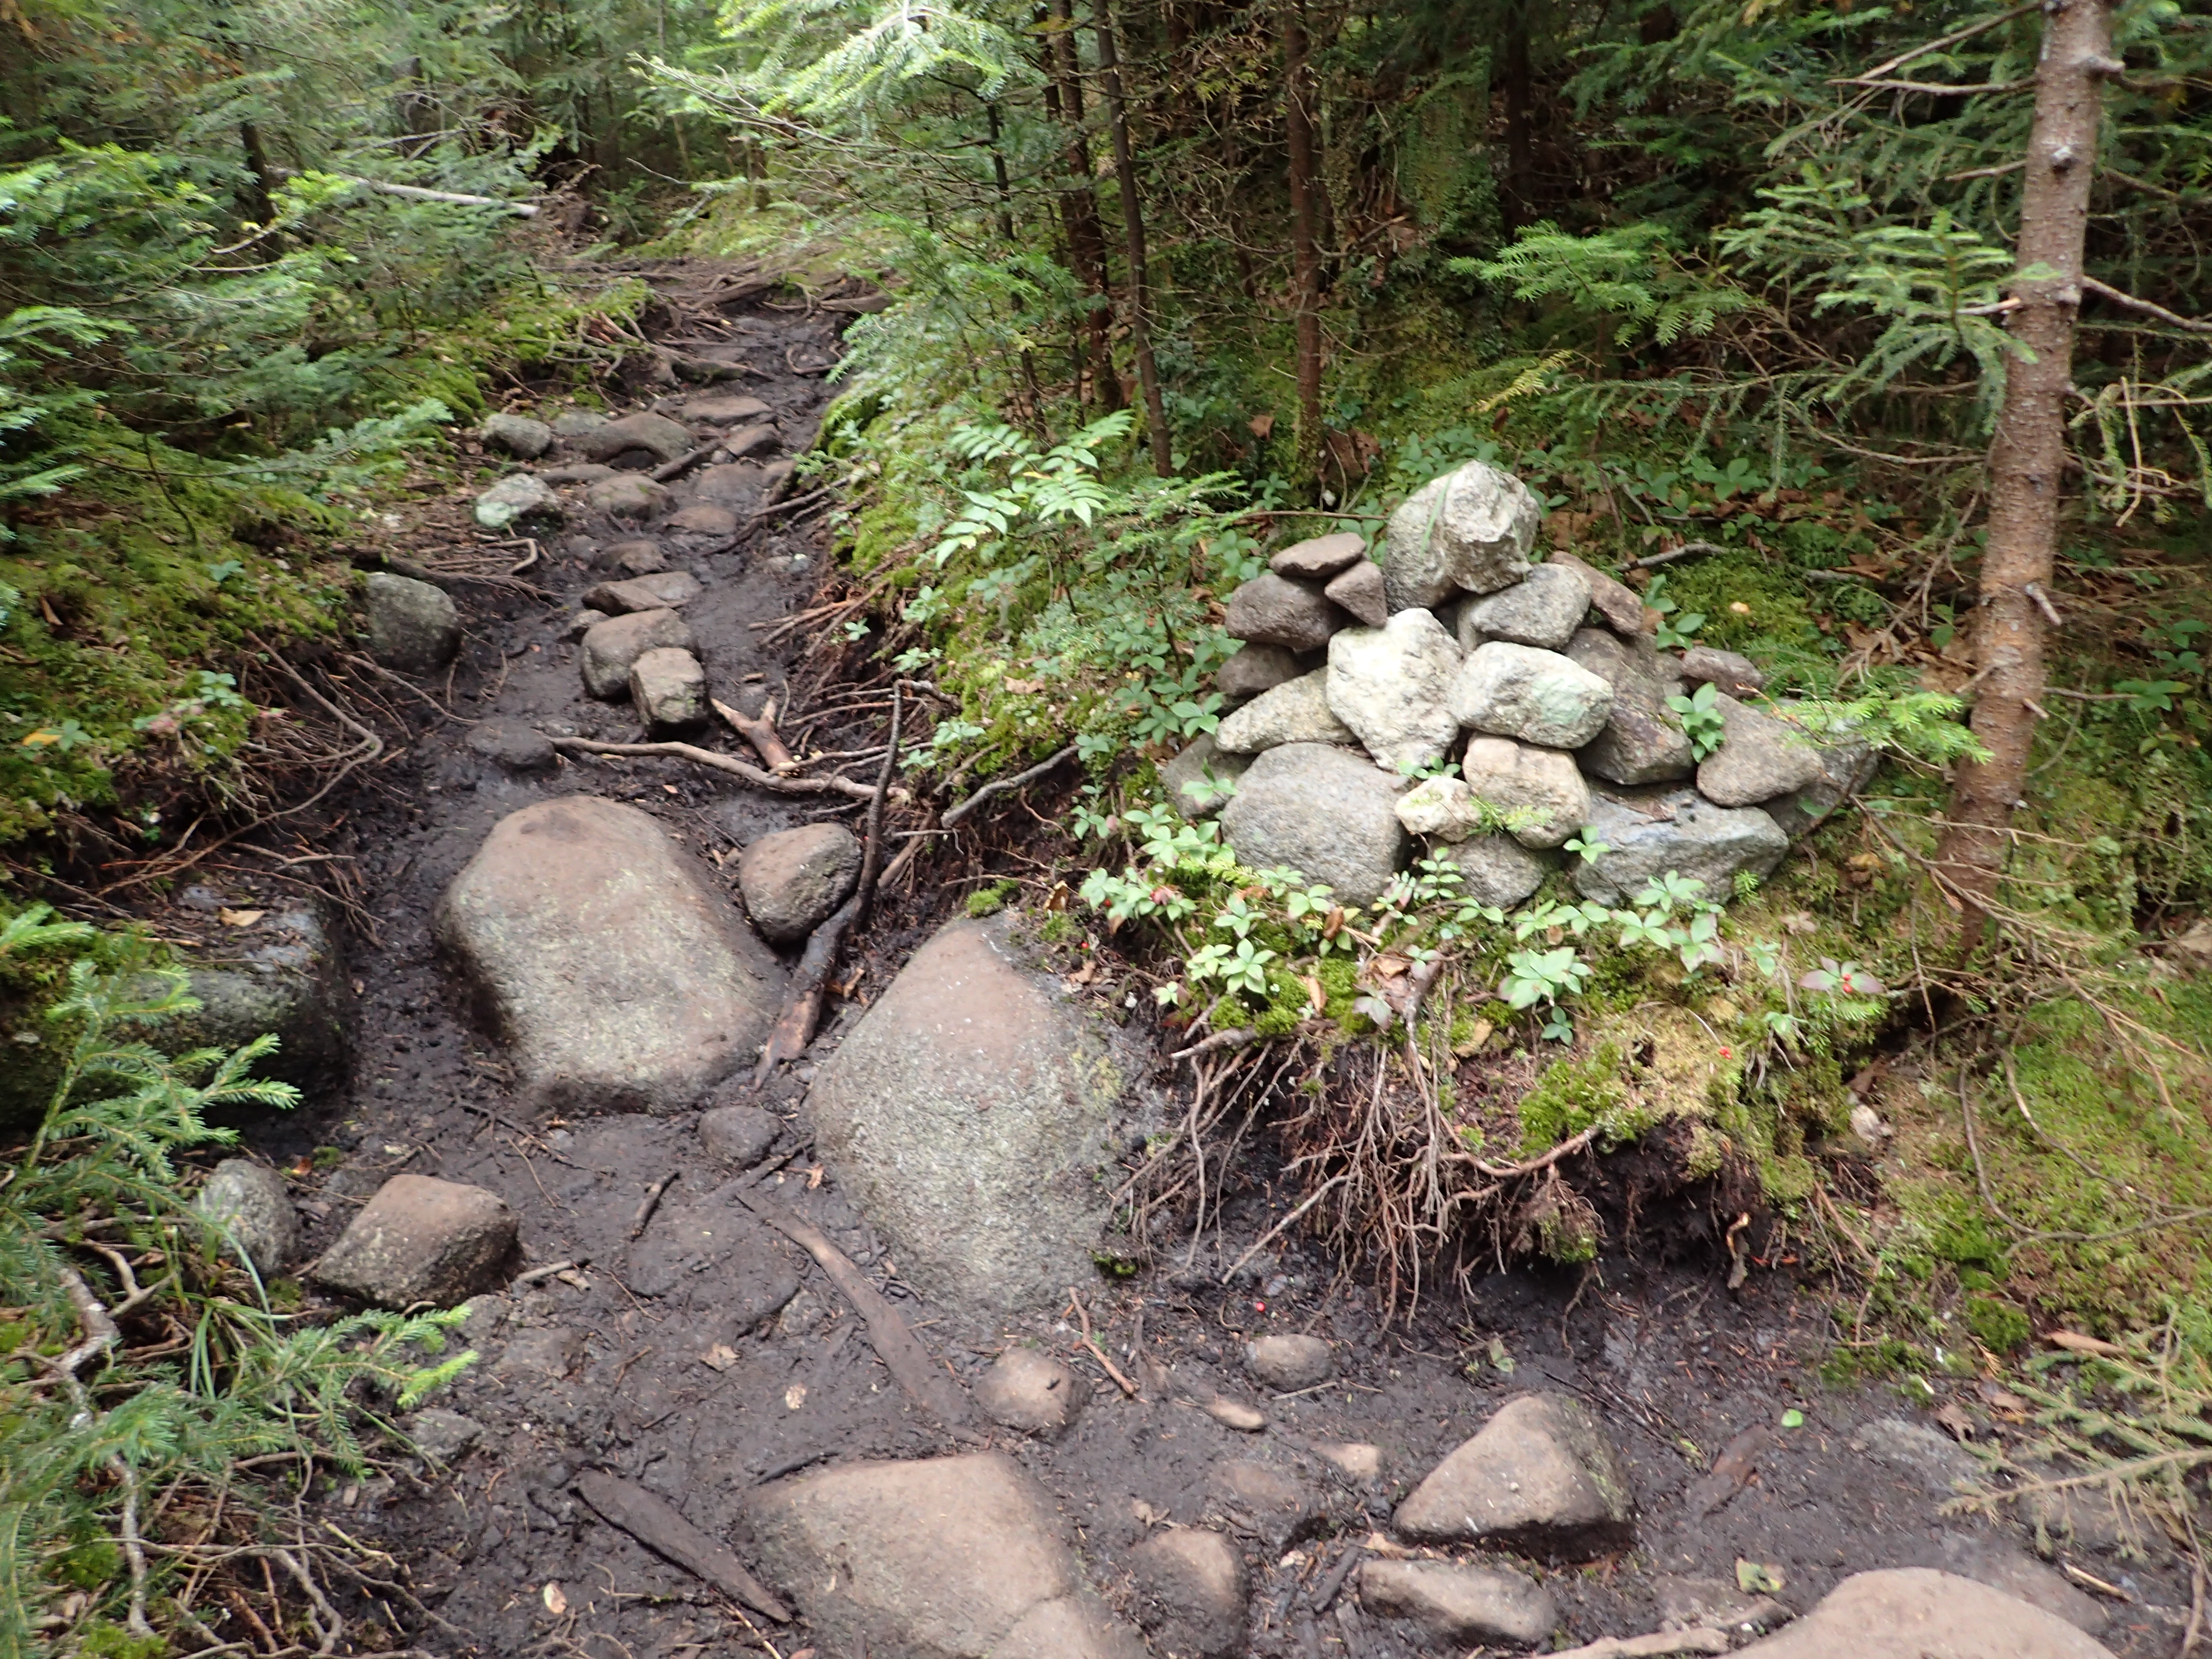
Cairn marking the heard path for BOTH Cliff and Redfield.
I made it to the cairn in no time and hung a left to head towards Cliff and Redfield. Both mountains in this case share the same herd path leading away from the Uphill Lean-to area. A little further up the trail you will come to the cairn marking the split between Cliff and Redfield. Continuing straight will take you to Redfield (the furthest and tallest of the two) and hanging a right into the mud will take you to Cliff. On this particular day I decided to get the taller and longer hike out of the way first, so Redfield was first up for me.
Cairn marking the Cliff and Redfield trail split.
Initially I have to admit I did not expect much in the way of views or scenery from either one of these peaks but I was very pleasantly surprised by the hike up Redfield. The hike itself is very similar to heading up a mountain like Tabletop as it is a small herd path that winds its way along the brook and through narrow trails in the trees as you near the summit. However, on Redfield the brook is quite beautiful, perhaps one of my favorites actually, and I would recommend taking some time to enjoy the views along the way. There are also several deep pools which would be great for a swim on extra hot days.
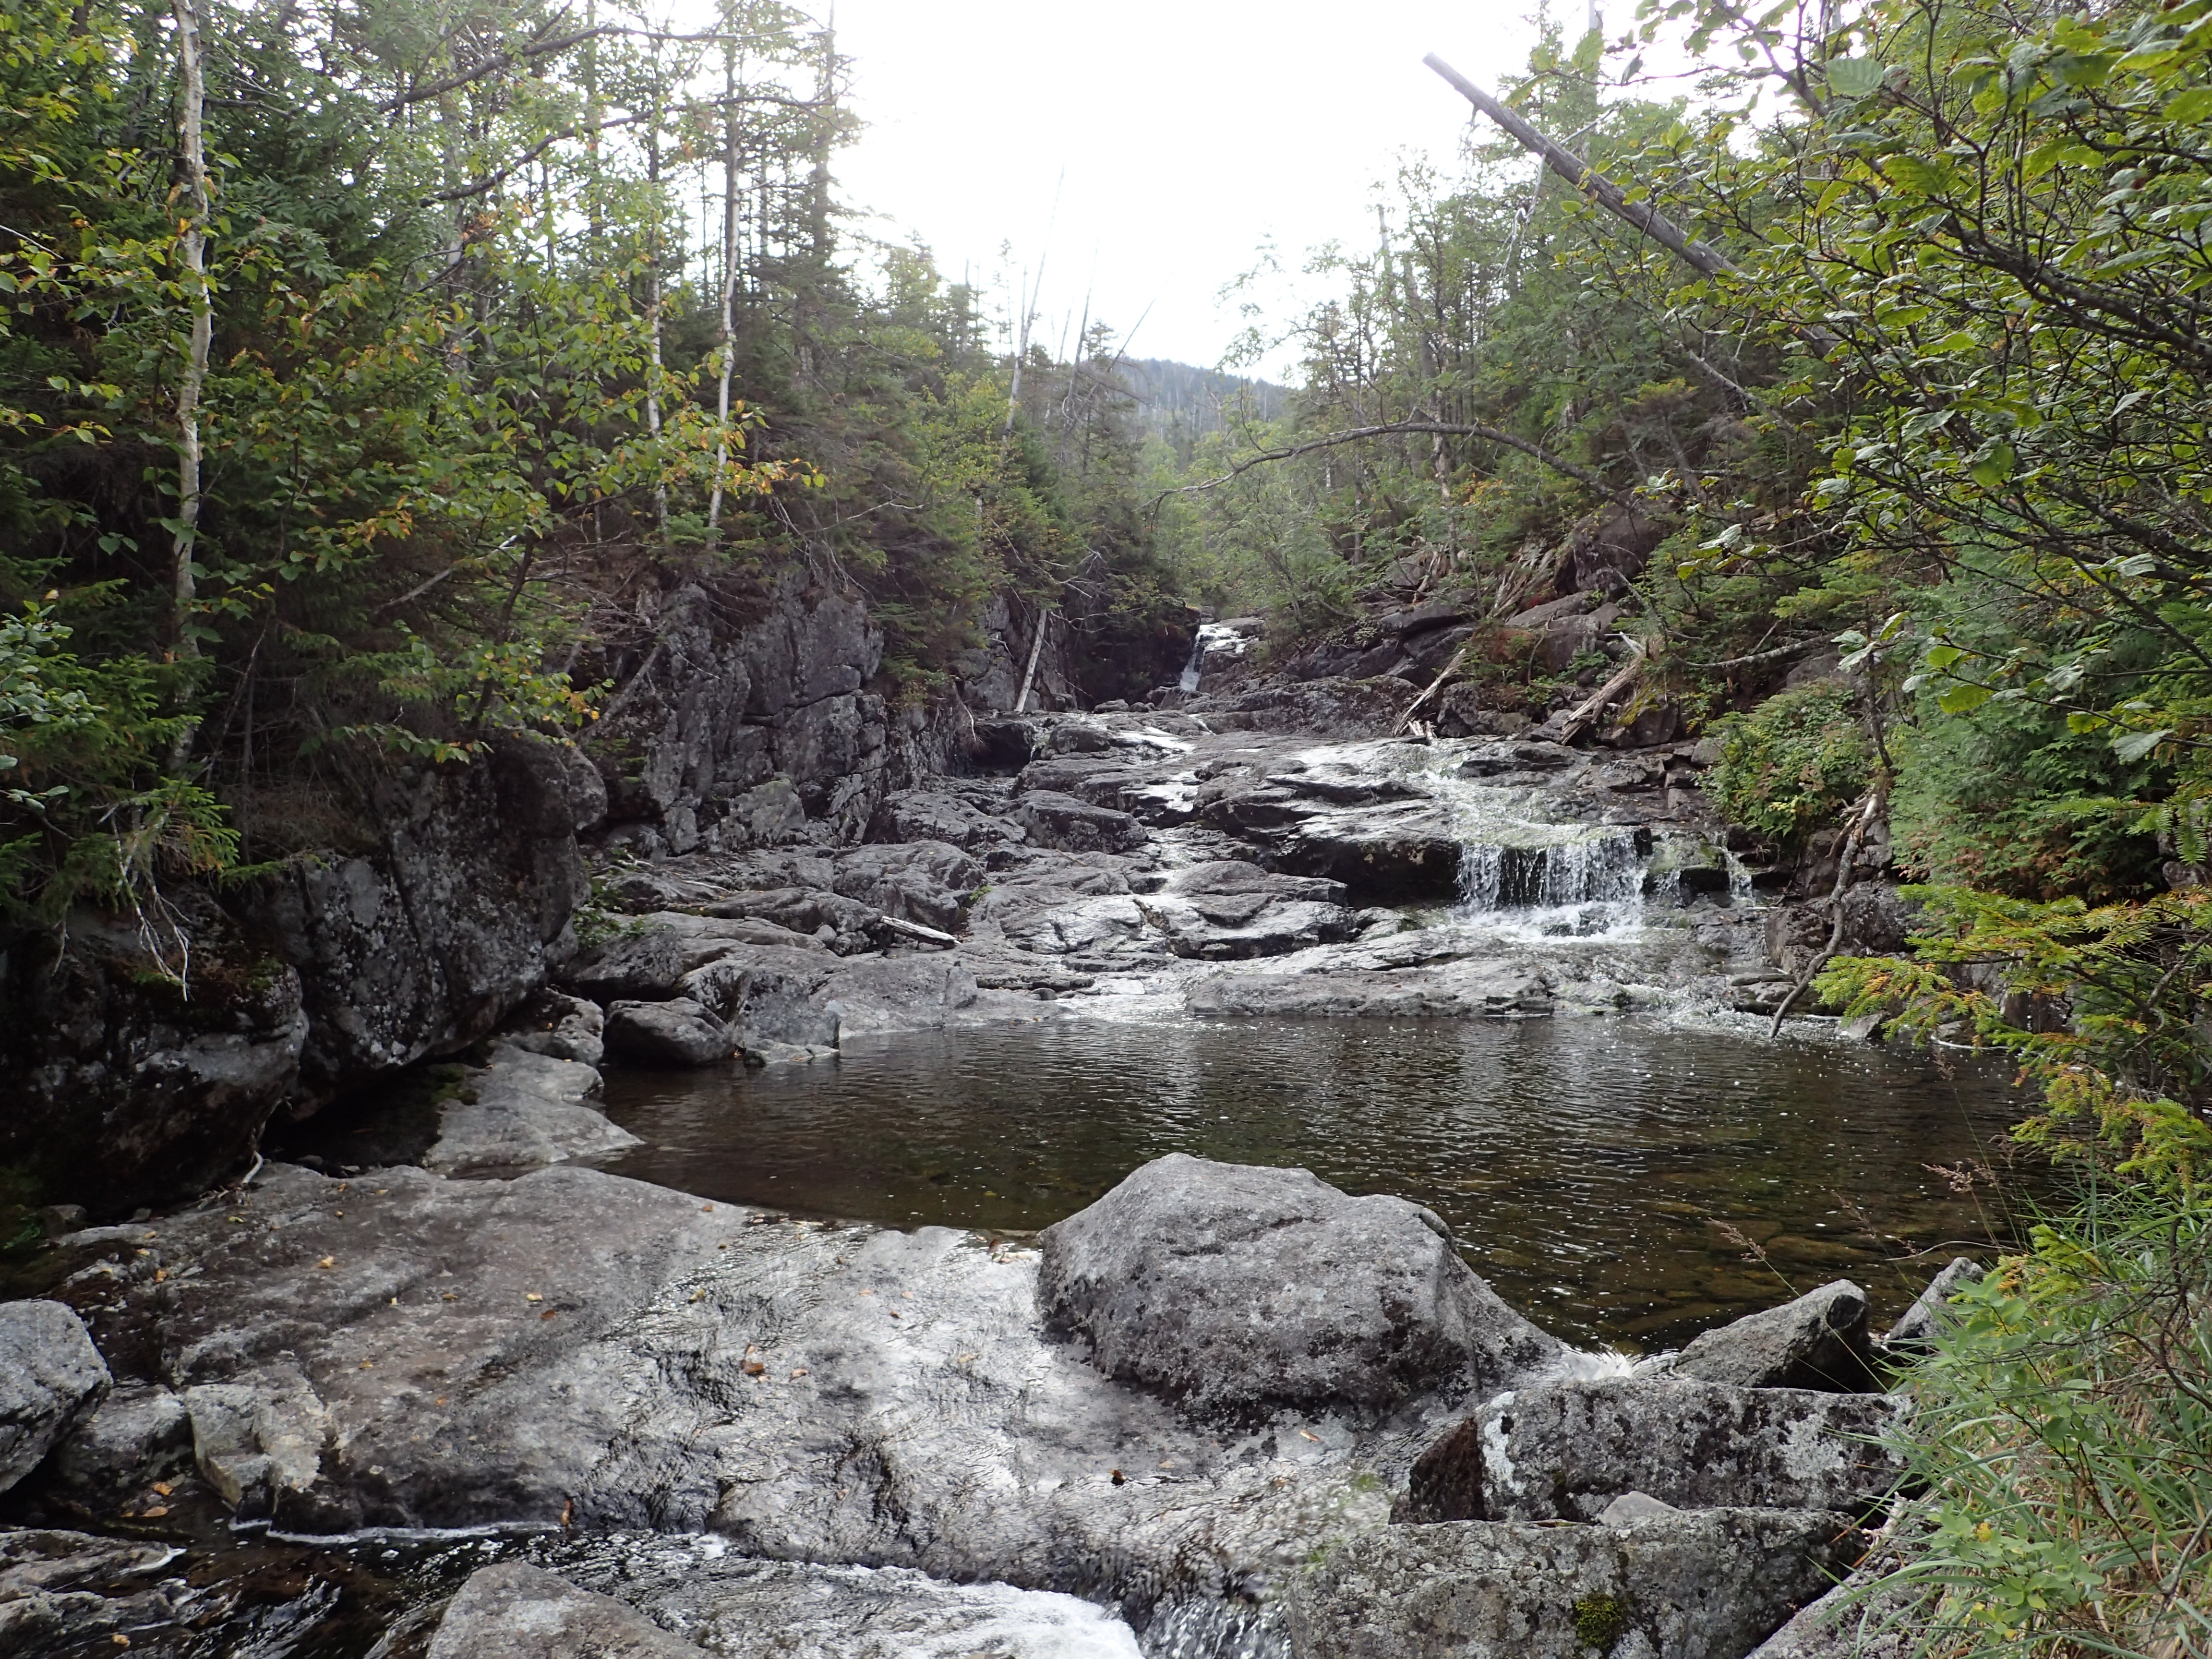
Care for a swim?
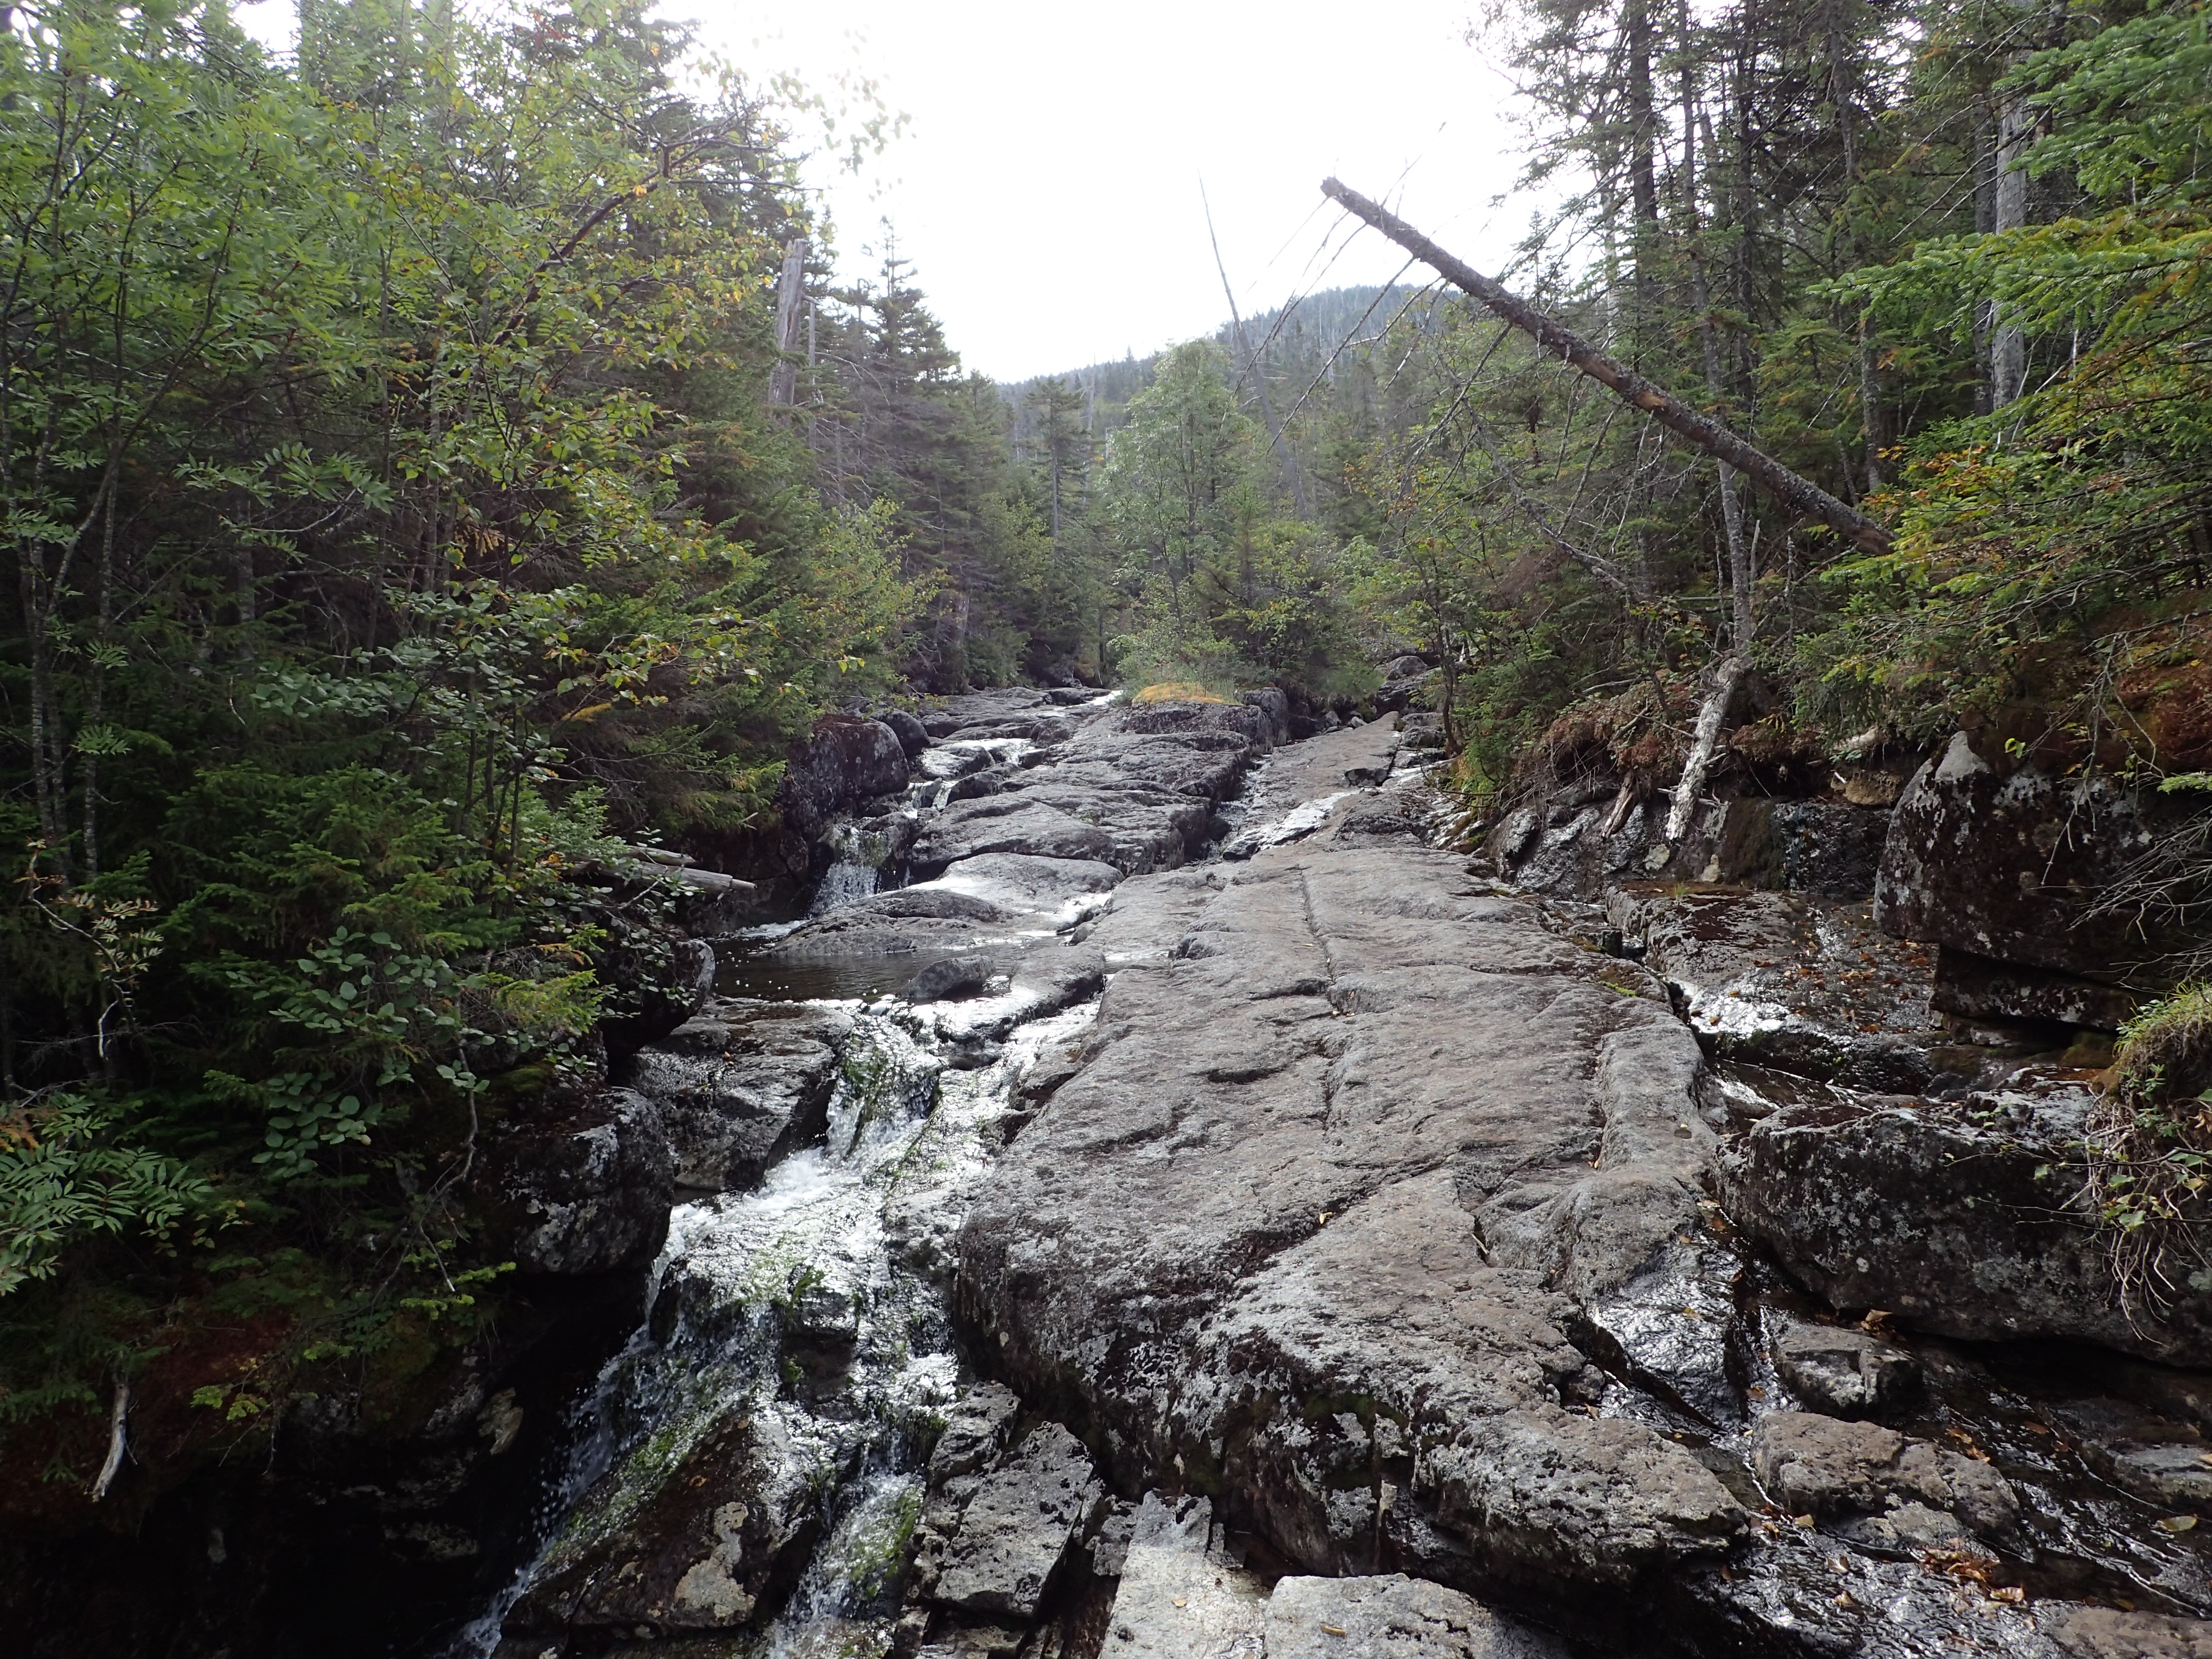
The trail hikes along the slab in the brook at several parts, like shown in the photo.
Looking back down the brook.
After taking my sweet time hiking up because of all my stops to enjoy the views, I made it to the top of Redfield at 10:01am. On the top you will find a small wooden sign and disc marking the summit. The summit itself is wooded but if you look around you will see some boulders you can hop on top of to get some really nice views of the surrounding area, including Mt Marcy.
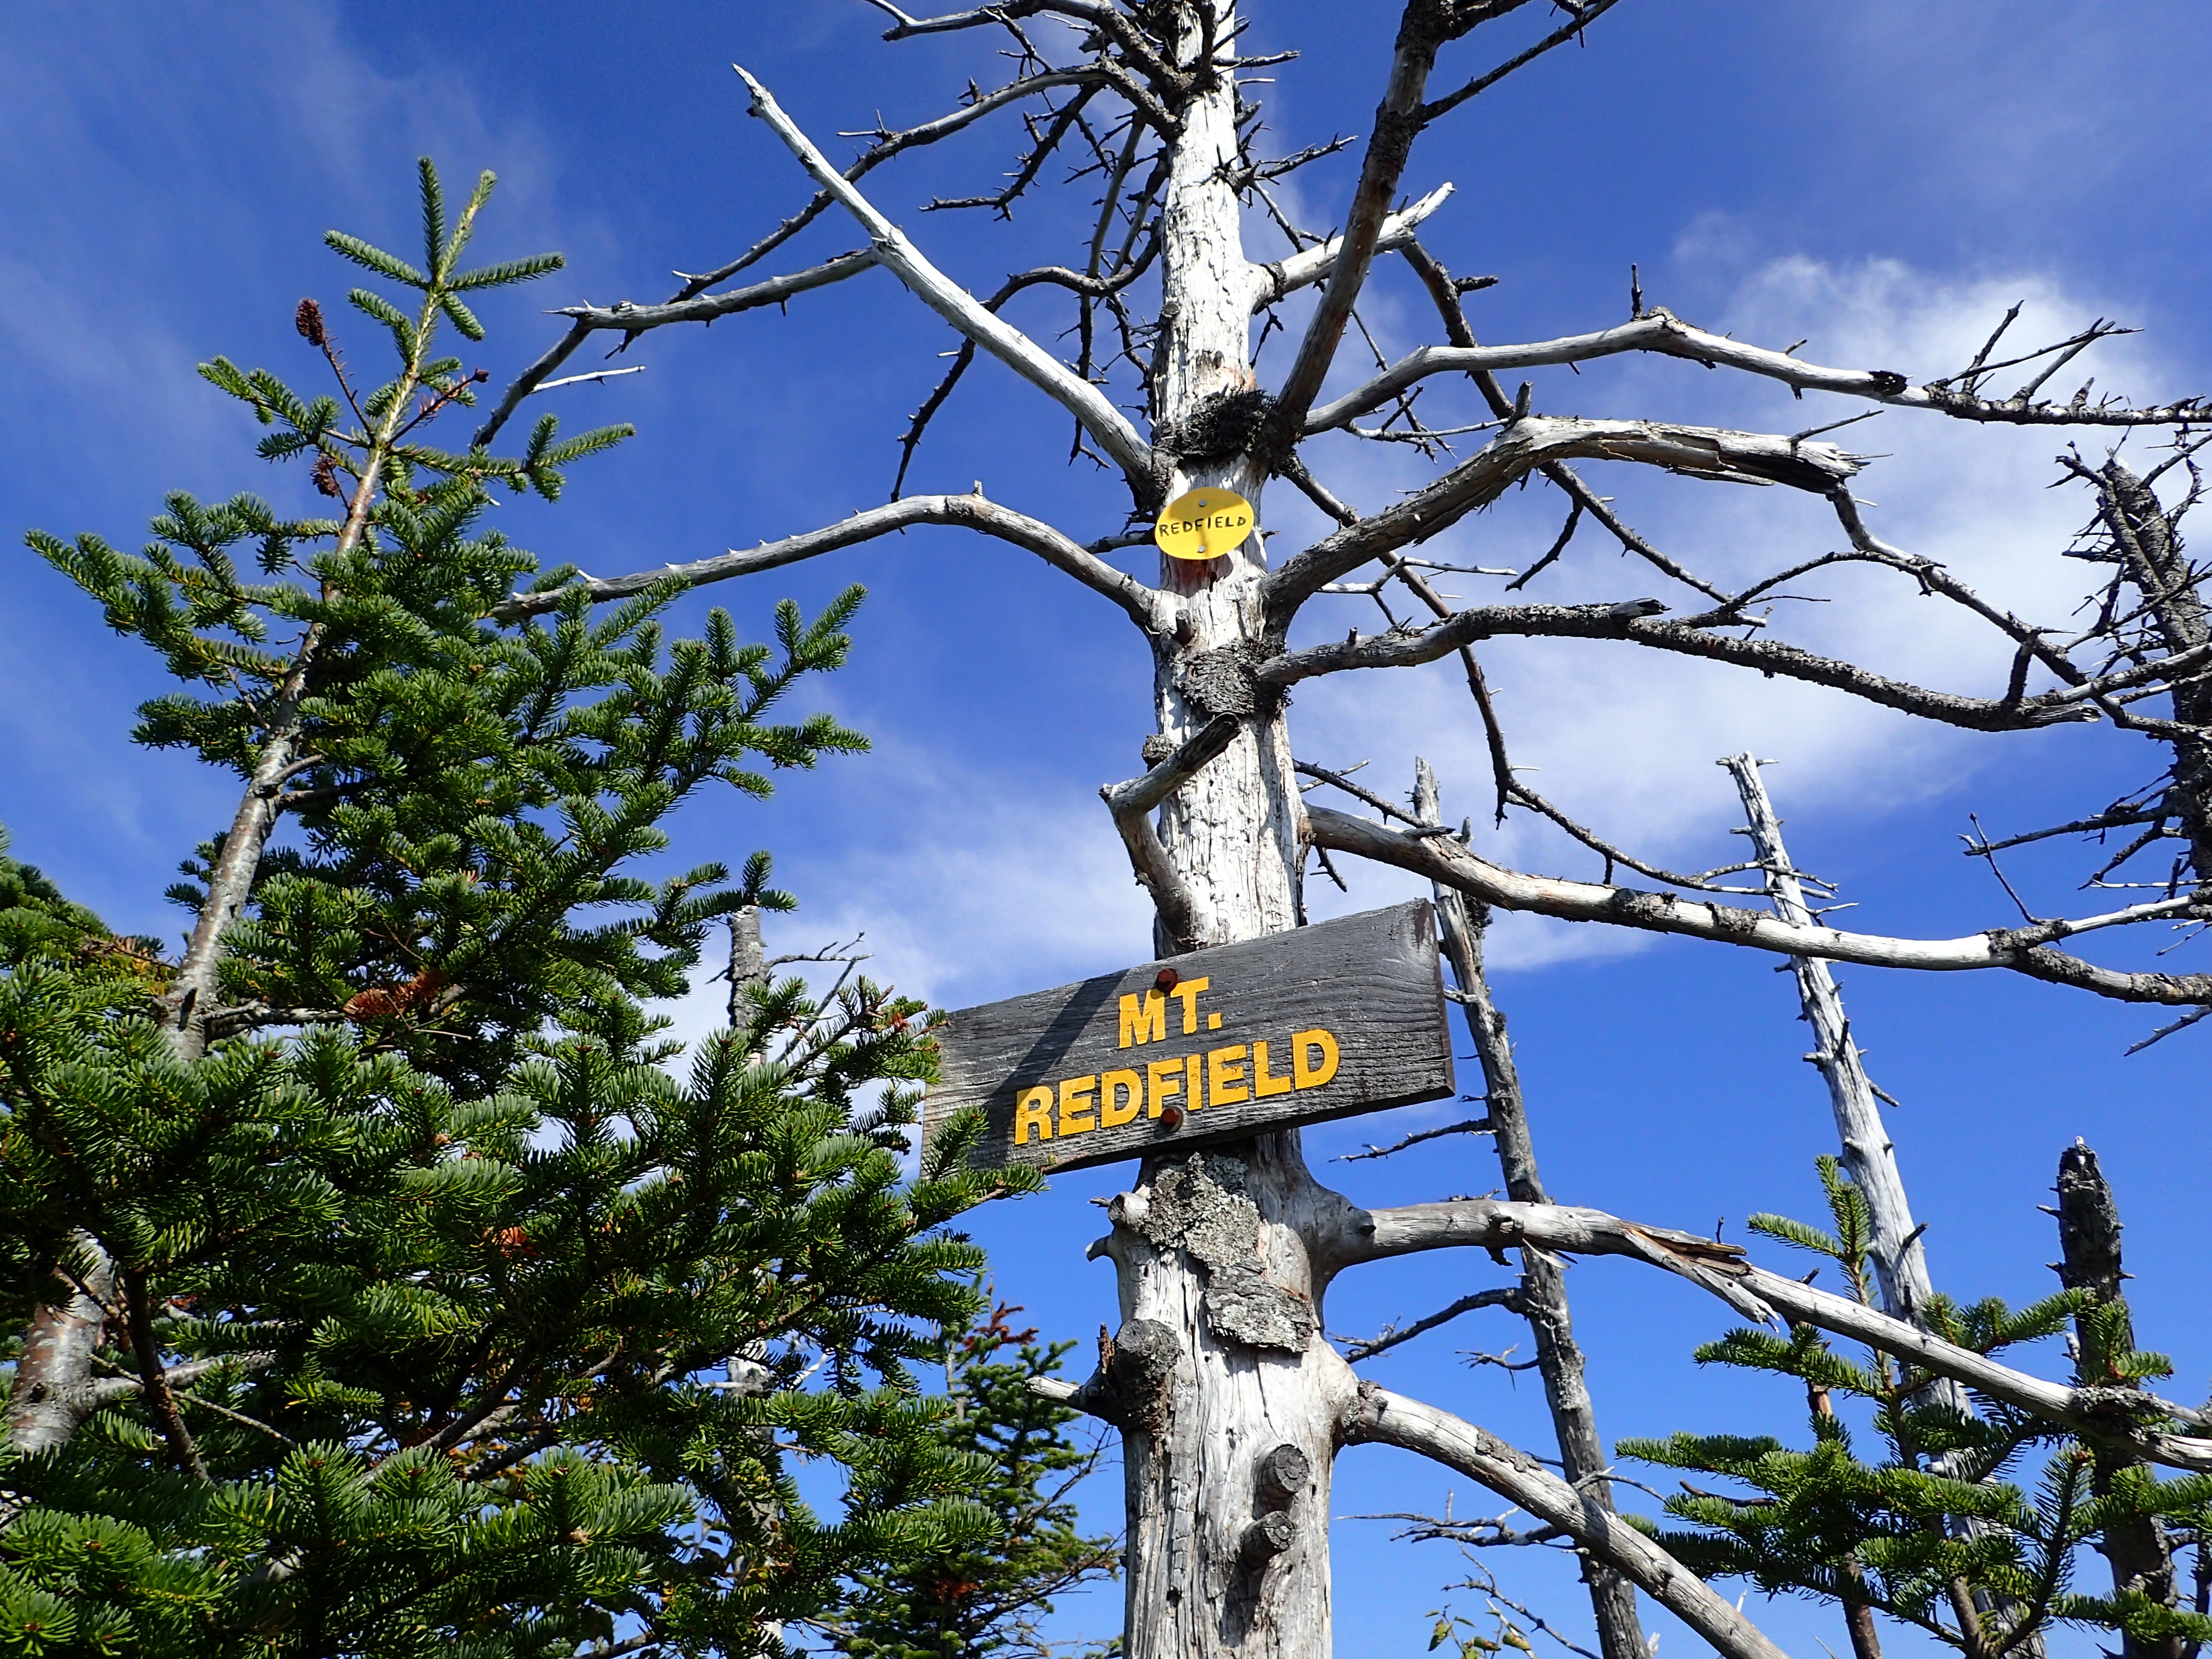
Mt Redfield Summit Sign
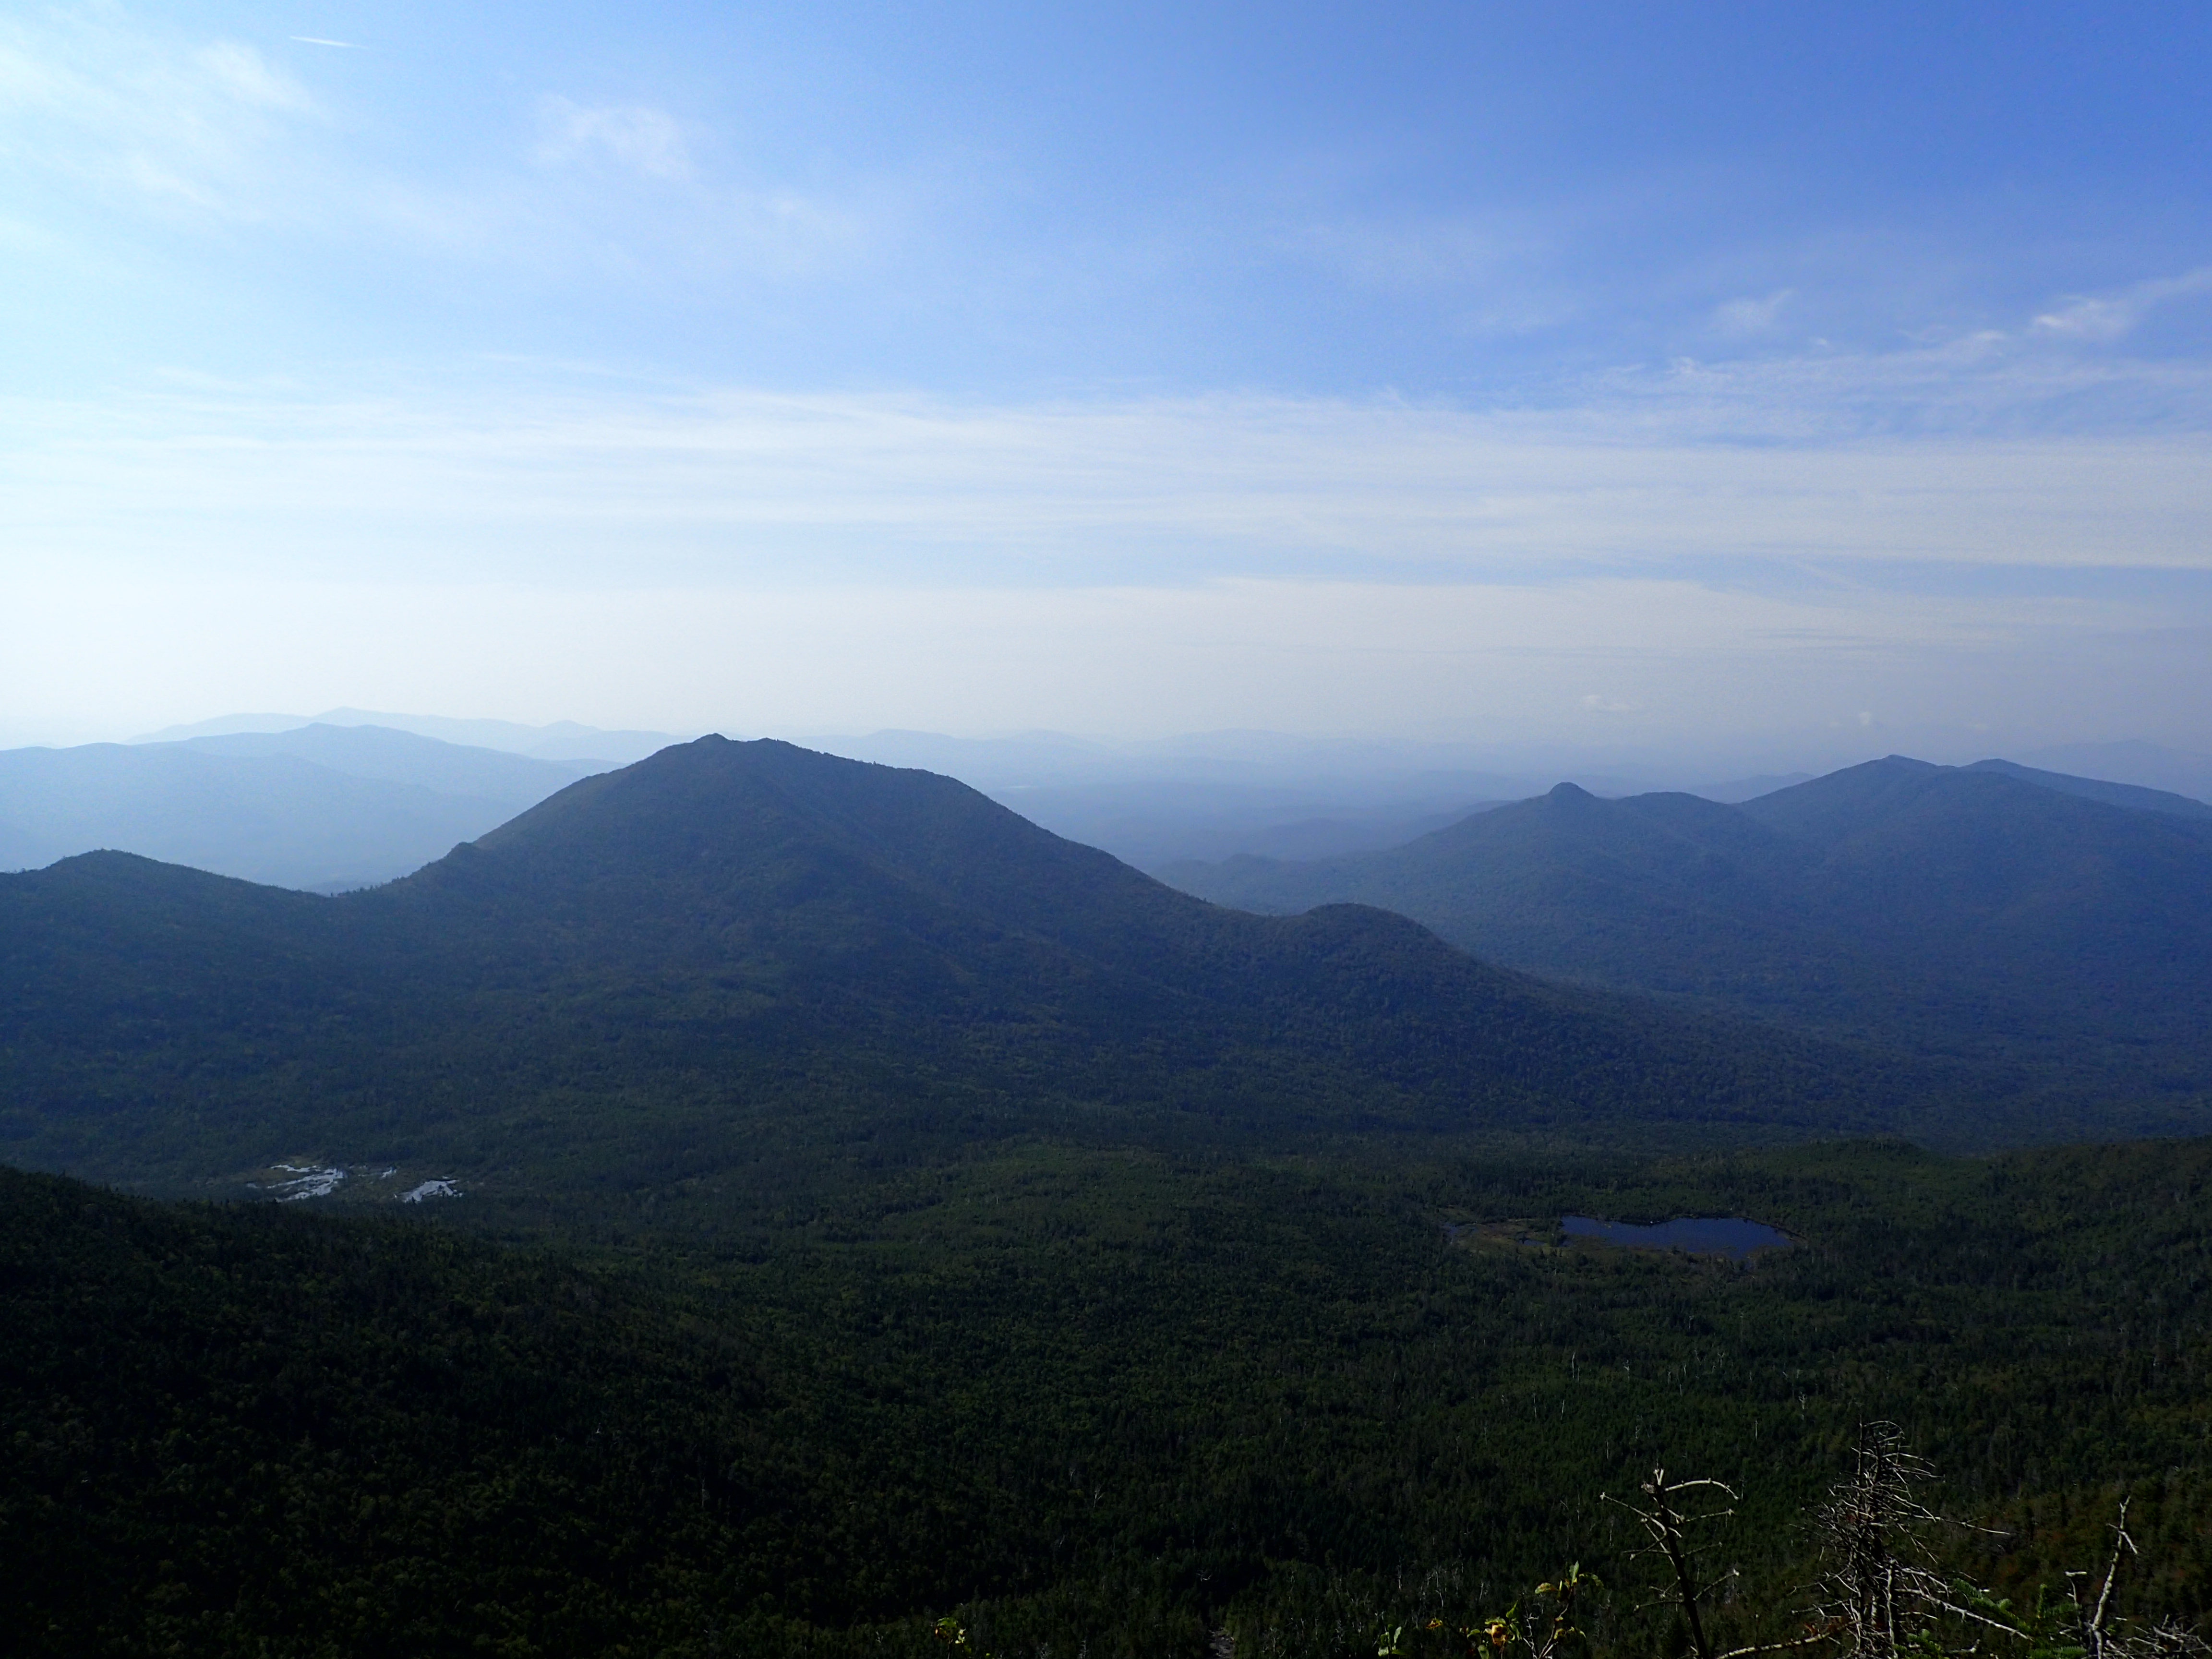
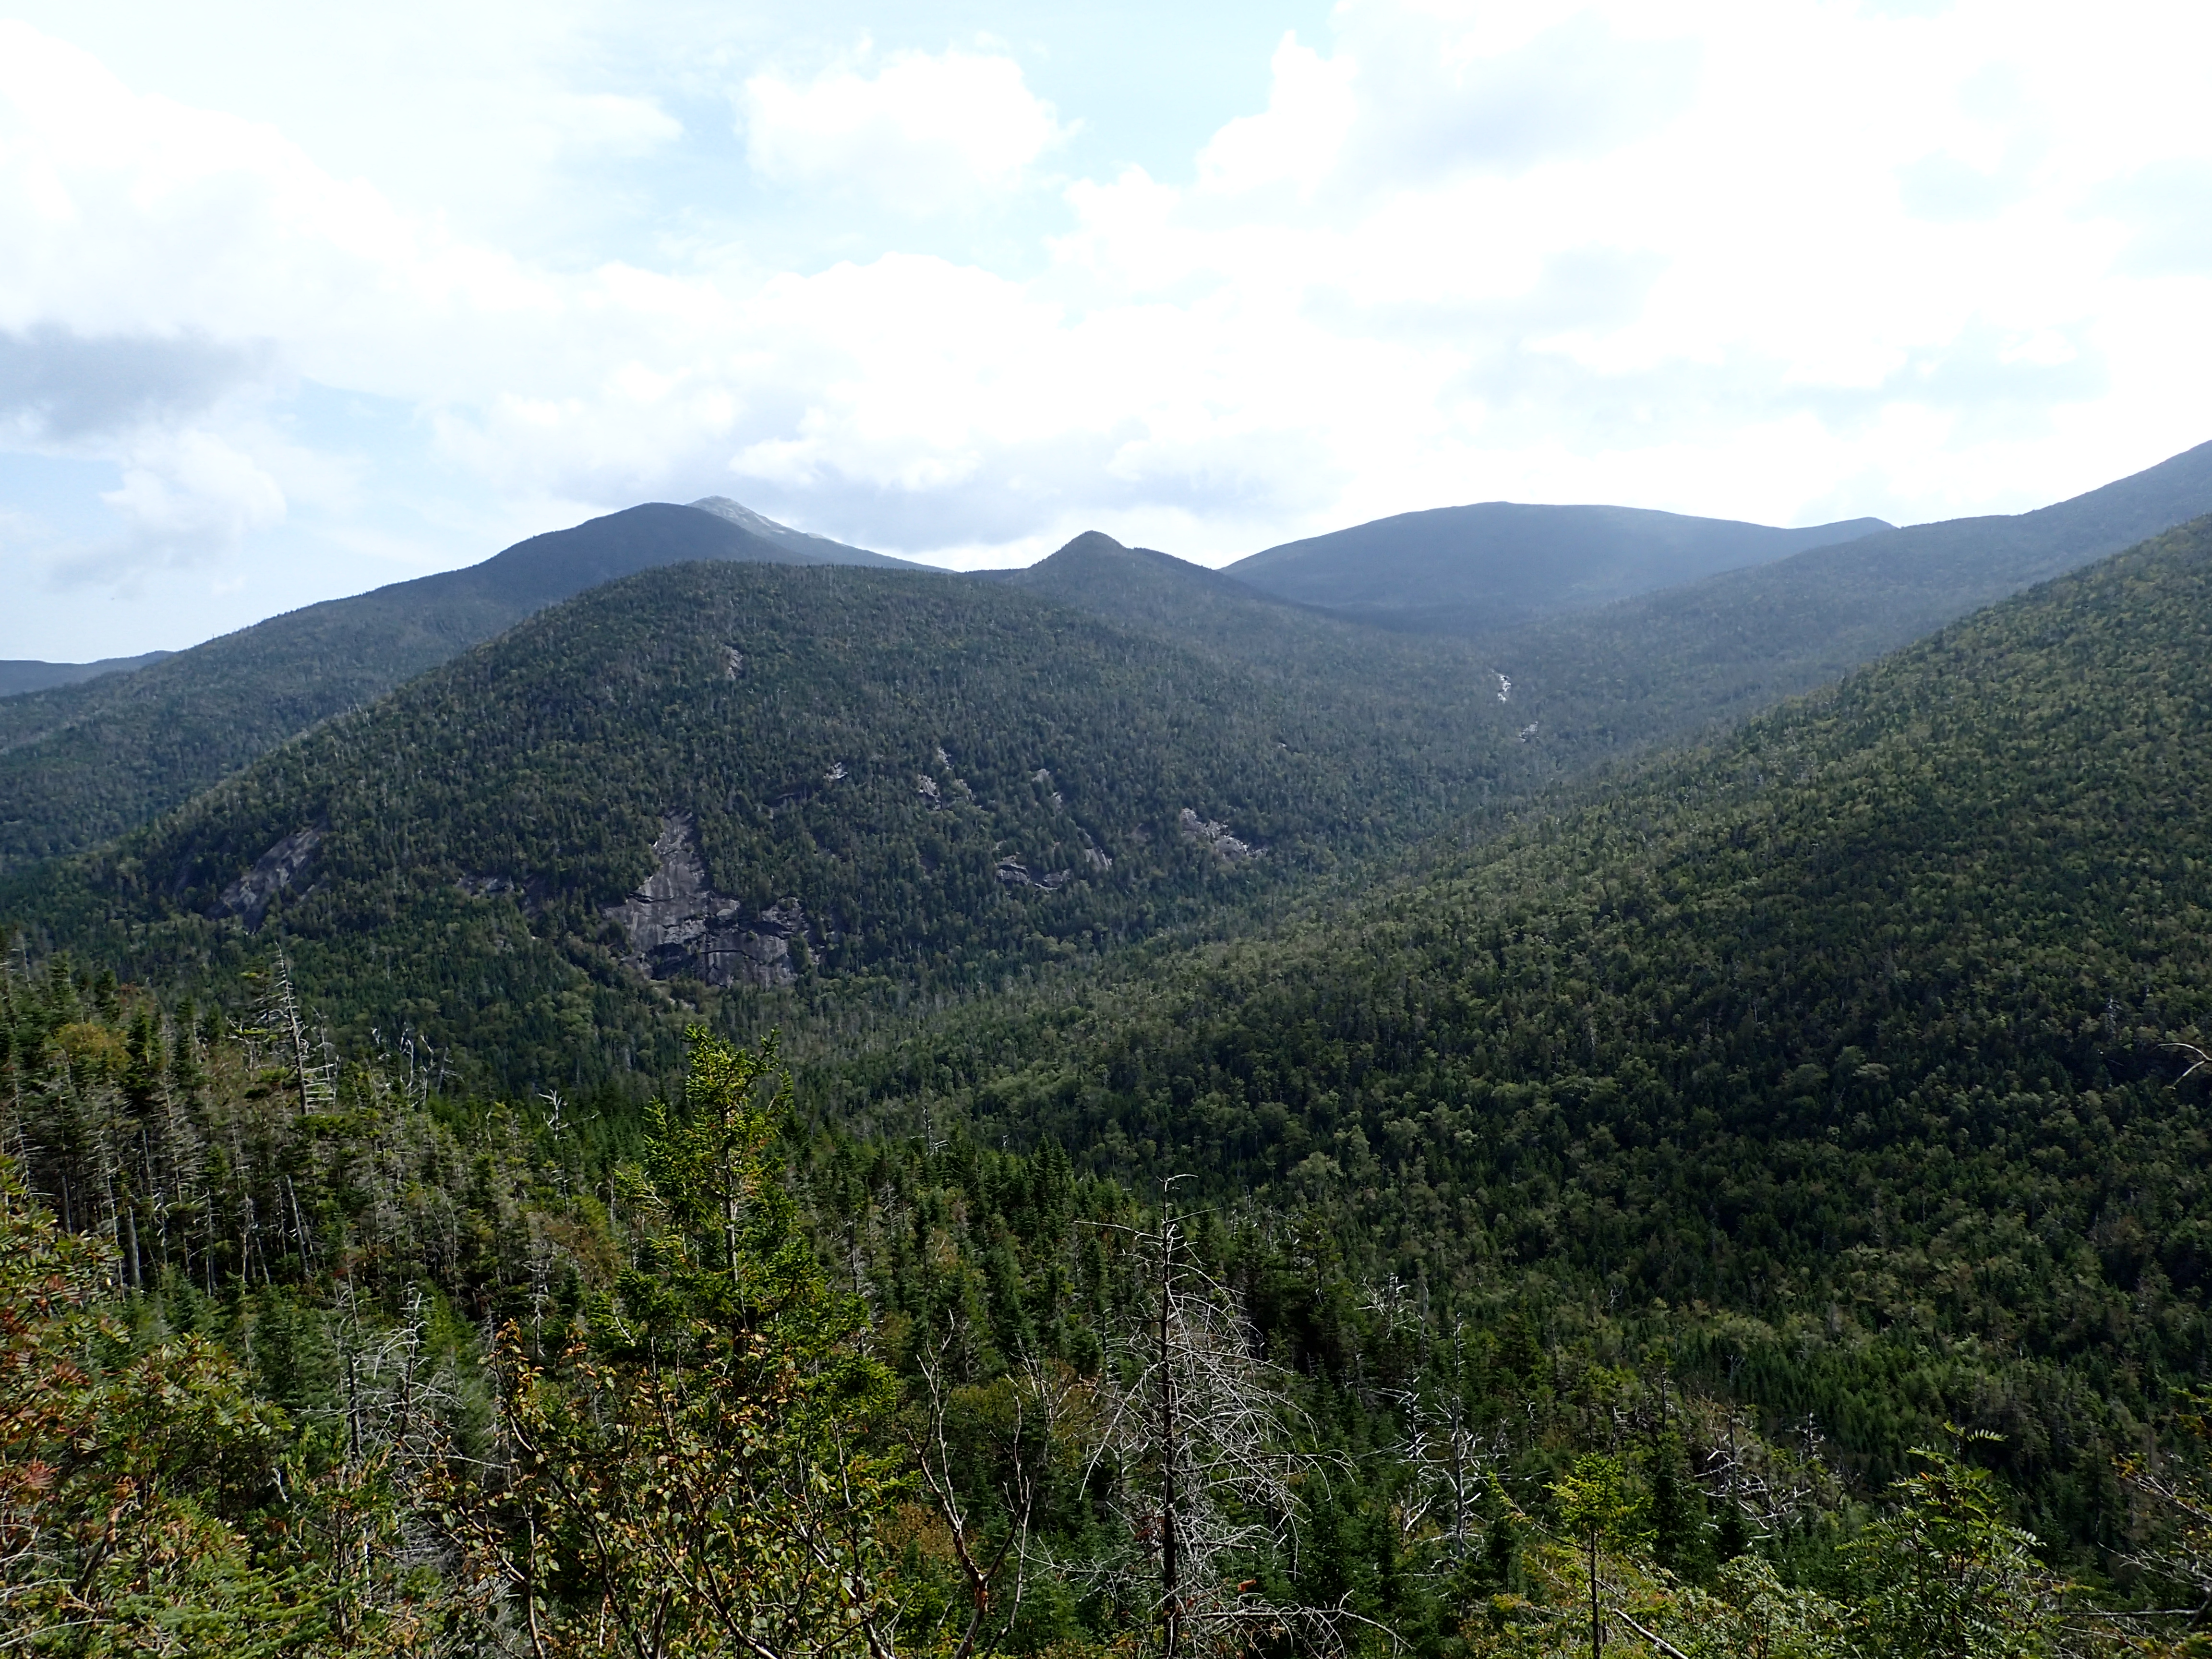
View looking out towards Allen
Gray Peak, Mt Marcy and Mt. Skylight as seen from the summit of Mt Redfield.
I only lingered on the summit for about 10 minutes before heading back down. I had to take my time as the trail was pretty wet and root covered so slipping was a pretty serious possibility if I wasn’t careful. I of course also had to take a few more moments to enjoy the views of the brook and surrounding area before heading back into the woods. Once I made it down to the cairn I didn’t linger and made my way down the Cliff herd path. This path is notoriously muddy but on this particular day it wasn’t too bad. There certainly wasn’t any Couchsachraga level mud. Debris in the trail was also pretty minimal.
The Cliff trail isn’t very long but it does certainly live up to its name, containing many cliffs and slabs you will need to navigate on your way to the top. Being a rock climber I was able to make pretty quick time but there is nothing here I would tell people to be worried about. Just take your time and look around when you reach obstacles. There is an easy way up all of them.
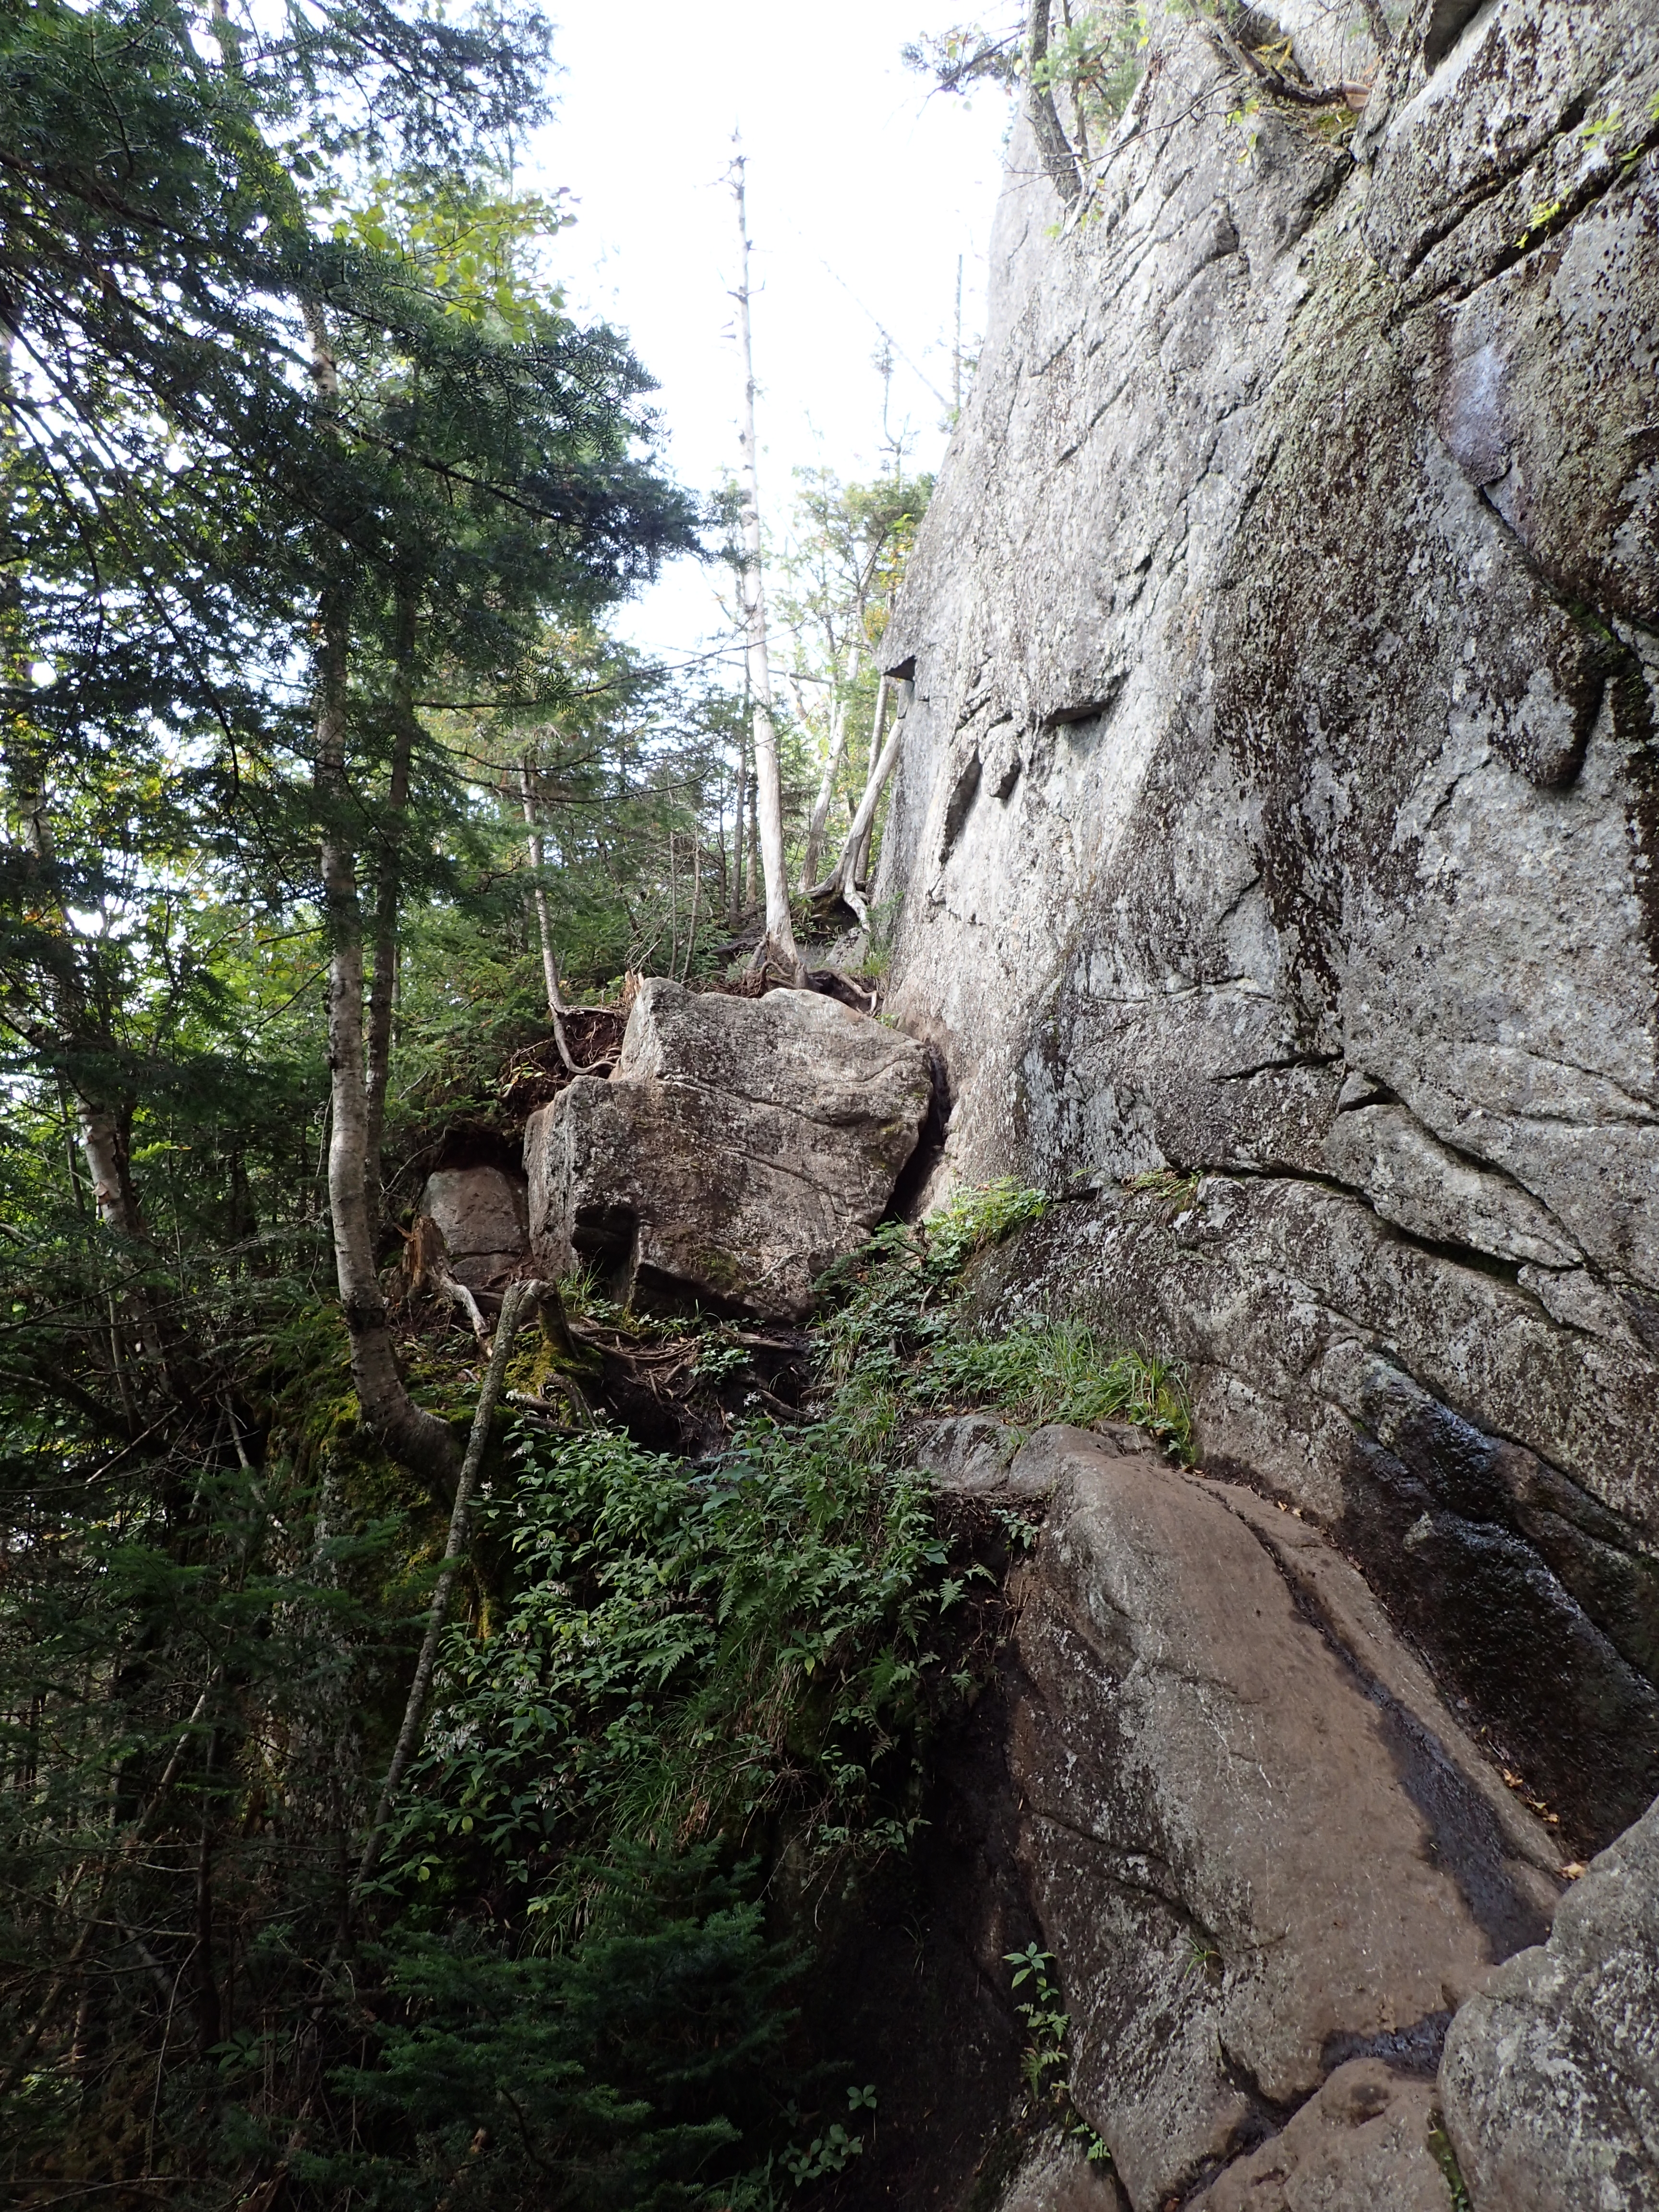
Cliff on a Cliff…..Cliffception?
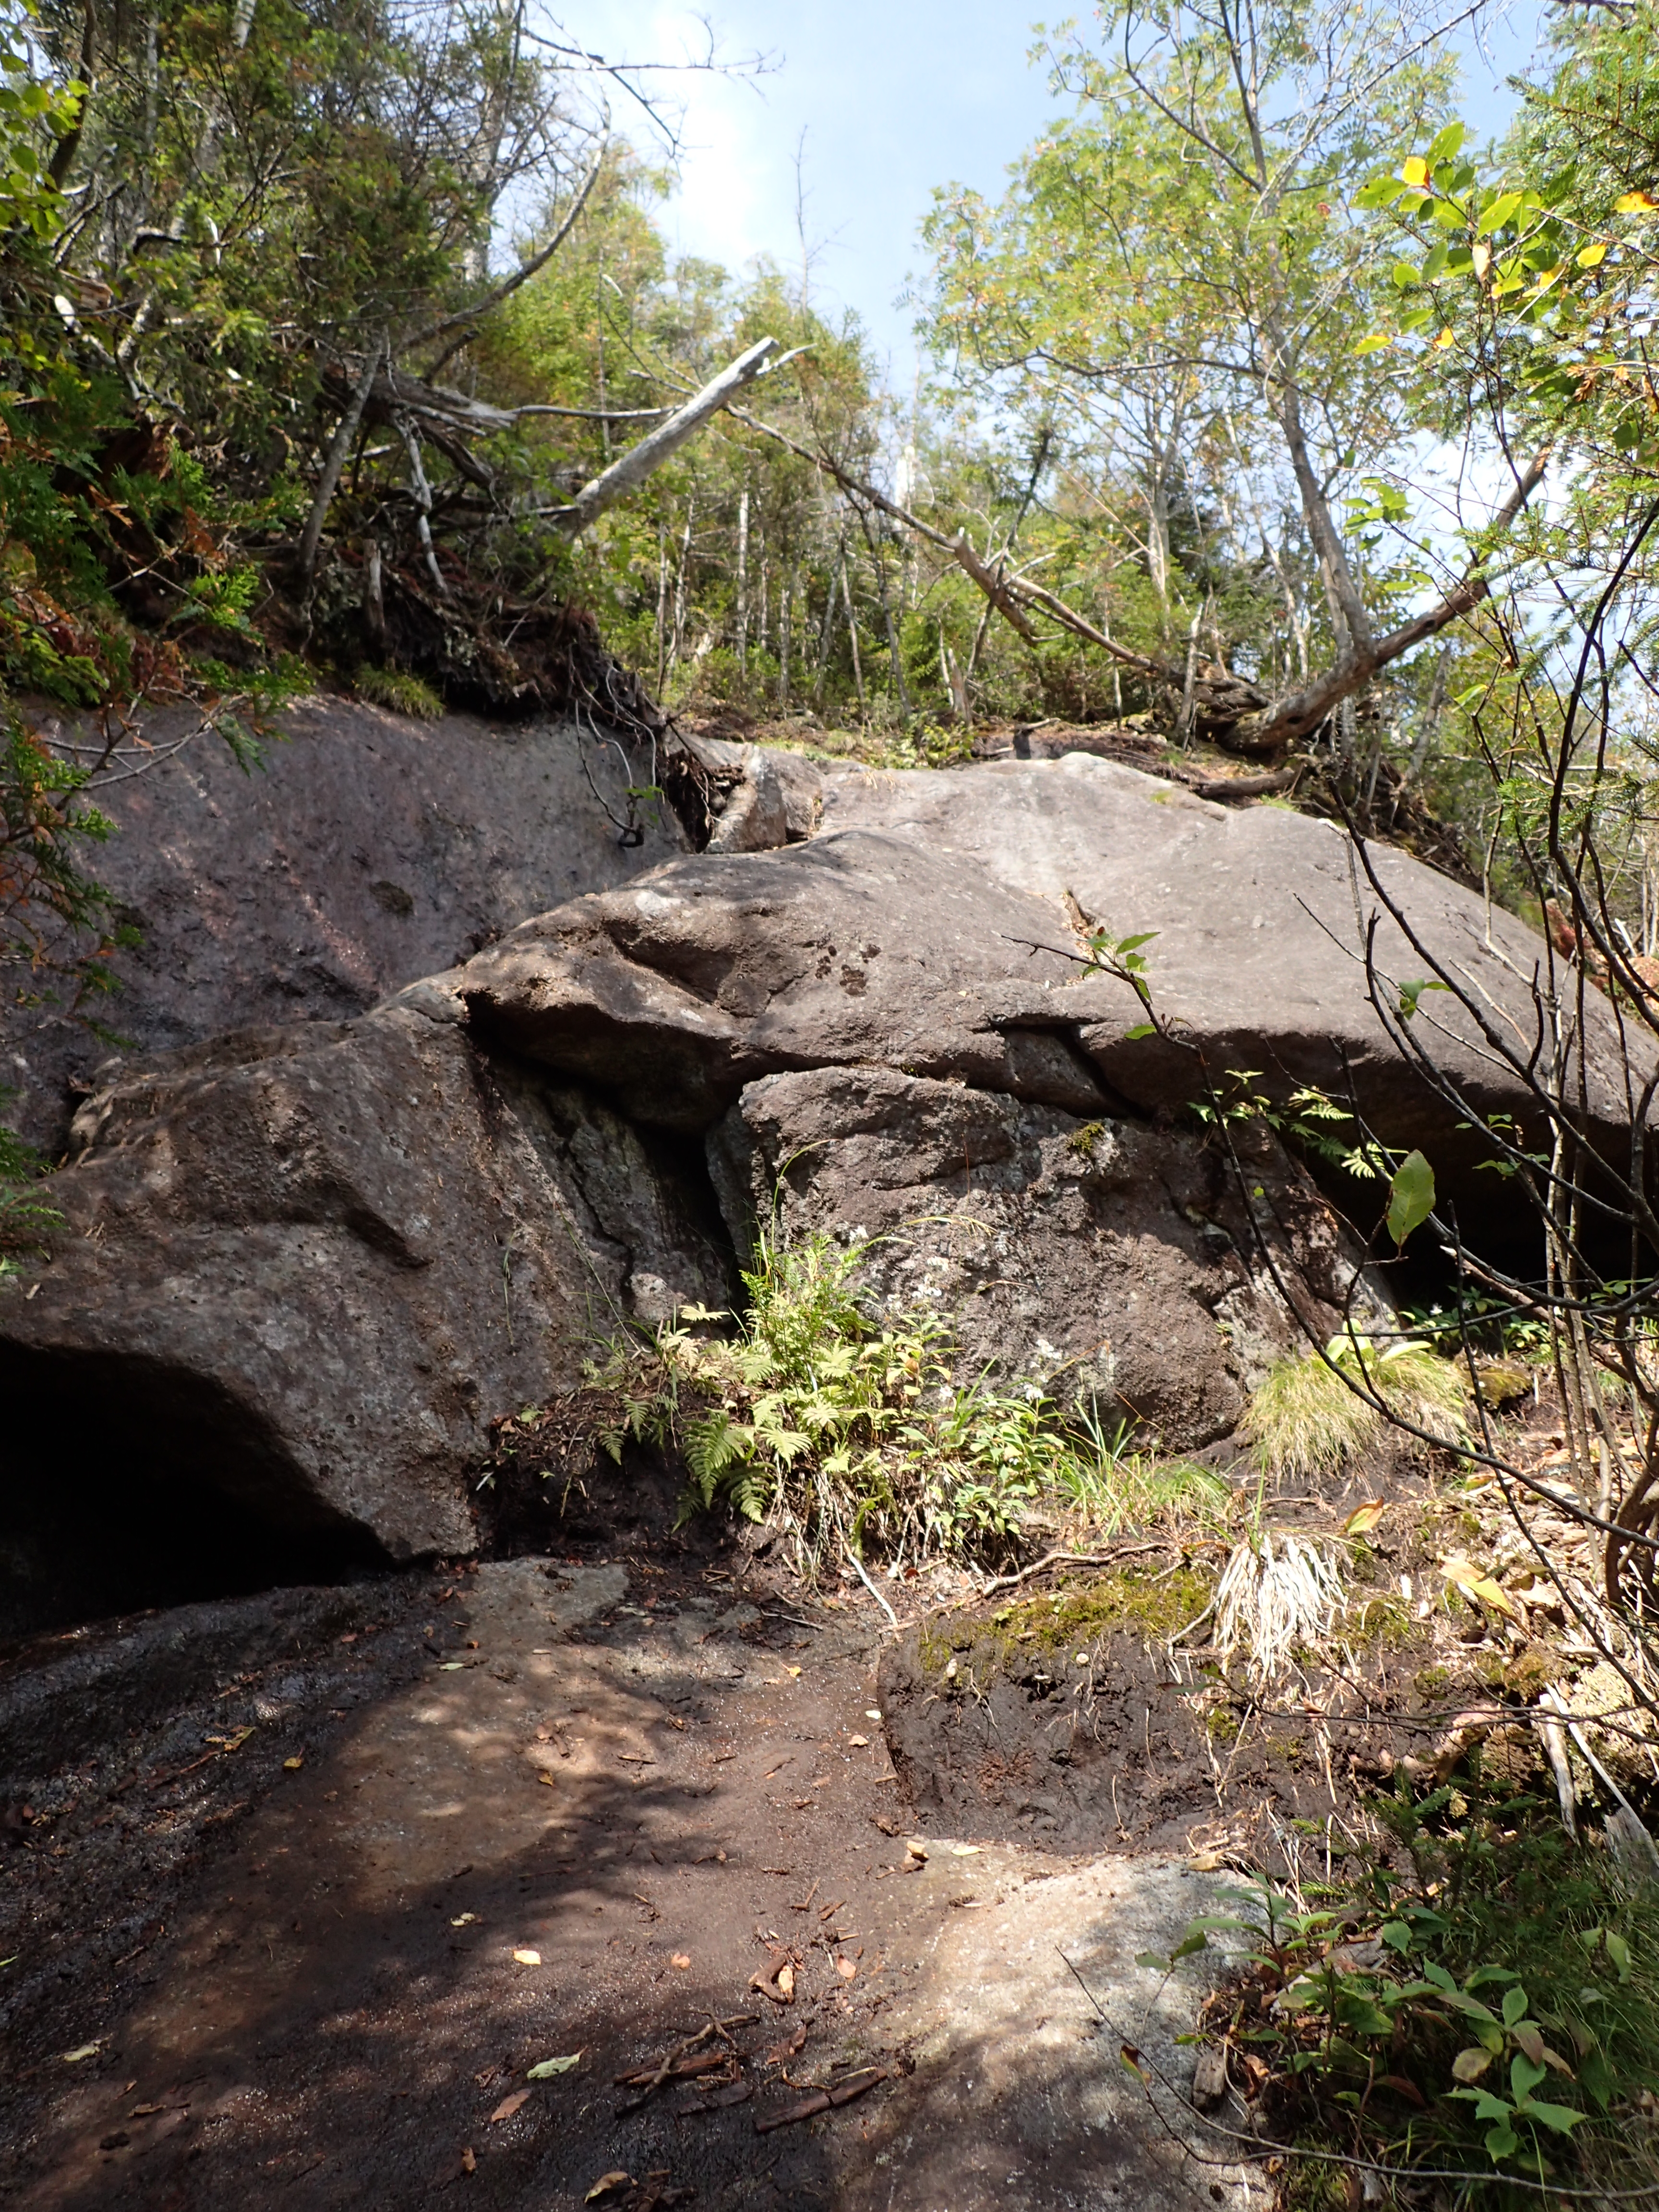
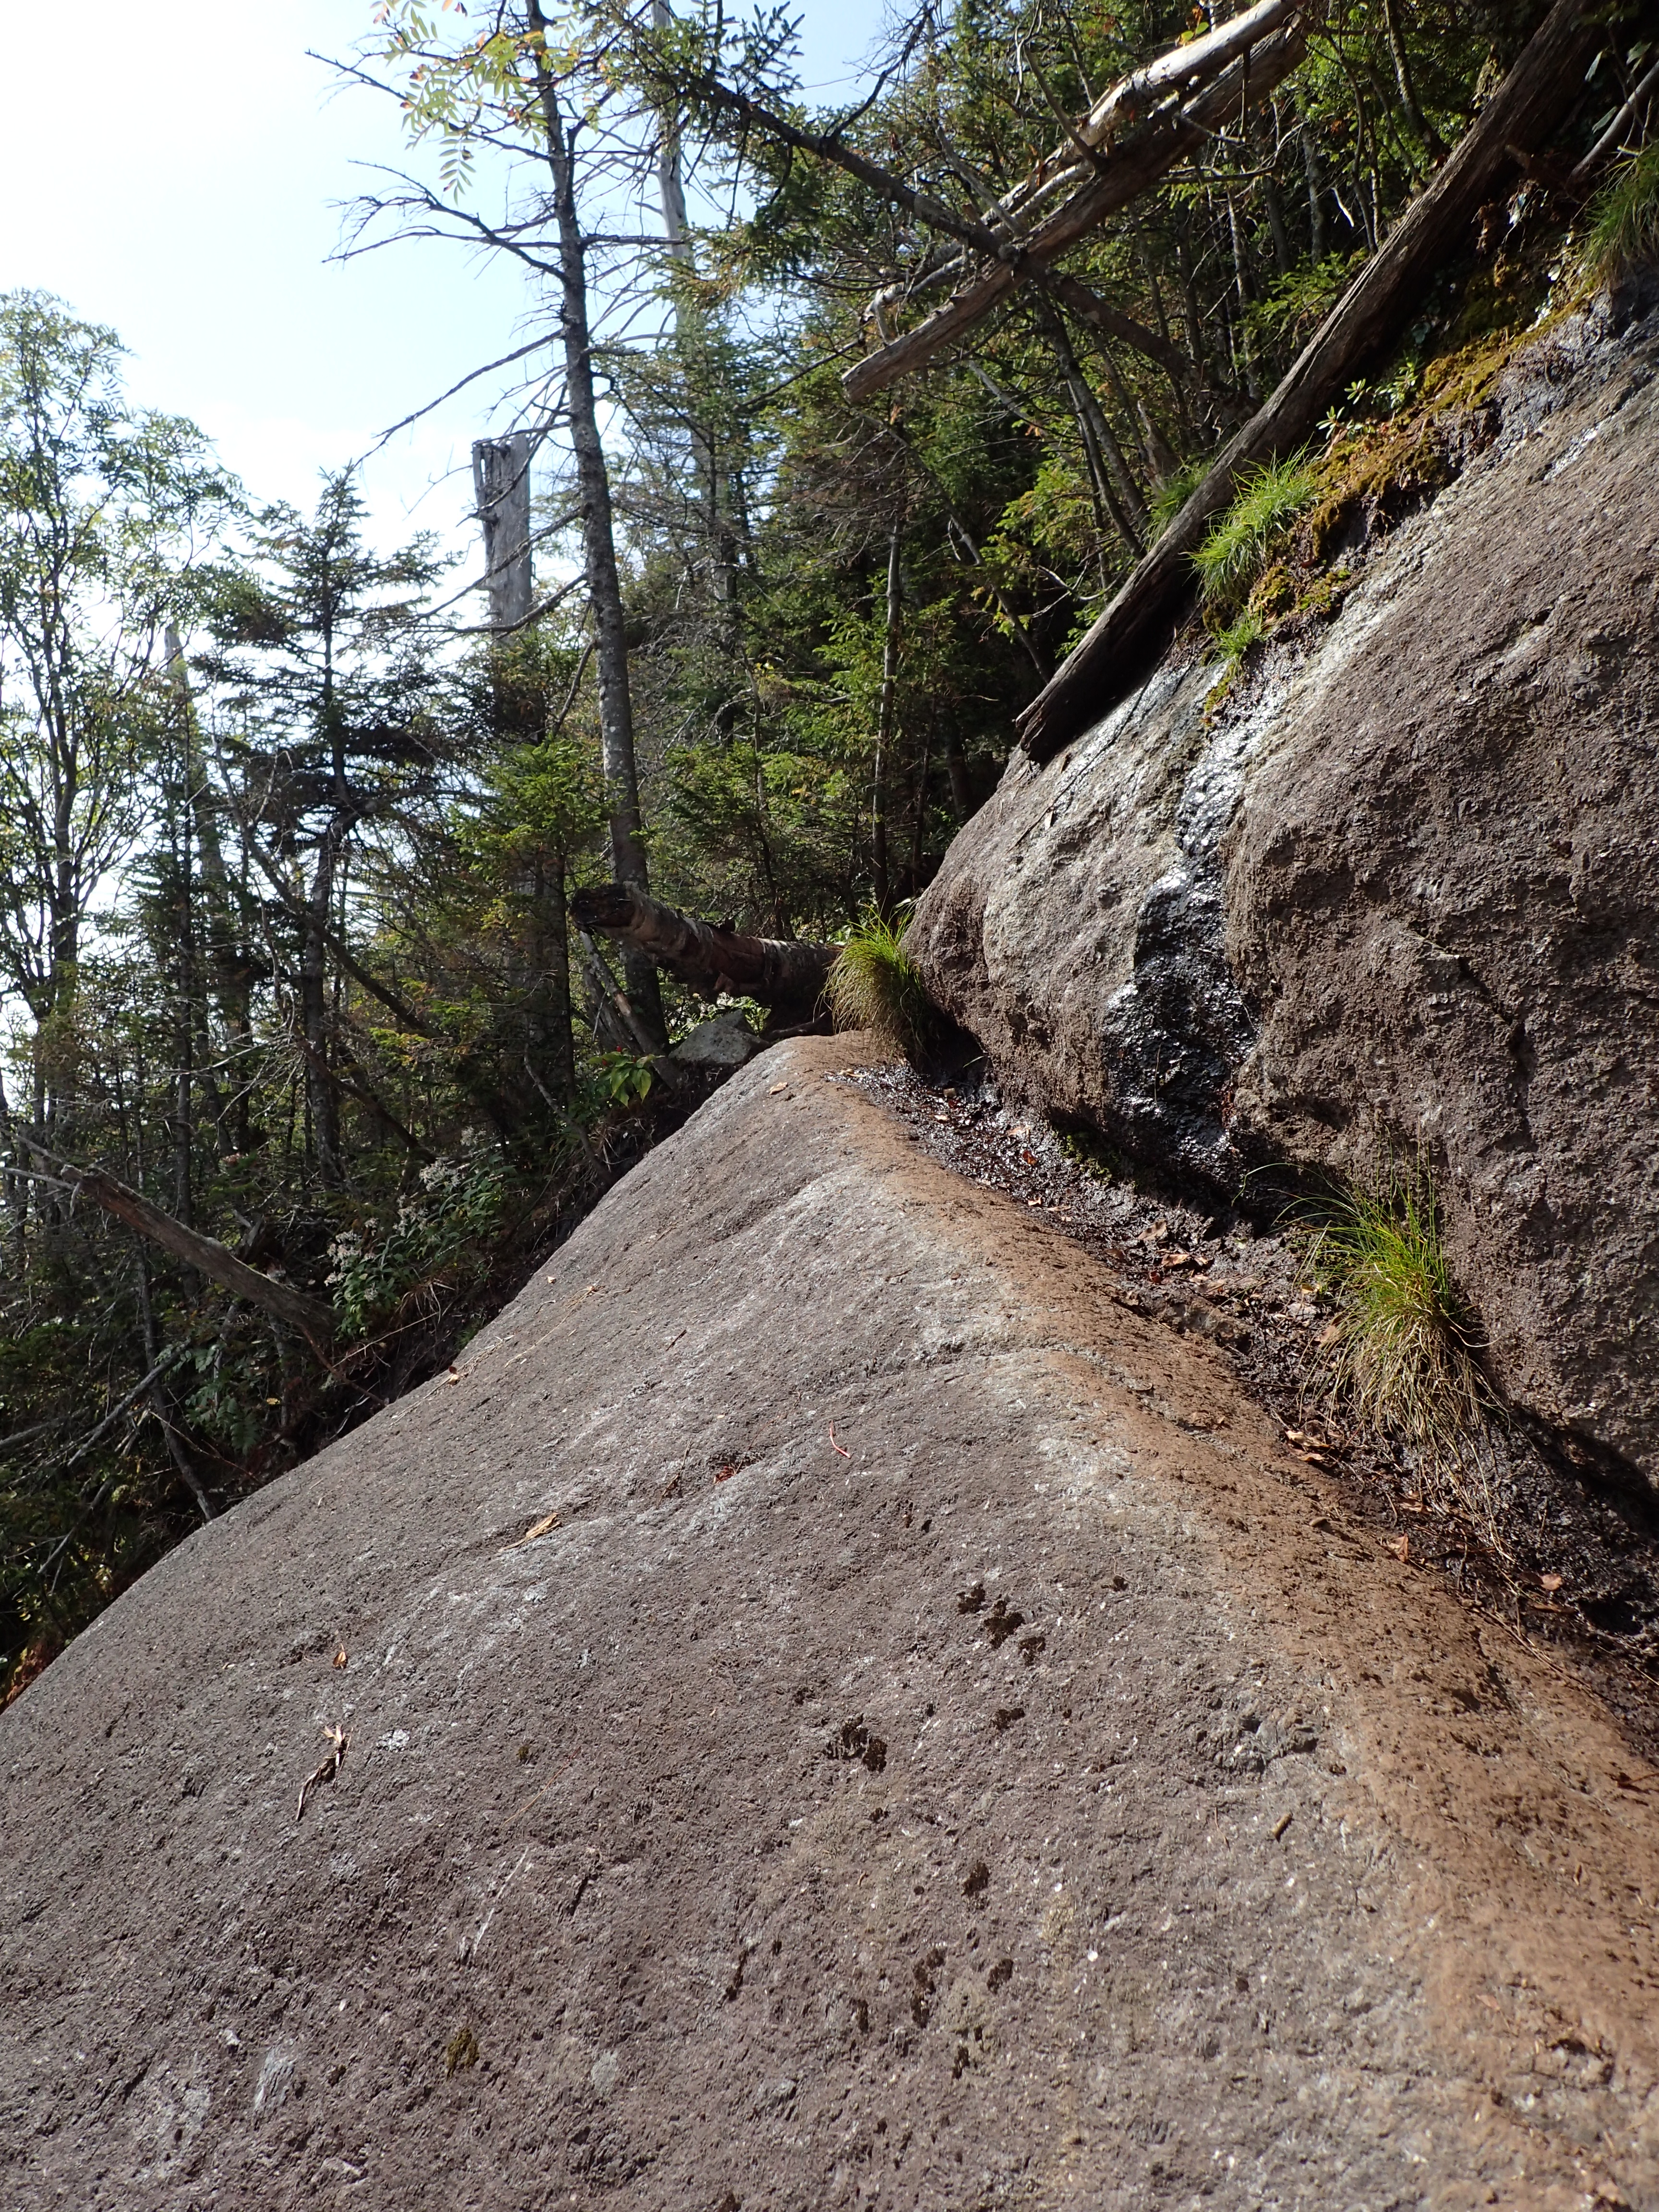
Yes this is the trail, but just take your time and you will be OK. The ledge will fit your feet and there are plenty of things to hold if you need to.
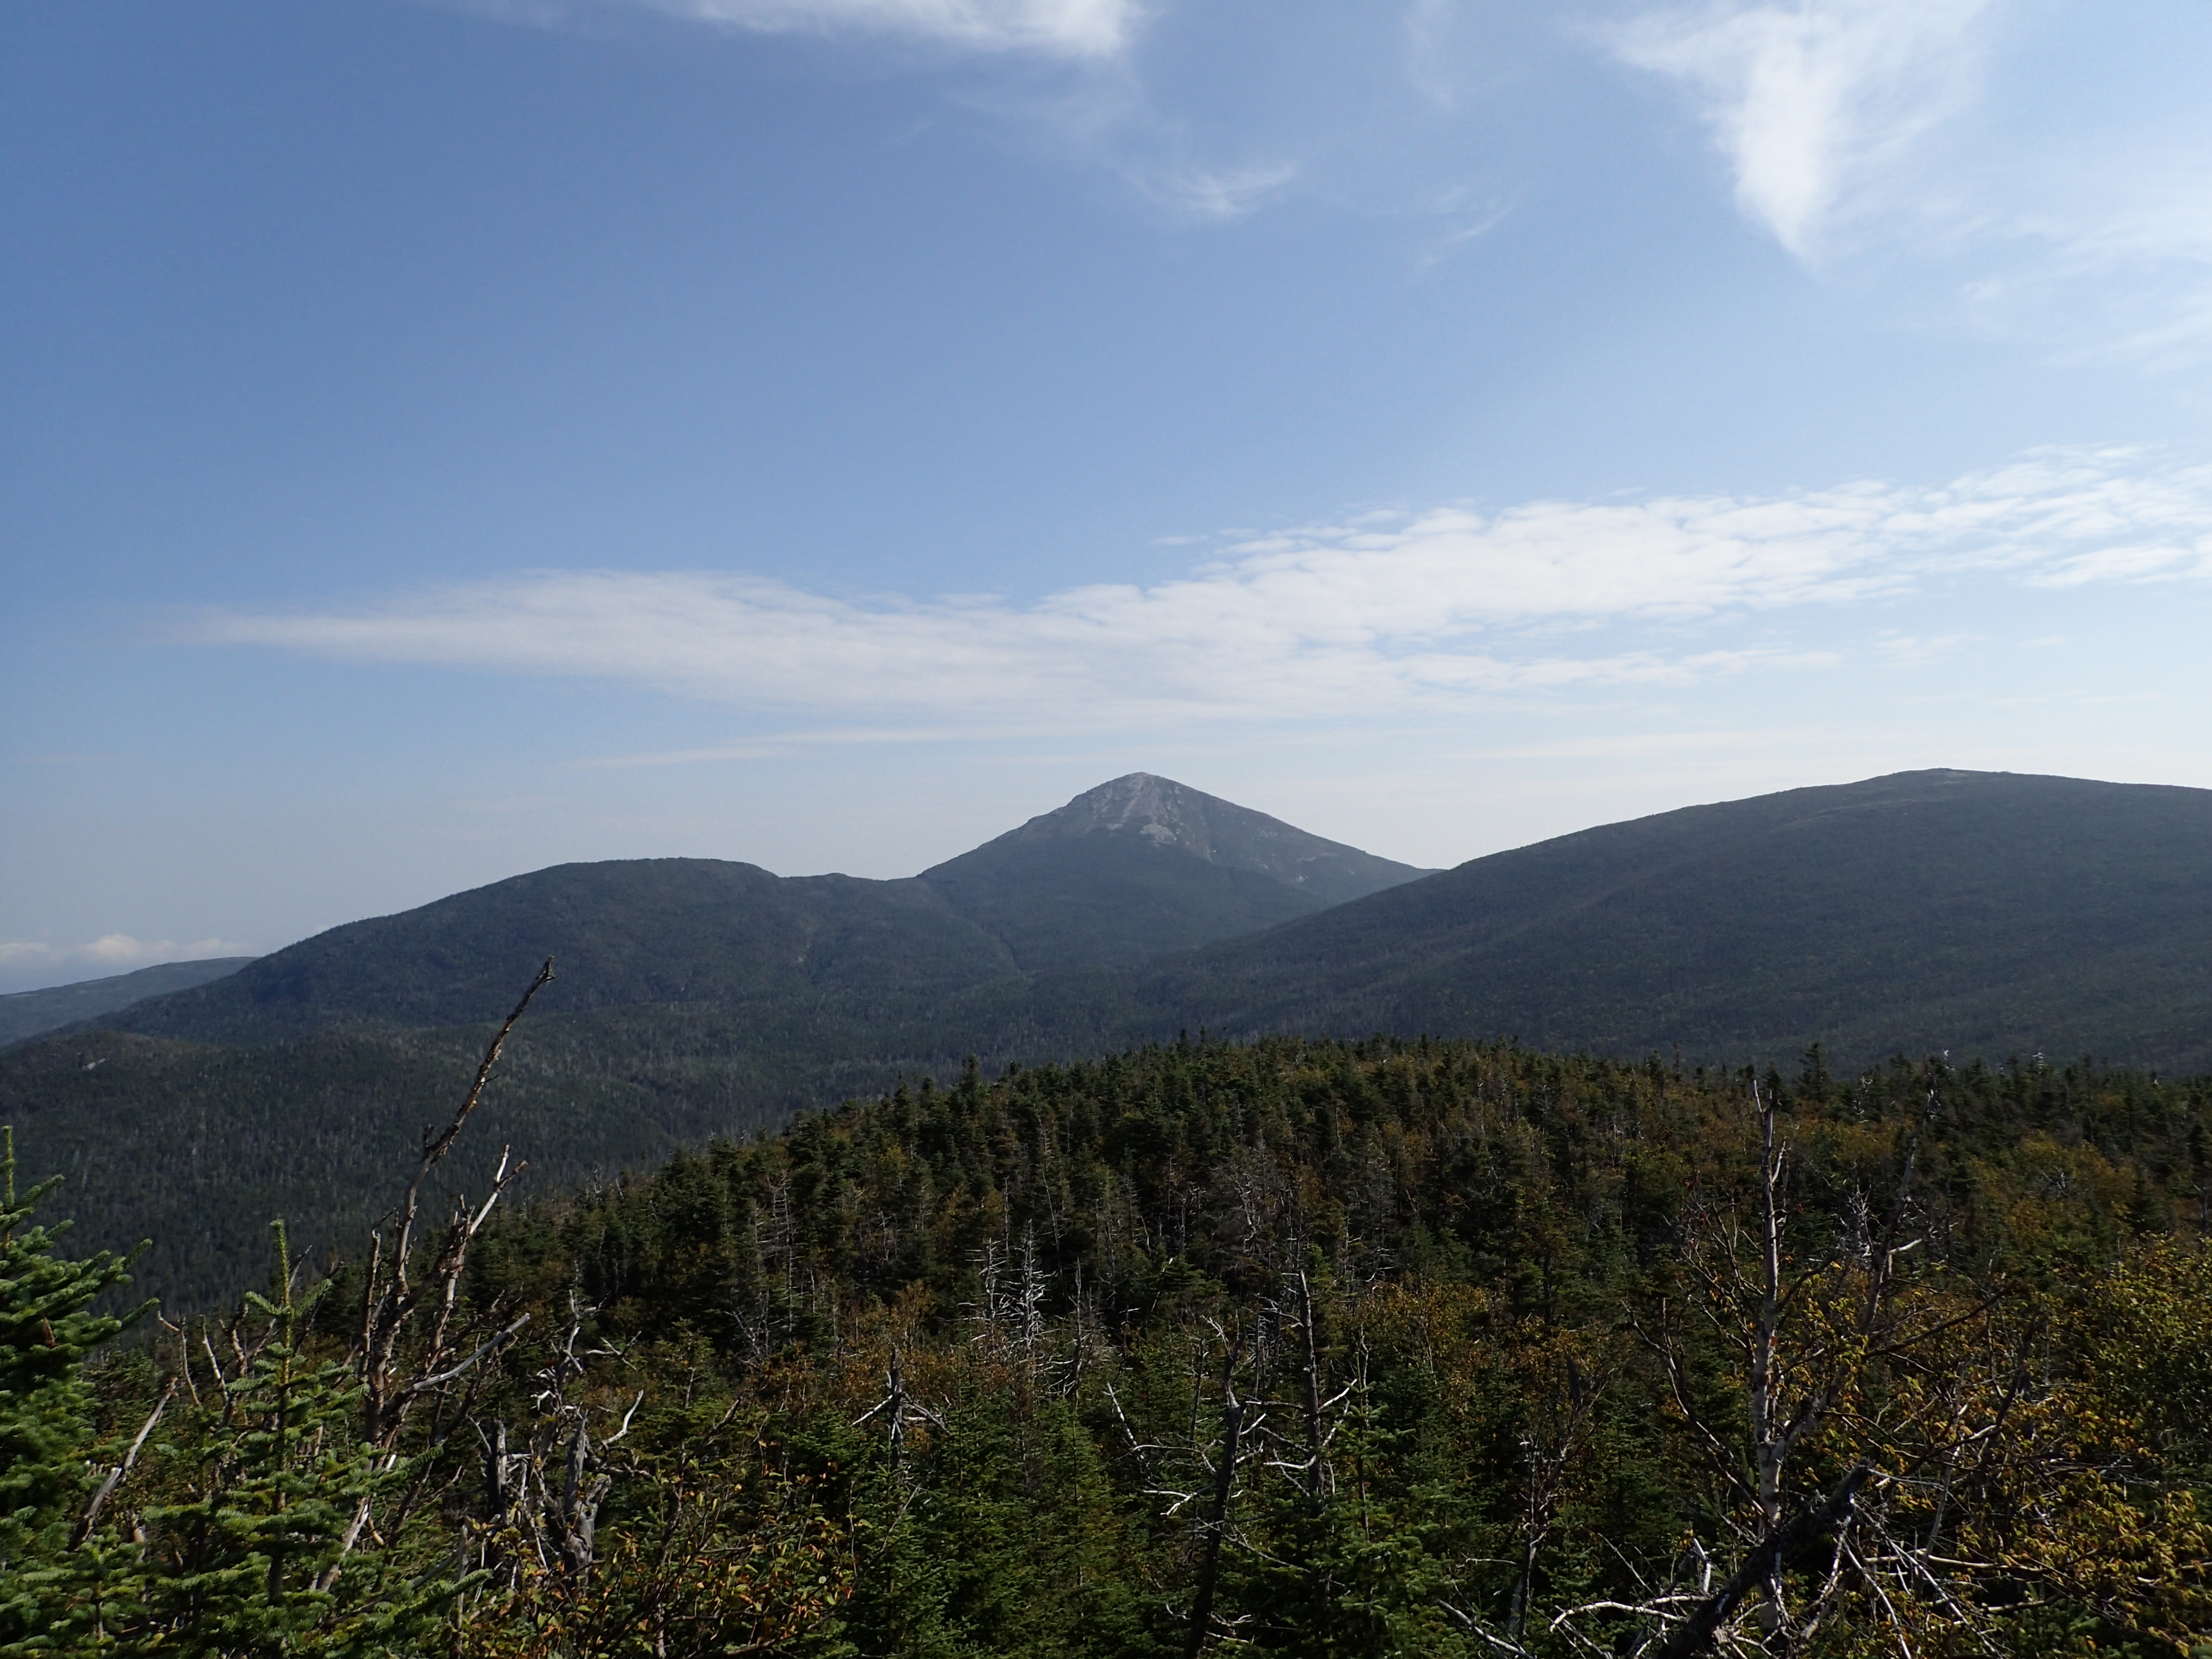
The summit of Cliff is completely wooded, and unlike Redfield there are no particularly great views. Just a summit sign, and your own sense of accomplishment to enjoy. I reached the summit at 11:55am and didn’t stay long as there is no real reason to linger. However, you do get a few pretty nice views on the trail itself. All you need to do is turn around and look the opposite way or just enjoy them on your way back down Cliff.
One of the few views from the Cliff trail.
I took my time going back down for safety sake and arrived back at the cairn at 12:50. At this point I considered taking the long scenic way back out around Lake Colden and Avalanche Lake but given it was a Sunday and I had a long 4 hour drive back to NJ the same day I opted to just retrace my steps. The return hike was pretty uneventful but I did meet a local along the way who joined me for the last few miles of the hike which was a nice break from talking to myself. It also made the time pass much faster.
I arrived back at the car at 4:09 which was more or less what I was aiming for. All in all Cliff and Redfield turned out to be a lot more fun than I anticipated and it is always nice to be pleasantly surprised. I think they are worth hiking even if you have no intention of hiking all 46 High Peaks!
Categories: Adirondack High Peaks Region, Trip Reports

